Plans for the future???…big Projects. I hope.


I have decided not to do a full restoration tear down. I am leaving this up here for information purposes.

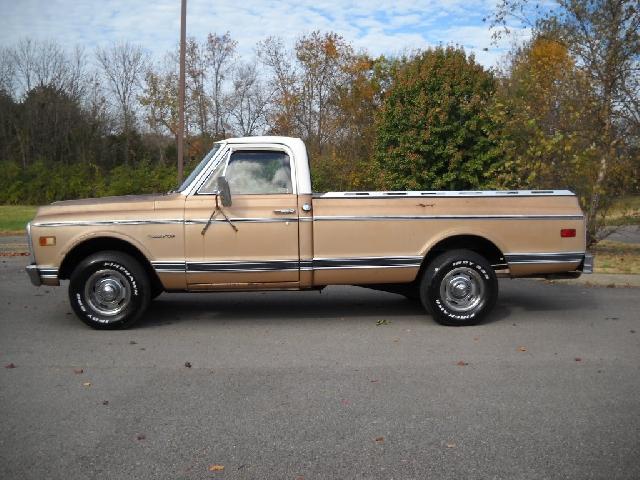
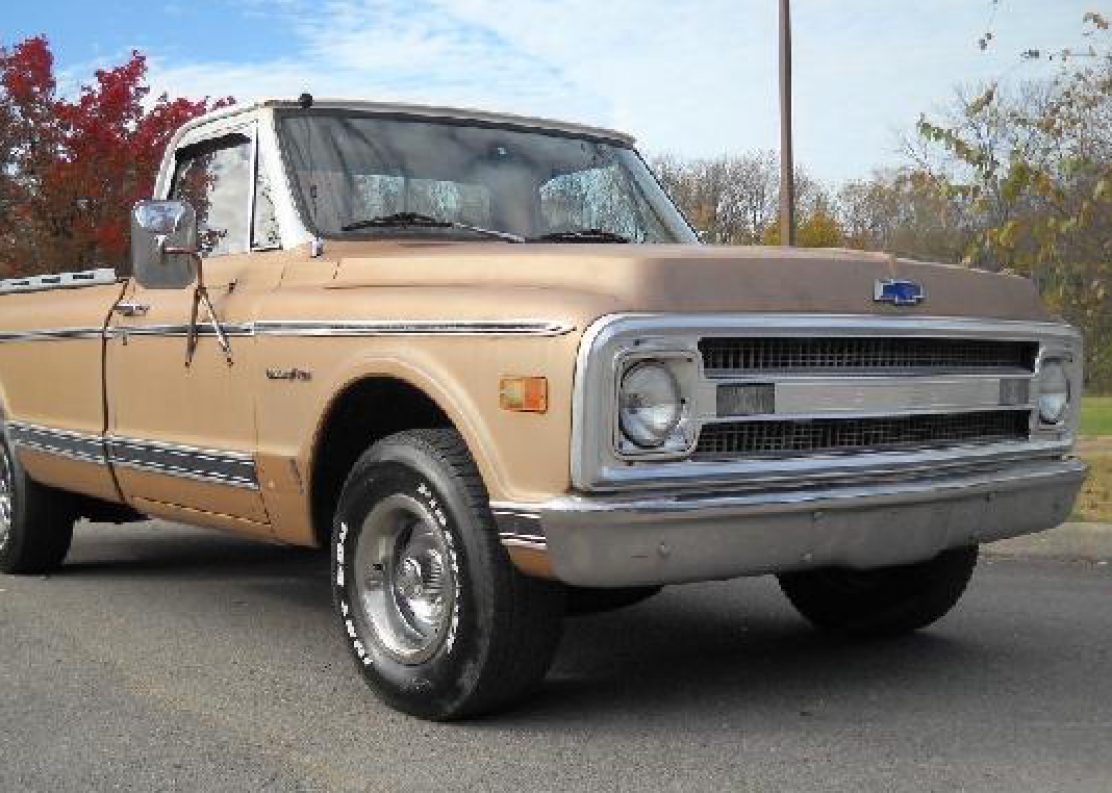
These are some examples of before and after. (these are not my truck)

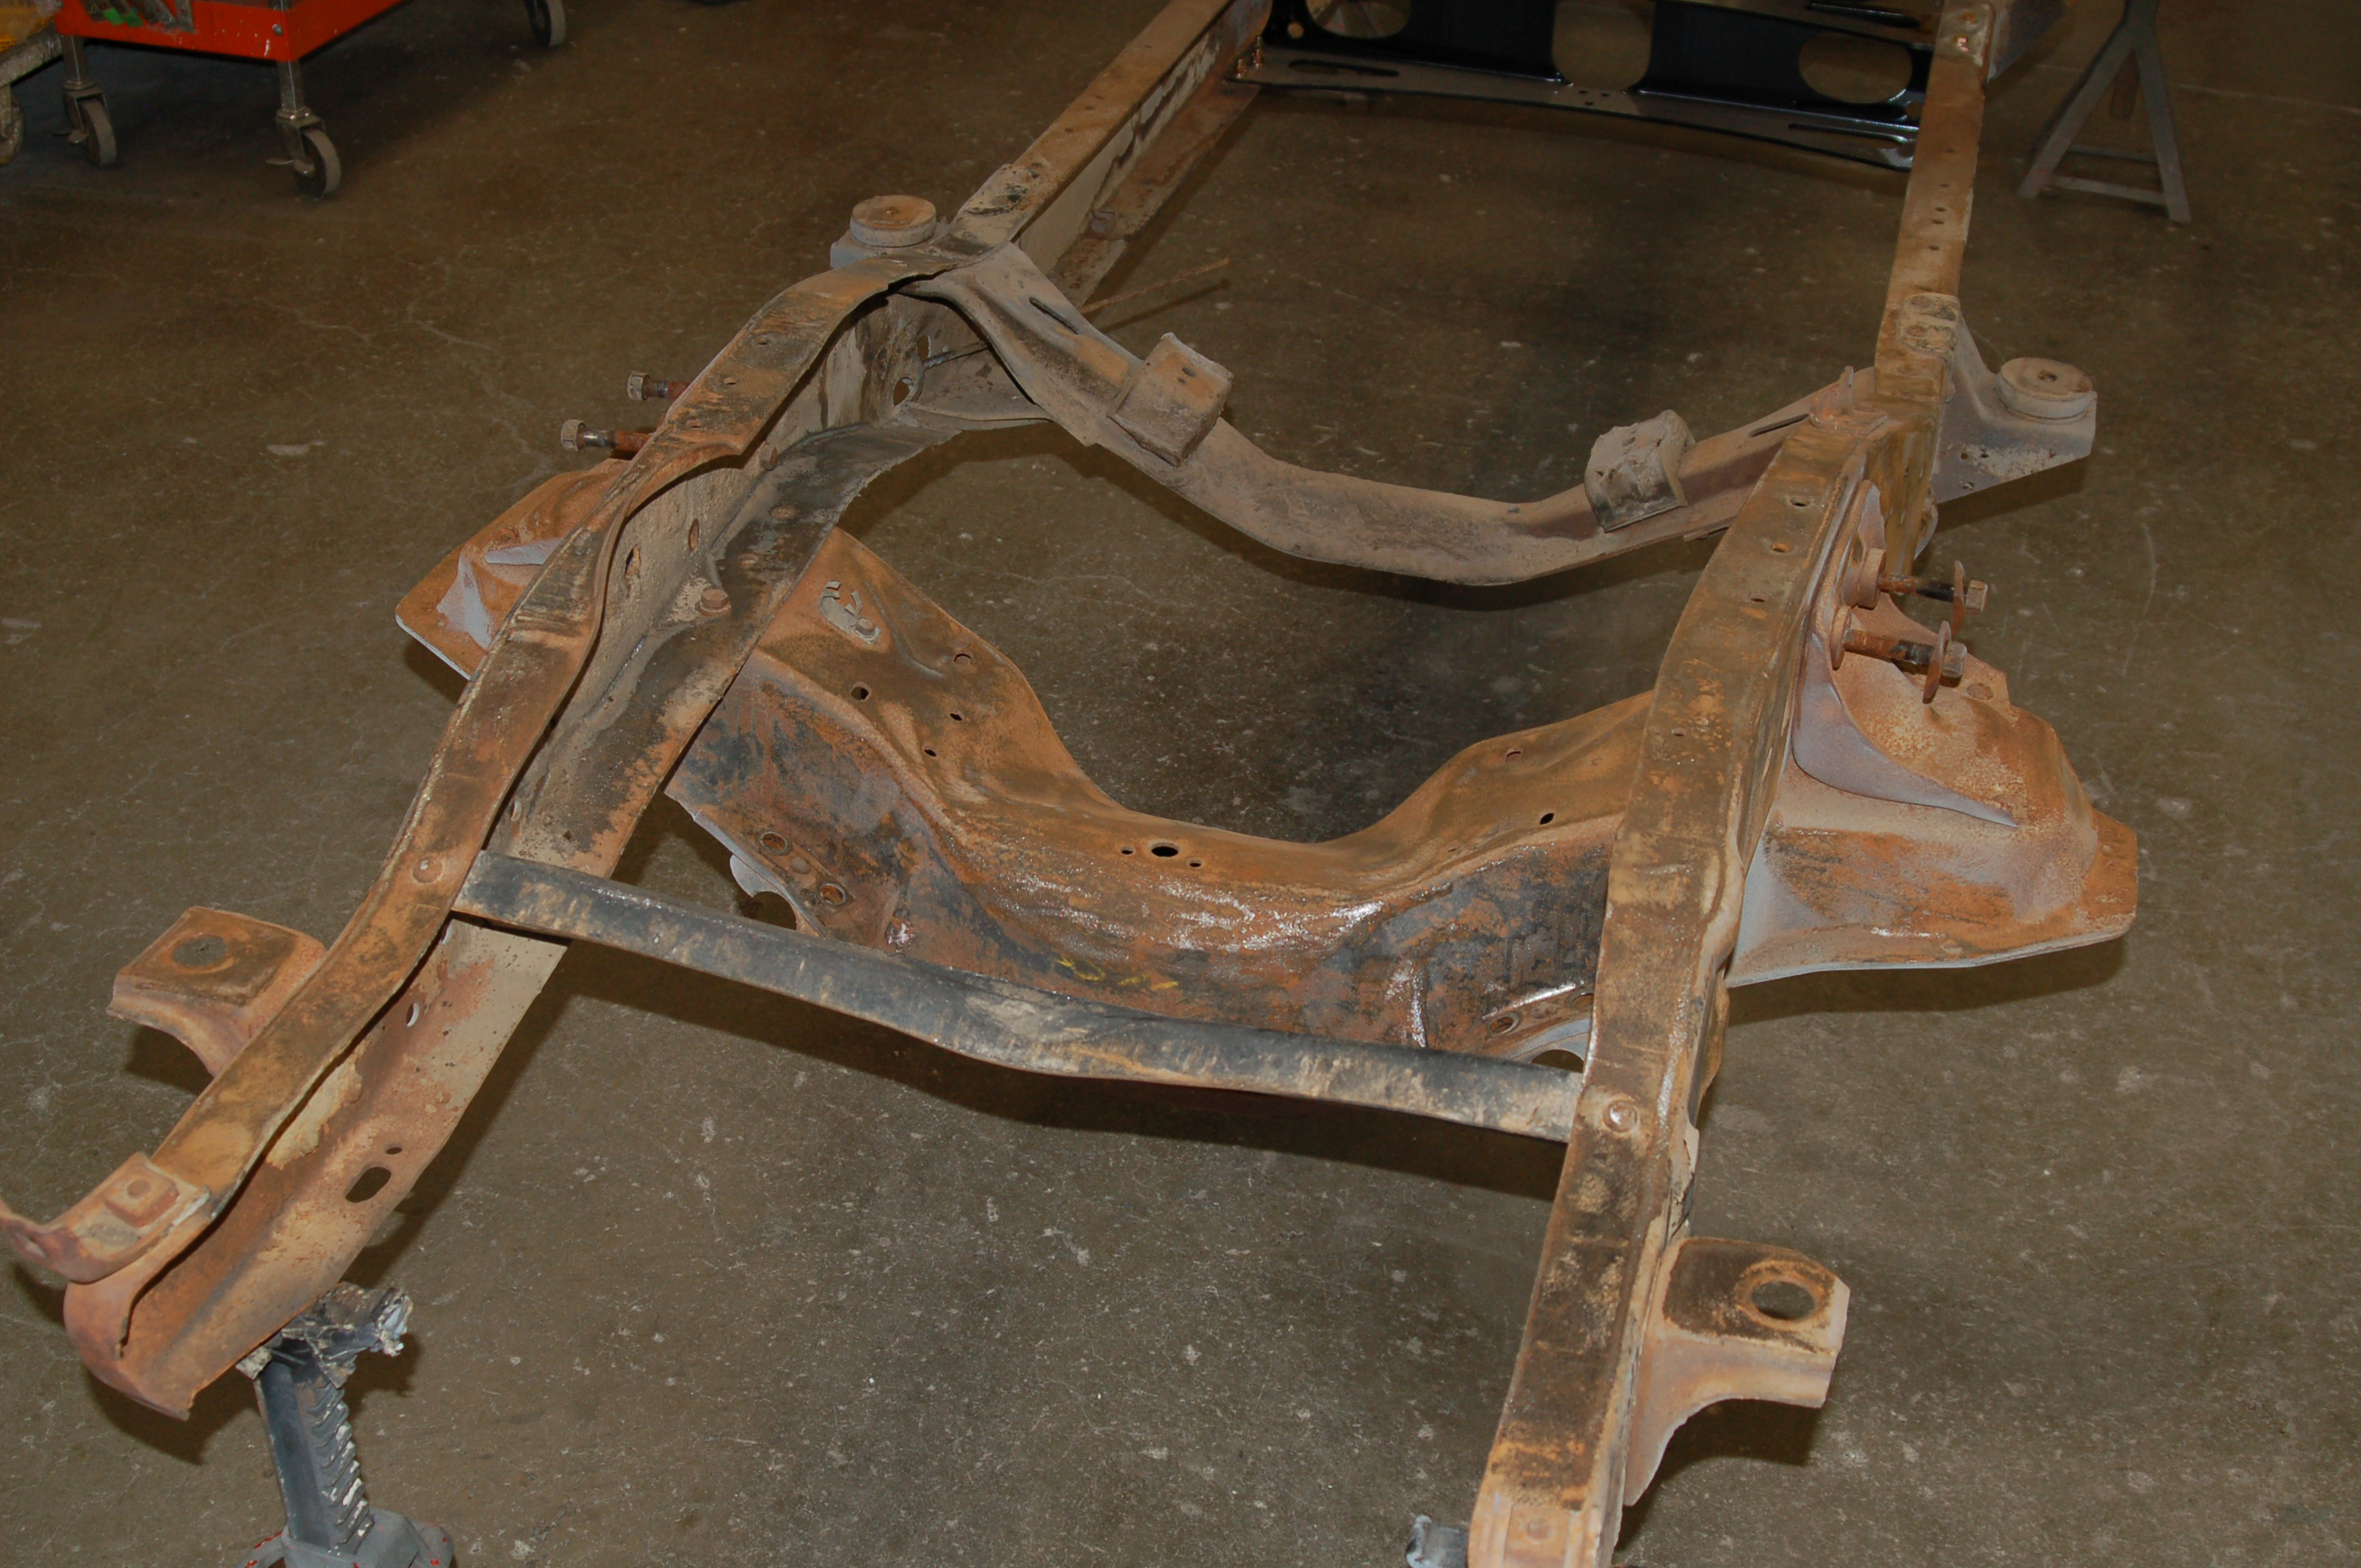
Before – Frame with surface rust (Pretty much what mine looks like) 

Framebefore

After Blasting and Powder Coating (What I want mine to look like) 

FrameAfter

Big different right….this is what powder-coat looks like

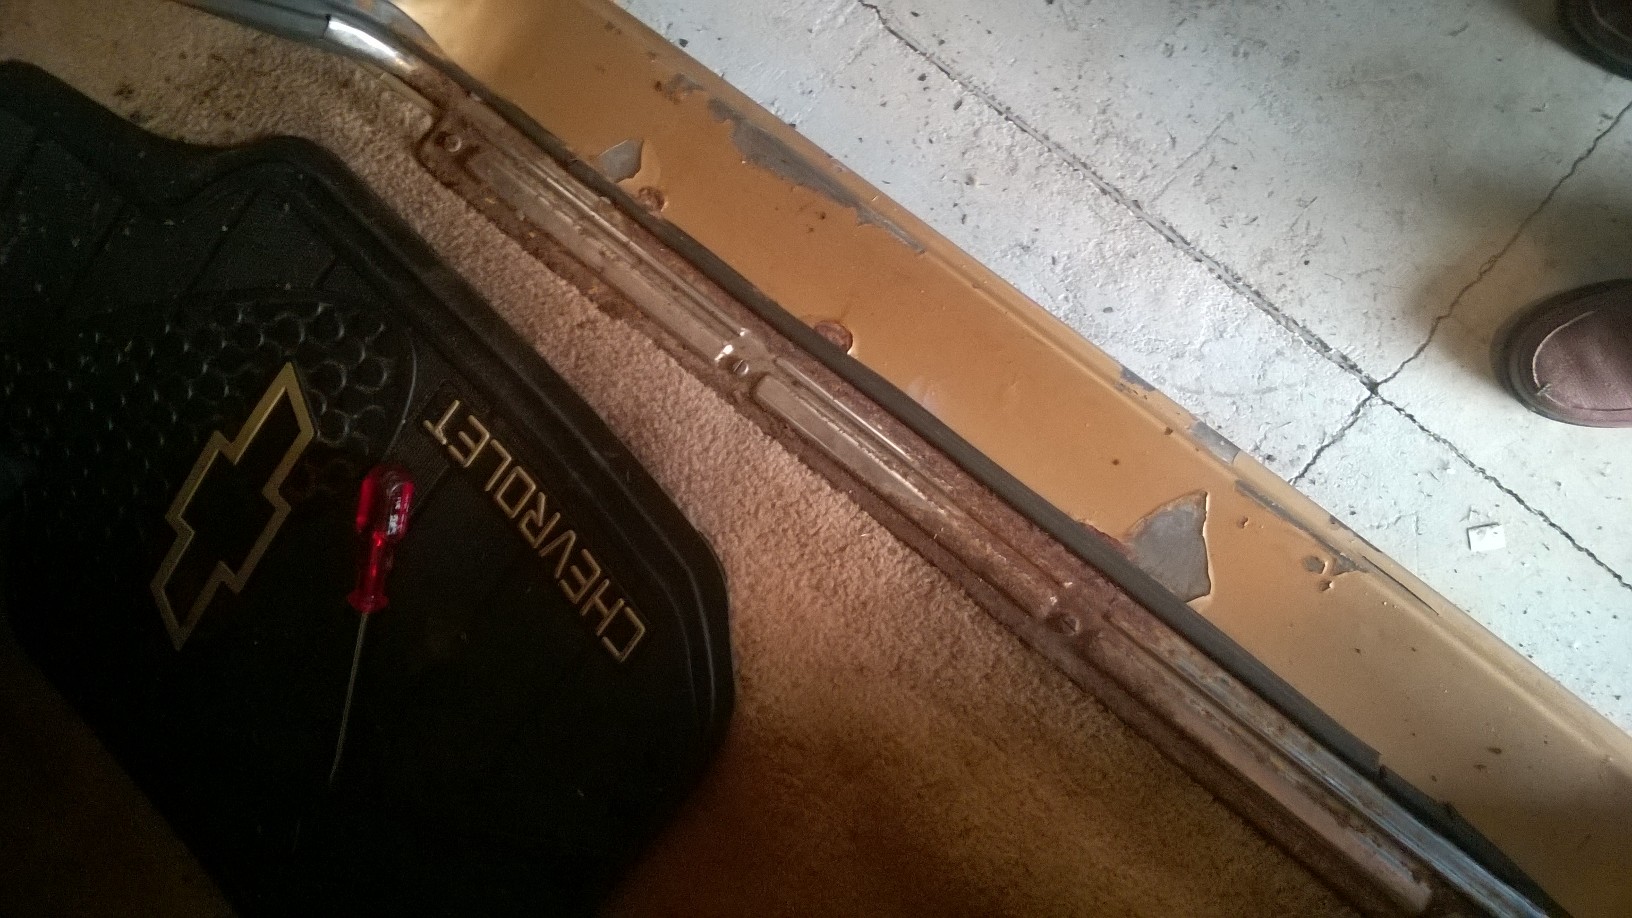
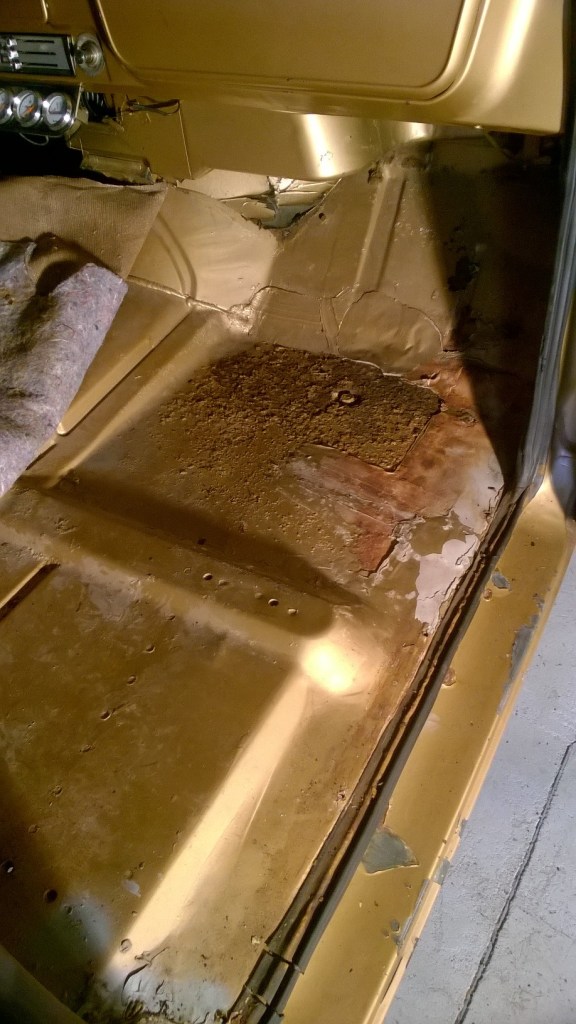
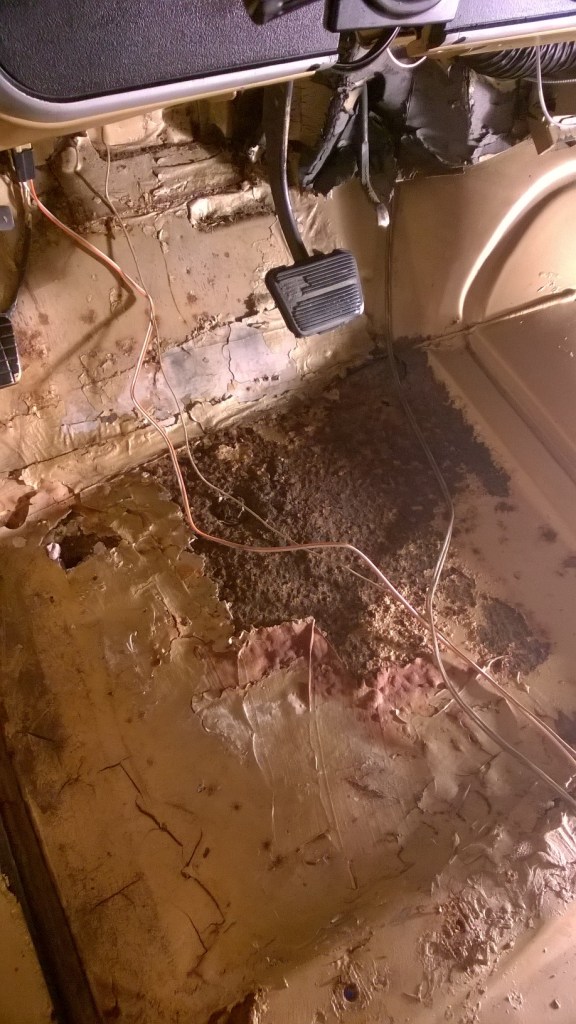
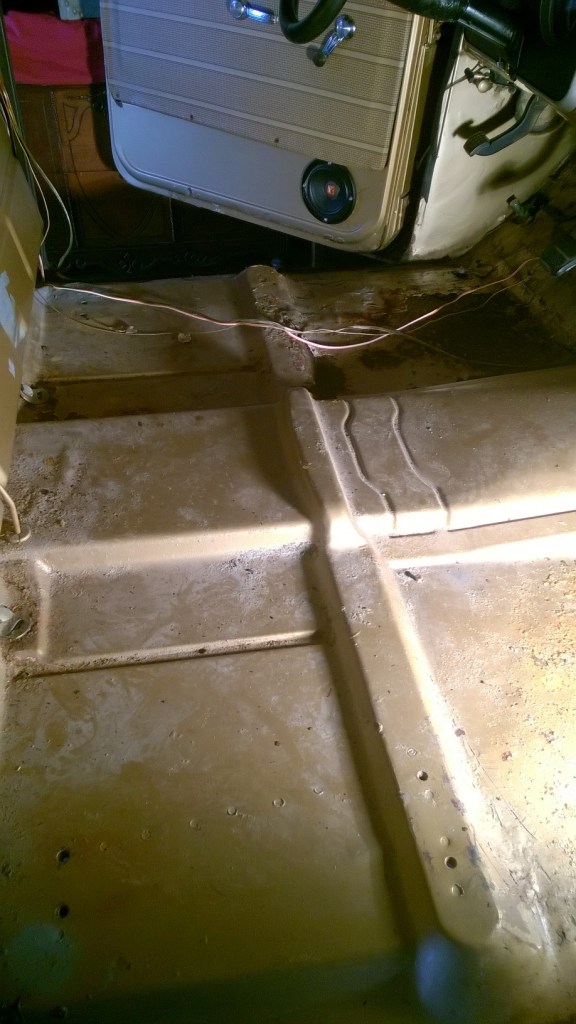
Body Rust repair is the big one. These trucks features a double wall construction, which helped them be stronger, but had areas that harbored water. This is a excerpt from a articles on Hemming’s about these trucks:

“Chevrolet truck bodies used double-wall construction in the cab and on fleet side boxes, making them sturdy but also giving moisture and dirt a place to hide, promoting corrosion. The cowl is hollow to allow air to be drawn in at the base of the windshield and ducted into the cab through vents, as well as into the rocker panels. Water leaks are common at the body seams where the cowl connects to the cab, and the inner cowl area is also a favorite place for rodents to call home. As mentioned, rust is a major killer of these trucks, and common areas include: the lower front fenders, lower radiator support, double-walled sections of the front inner fender wells, the cab floor, the boxed section cab mounts below the floor, the rocker panels, lower doors, cab corners, lower rear fenders on step-sides and around the wheel houses on fleetsides, as well as the lower portions of the tailgate. Though these trucks were prolifically produced, rust-free used parts are tough to find in Northern and Eastern sections of the U.S. However, the aftermarket has enthusiastically supported these trucks, with repair patches and replacement body panels.” from Hemmings

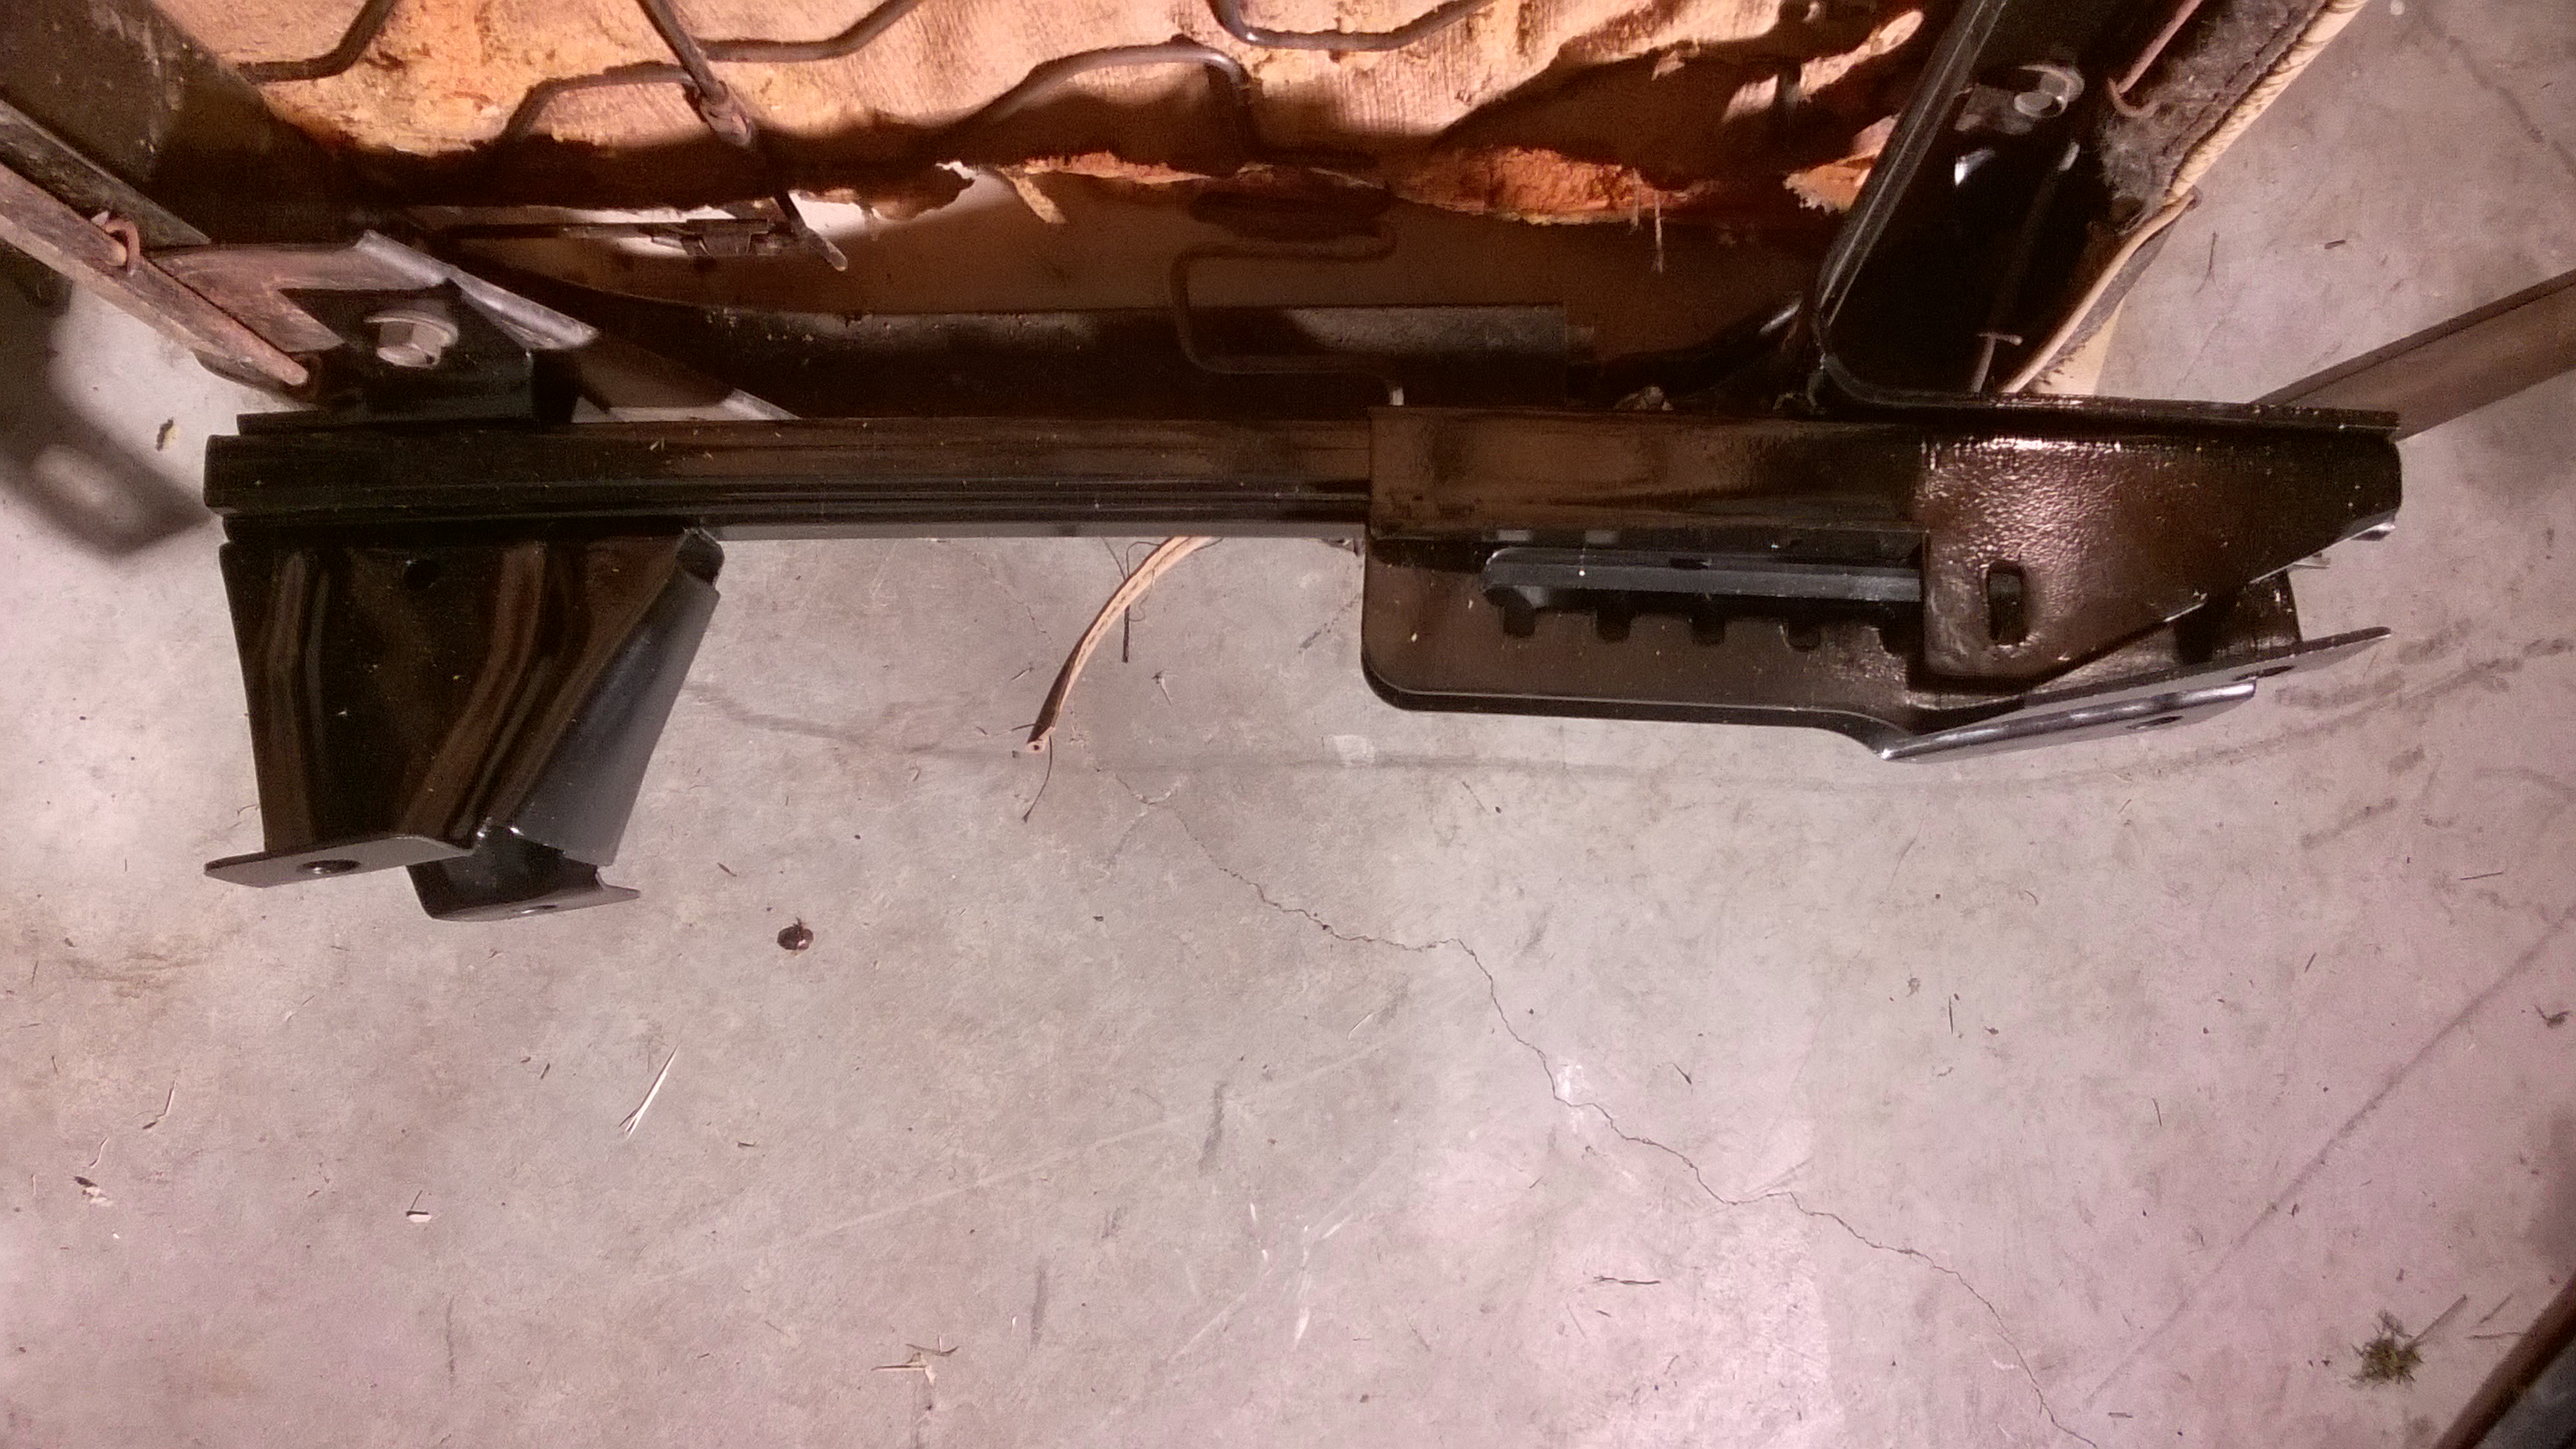
So, mine has this rust problem around the cab corners….the floor is okay in the center, so all of it will not have to be replaced. But, all rusted panels will be. So, this is the first major rust issue I will be tackling. Of course a body shop will be doing this, I do not have the tools to do this. This will require the removal of the cab and bed from the frame, which is okay, since the frame restoration will be done while the cab and bed are getting fixed up. I will be doing the frame restoration. which is really number two on the big project list. At this time I will be putting on the new front suspension – rear suspension and all fuel, brake and misc. other items on the frame after it is media blasted (this removes the rust and takes it to bare metal). I will be doing this in my garage….might be sand or other media everywhere but it will be fun…..lol. Then I will paint, powder-coat or use some other protective material to make the frame look new again. I am looking at powder-coating it….but not sure how much that will cost me. But, it will look brand new if I go that route.

Relocating that gas tank. The gas tank in these truck is behind the seat….NOT GOOD. So I will be moving it to the rear of the truck as in modern trucks. I plan on making a side filler fuel cap like on a suburban truck with a door. A lot of people go with the fuel door in the bed, I plan on putting a wood bed in this truck and don’t want the fuel spillage to harm the wood, so I will have to figure out how to put it in the side of the bed. I don’t mind having the door in the side of the bed.

Once all this is done hopefully the truck will be back together and back driving. After the cab and bed get rust-free and dent free I will have the truck primed and maybe painted and coat of black paint just to protect it while I finish some other things. We will see.

Other stuff will be of course engine and transmission and wiring….alot of other things.

More to come…..

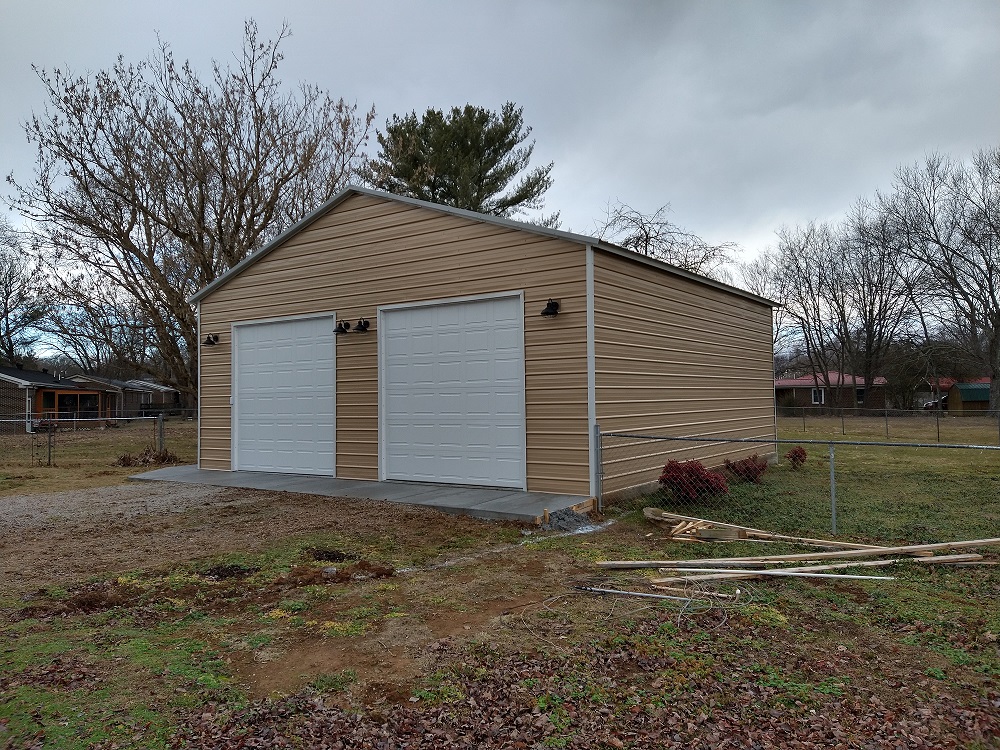
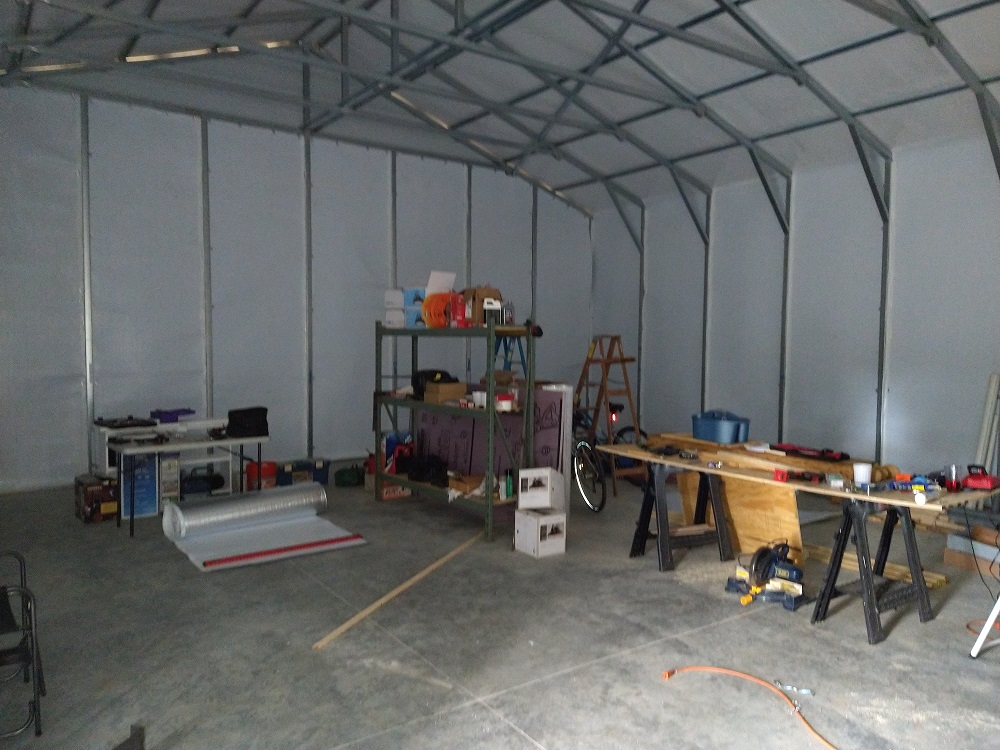
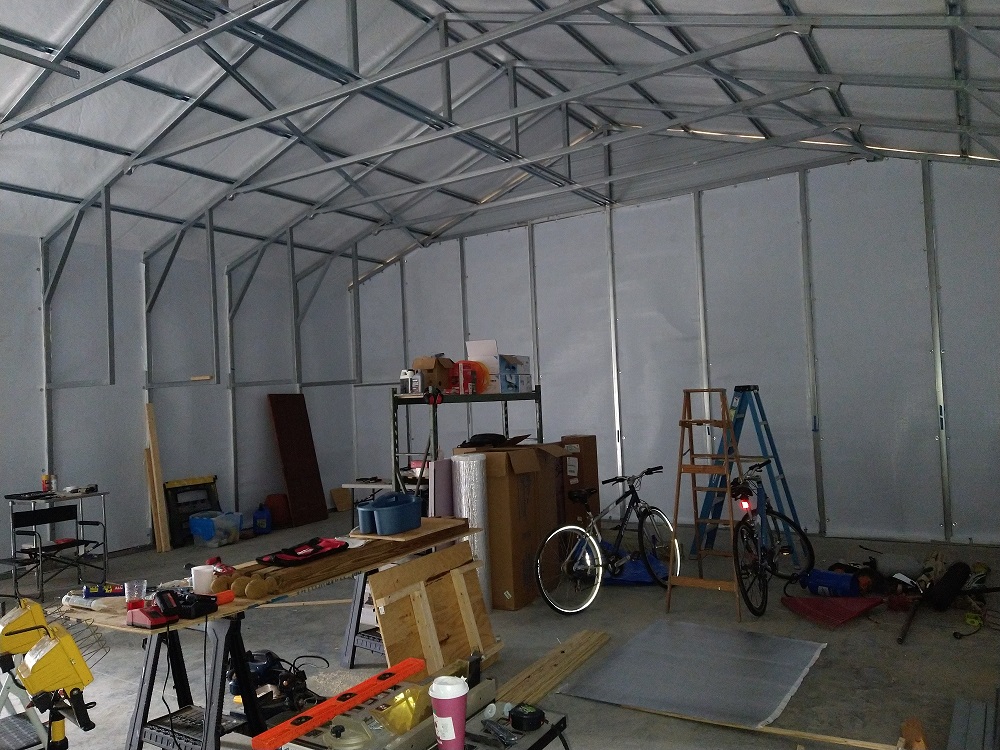
Well the more to come has been working on building a new home for the truck.

Some Truck Stats


As of now I have learned a few things about my truck. By looking up the VIN I know that my truck was produced late in 1969 and it was built in Baltimore. Other information the VIN provided :

  • 4 x 2 (truck is a two wheel drive)
  • Originally came with a V-8 engine. 307 or 350 (still have to determine if the engine in it is original) See below
  • 1/2 ton (it can carry 1\2 “1000 pounds” ton safely)
  • Built in Baltimore
  • Built in 1969
  • Custom Trim – GM’s basic trim level. No air conditioning – no fancy door cards – just basic. Will list the trim levels available in 1969 later…..
  • Gross Vehicle Weight is 5000 pounds
  • Originally a Manual three speed…..now a 3 speed automatic with a TH350
  • Color (Saddle) seems to be the original color. Kinda a gold color.
  • Engine not original
  • Transmission may or may not be original, seems it was changed when the engine was.

New info….after finding all the codes I could find on the engine found out its not original to the truck. Kinda figured…..it turns out its a 1975 to 1979 Chevrolet 350 c.i.d…..out of probably a El Camino or Camaro, corvette I don’t know. ….not sure. The engine code has been removed. I think someone decked the block, and the engine code was milled off. off. Who knows. Oh well….the truck could have had this size motor in it. I will be using this motor during the restoration, then will be putting a new LS engine in it or a new GM 350 like this the one that is in it. More on that later. 

Rear differential is a 12 bolt Chevy Truck rear made in Canada. It 3:73 gear which is good, but its a truck rear end so its not as strong as the ones in Camaros and Chevelles. But that can be fixed later. This one will do fine for now. 

See Above….I am trying to find the engine casting number which will provide me with if the engine is original to the truck. Also I will have to get the rear end casting number to see that actual gear ratio and other info about the truck. (Done) 

Today I got the title…so now I have really done it. Its really mine now, but that is good. It will be good to make something old come new again. Not sure where this truck would have wound up, it had been on the car lot a long time, I was told. Maybe I saved it from being parted out or destroyed. I like to think so. 

Newly found information.

Steering box built in March 1972

Brake Drums 11″ Standard Drums all 4

More to come some just for keeping up with records.

Floor Inspection


Since I will be putting the seat back in next week, I decided to remove the old carpet (not keeping it) and get an idea of the condition of the cab floor. Since this is the worse area for rust on these trucks. I removed the metal sill covers that where very rusty and discarded. In fact 4 of the 8 screw holes for the screws that hold the plate on are so rusted the screw just came out. But, all that is going to be replaced anyway.

Back to the carpet and floor. Got the carpet out and……..well……the floor is good and bad. I guess I should say where its good its good….and where its bad its bad. About 75 percent of the floor is in good shape…..not much rust. Cab corners (common) and the front foot wells are rusted…you can put your finger through areas of rust. Also, behind the seat area is just a small area its rusted at the seam and you can see though it…..lol. Might be able to just repair it with a rear cab corner panel.

Here is what I found…….

WP_20160714_15_41_49_Pro

Sill Plates

As you can see…pretty rusted. They are gone.

WP_20160714_16_00_37_Pro

This is the passenger side and its actually not too bad. You can see the fiberglass patch someone has done in the past, its in the middle towards the dash. I may just have to replace the rusted area on this side and that will be good, but I have to investigate up under the dash and see what shape its in. A lot of times the windshield leaks at the bottom in these truck and no one knows, so it rusts up under the dash. Does not seem that this has happened here due to the middle front of the cab floor is good. But………..

WP_20160714_16_16_57_Pro

Drivers side…..worse than the passengers side. You can see the hole punched though up in the left corner…and also in the right corner. This whole panel will probably have to be replaced. Someone did a lot of patchwork on this side years ago. See all the age cracks.

WP_20160714_16_17_38_Pro

But, the whole floor is not all bad, the middle and under the seat are good. I tapped on the floor in several places and it sounds solid. Of course I will evaluate if its better to repalce the whole floor or just sections  is a better option. The body man I have  wants to just replace what is damaged.

Seat goes back in next week so at least I can drive it..if need be. I will be working on the transmission linkage next so stay tuned.

Seat Brackets (set back)

Seat brackets have been welded, sanblasted and painted. But, I am still missing some parts. There is a couple of springs I need, these make the seat adjustment handle spring back and enable the seat to lock in the position you want. I was a little cramped when I drove it home, and I think I know why. Since both seat brackets were broken it was forward a little bit and I could not move it back. I hope that when I get the seat back in (with all its parts) I will be able to move it to the far rear position and I will be more comfortable. Here are some pics, the seat will get re-done at a later date with new foam and leather coverings. 

driverseatbracket

Drivers side ready for some grease in the slider. 

passseatbracket

Passenger side. See the small slot on the right….this is were the locking bar and spring ( I dont have) go. I am still looking for the correct spring. 

seatlatchbar

This is the locking bar. This spring I bought at Ace Hardware but it will not work. Its too small in diameter. But, I tried. When I get it all together I will take some pic and update everyone. 

Here are some pics of how I might redo the seat. 

possibleseatplaid

This seat was the top of the seat with the plaid design. I might do this, not this color. But the plaid could look cool. 

possibleseat

Here is another one. I like this one too. Might even do colors like this. This seat is in a older truck than mine, but the seat is about the same. 

Father’s Truck


Here is a pic of my Fathers truck. Its not a great photo and I have more, when I find them I will post.

dad69chevy

Picture of Dad’s truck on one of the three ranches my Dad owned. I think this was the first one, then he built another on on land to the right of this one. Then he built another at the other end of the road. If I can find pictures I will scan and post.

Scan2

Picture of (yes that is me) and Dad in the driveway loaded with horse feed. As I got older I remember opening those bags up later on and dumping them into the tack room bin.

I learned to drive with this truck. First just shifting the gears when Dad told me to to just using the pedals….when he told me too! Then finally driving it all by myself on the farm in Lynchburg, TN.

Great trips with him going to get sawdust, sometimes feed for the horse ranch. I think we would go to Kissimmee Fla or St Cloud Fla, to get the sawdust and always stop and get ice cream and malt balls on the way back. I usually got a dipped cone and Dad would get malt balls and a vanilla ice cream cone. Sometimes we would get root beer floats.

If it rained we would have to pull under and underpass or sit in a car wash spot. I remember one time we were under a underpass for a couple of hours. Dad was not too happy, but what can you do, Sawdust cant get wet.

I loved those trips, but hated to shovel the sawdust out when we returned, when I was a little older. But I wish life was that simple now and would love to be doing all this with him again.

Everyday actually.

Welcome


Well its 2016. I am just starting this. I just purchased a 1969 Chevrolet Custom c-10 truck. My Father purchased a New truck like this back in 1969. I learned to drive on that truck and decided I wanted to restore one. I also wanted to document the adventure as I do, so I started this blog. It will be very slow at first, but even as this process of organizing the project I will be posting so if someone else does this they migh gain some insight…..I just hope I don’t make things worse. My thought process sometimes gets me in trouble. My plan is to do a resto-mod, which means I will be restoring the truck but not to totally original. Newer motor, newer suspension pieces maybe lower the truck alittle. It will not be too radical….but different. This truck I bought is pretty basic and sparce. I will be posting some pictures soon, but for now I hope to post next week with some info on the truck’s original configuration.