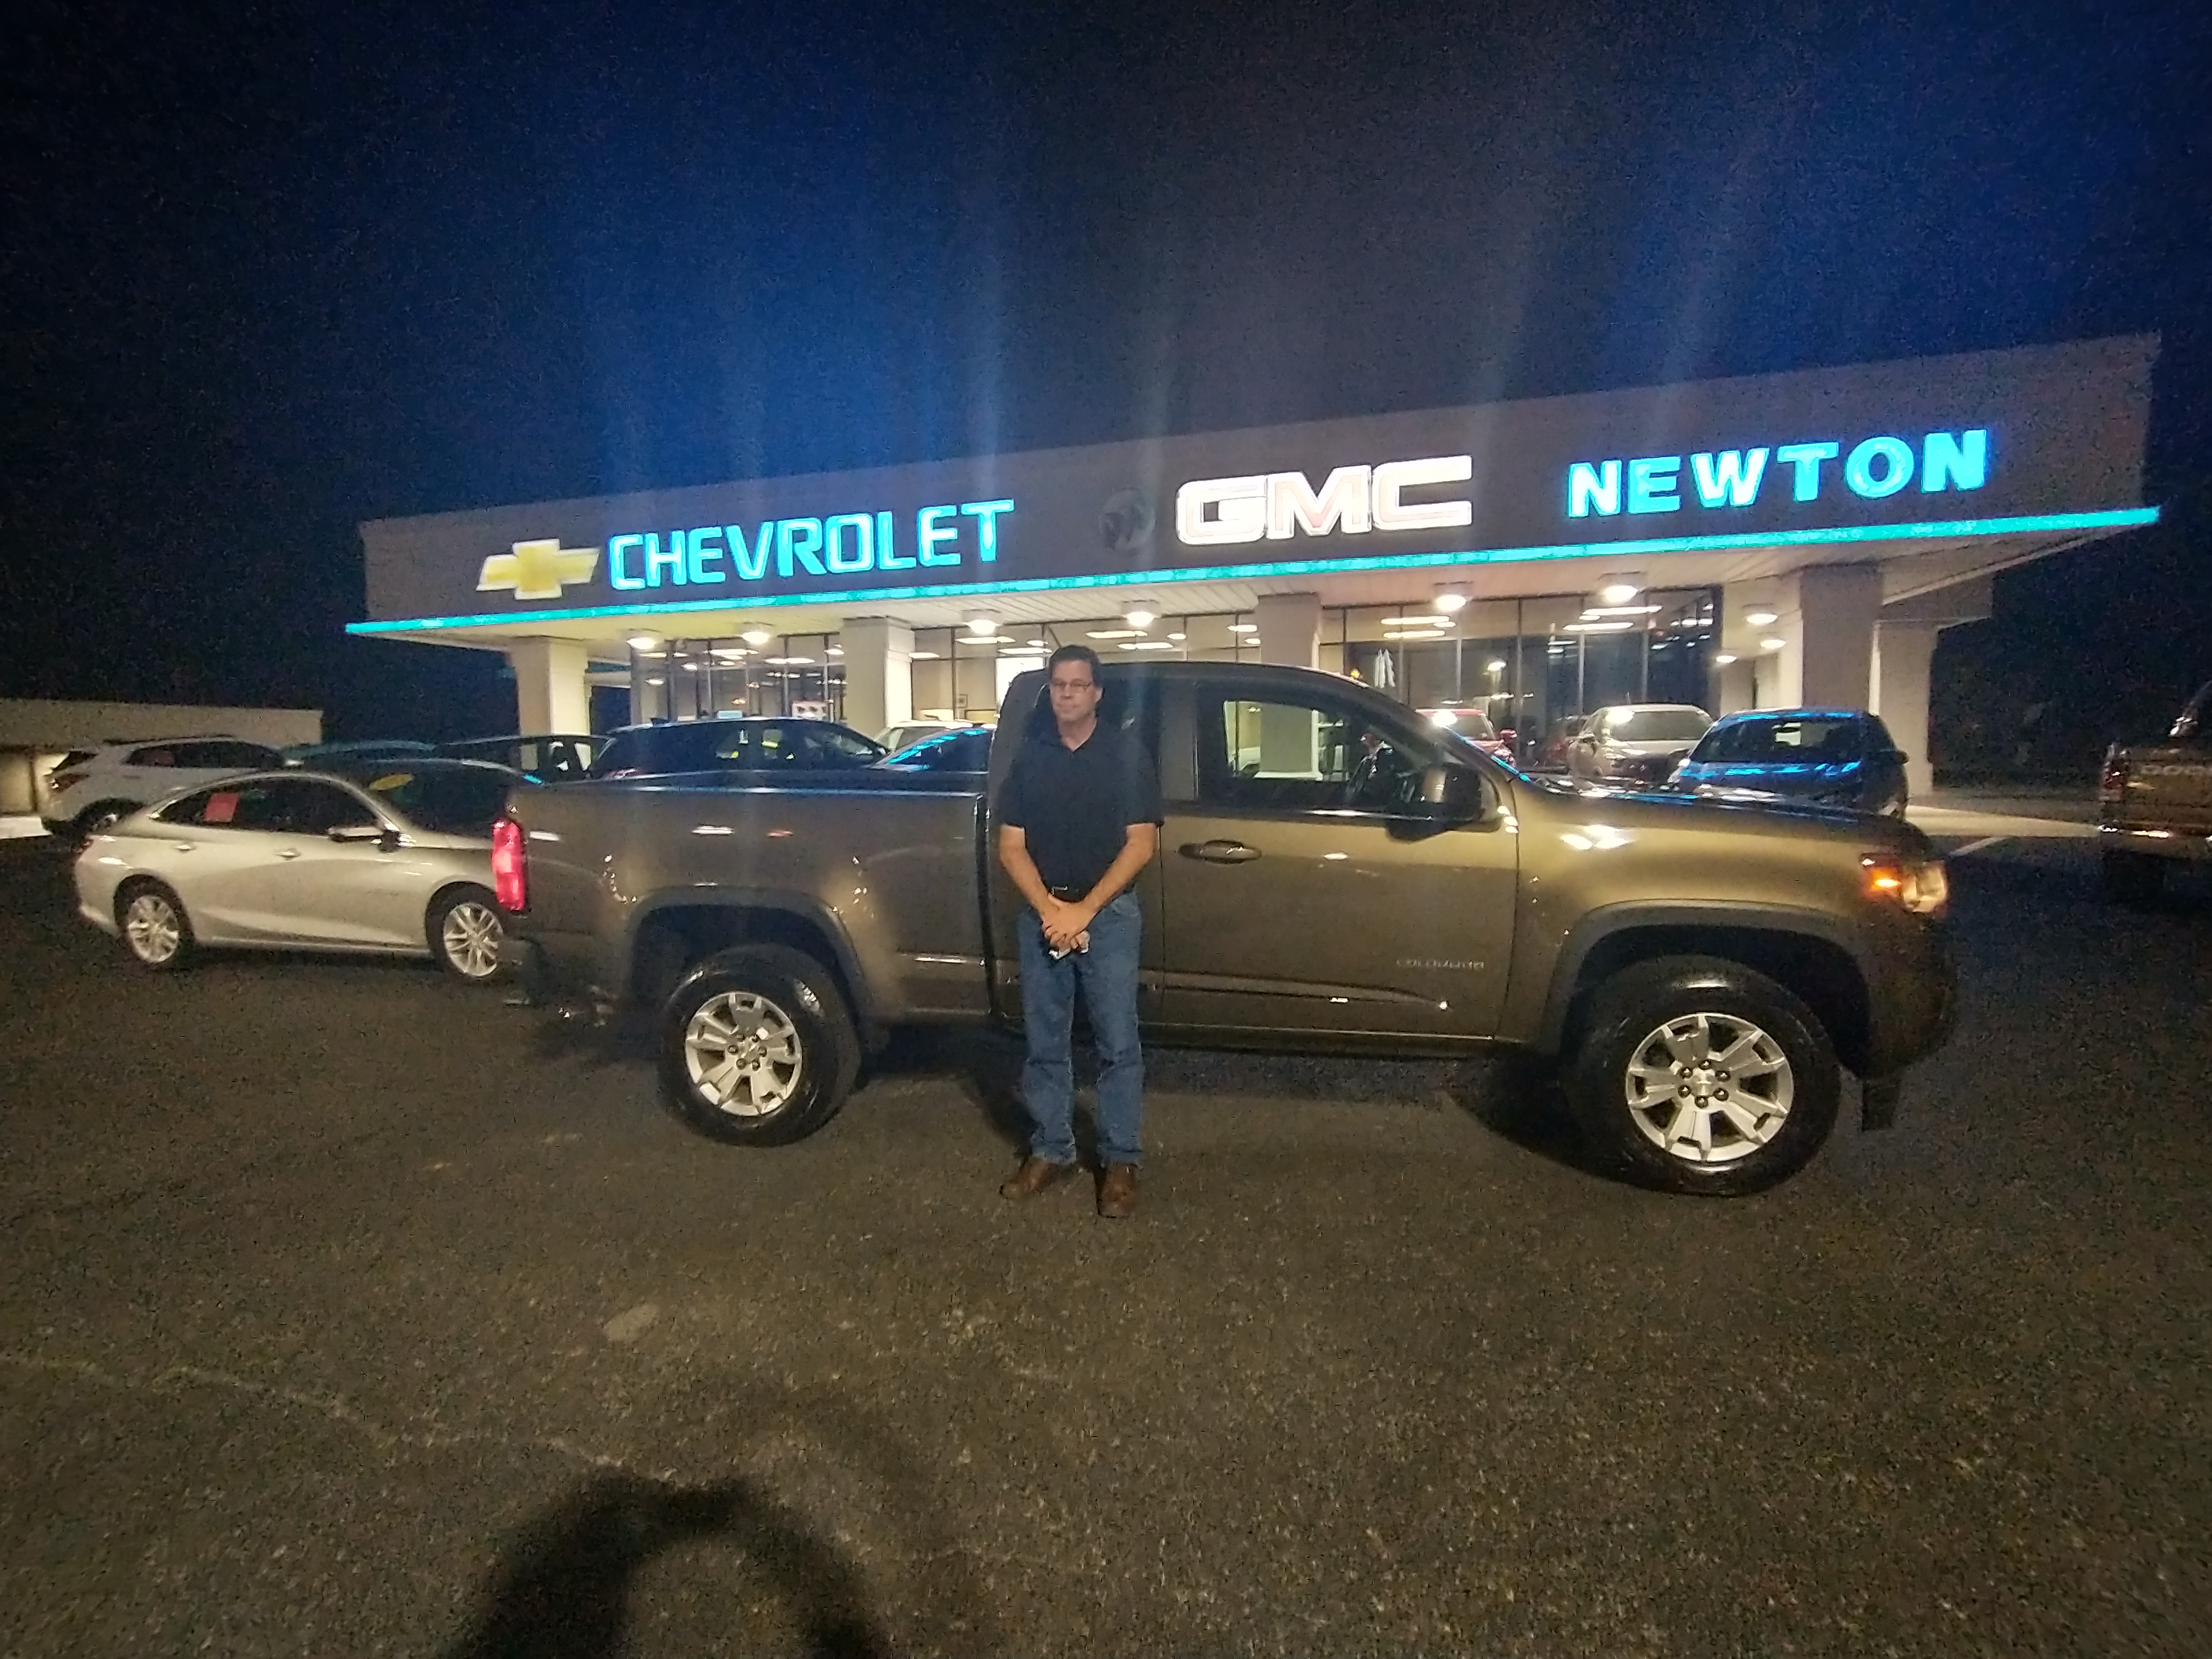
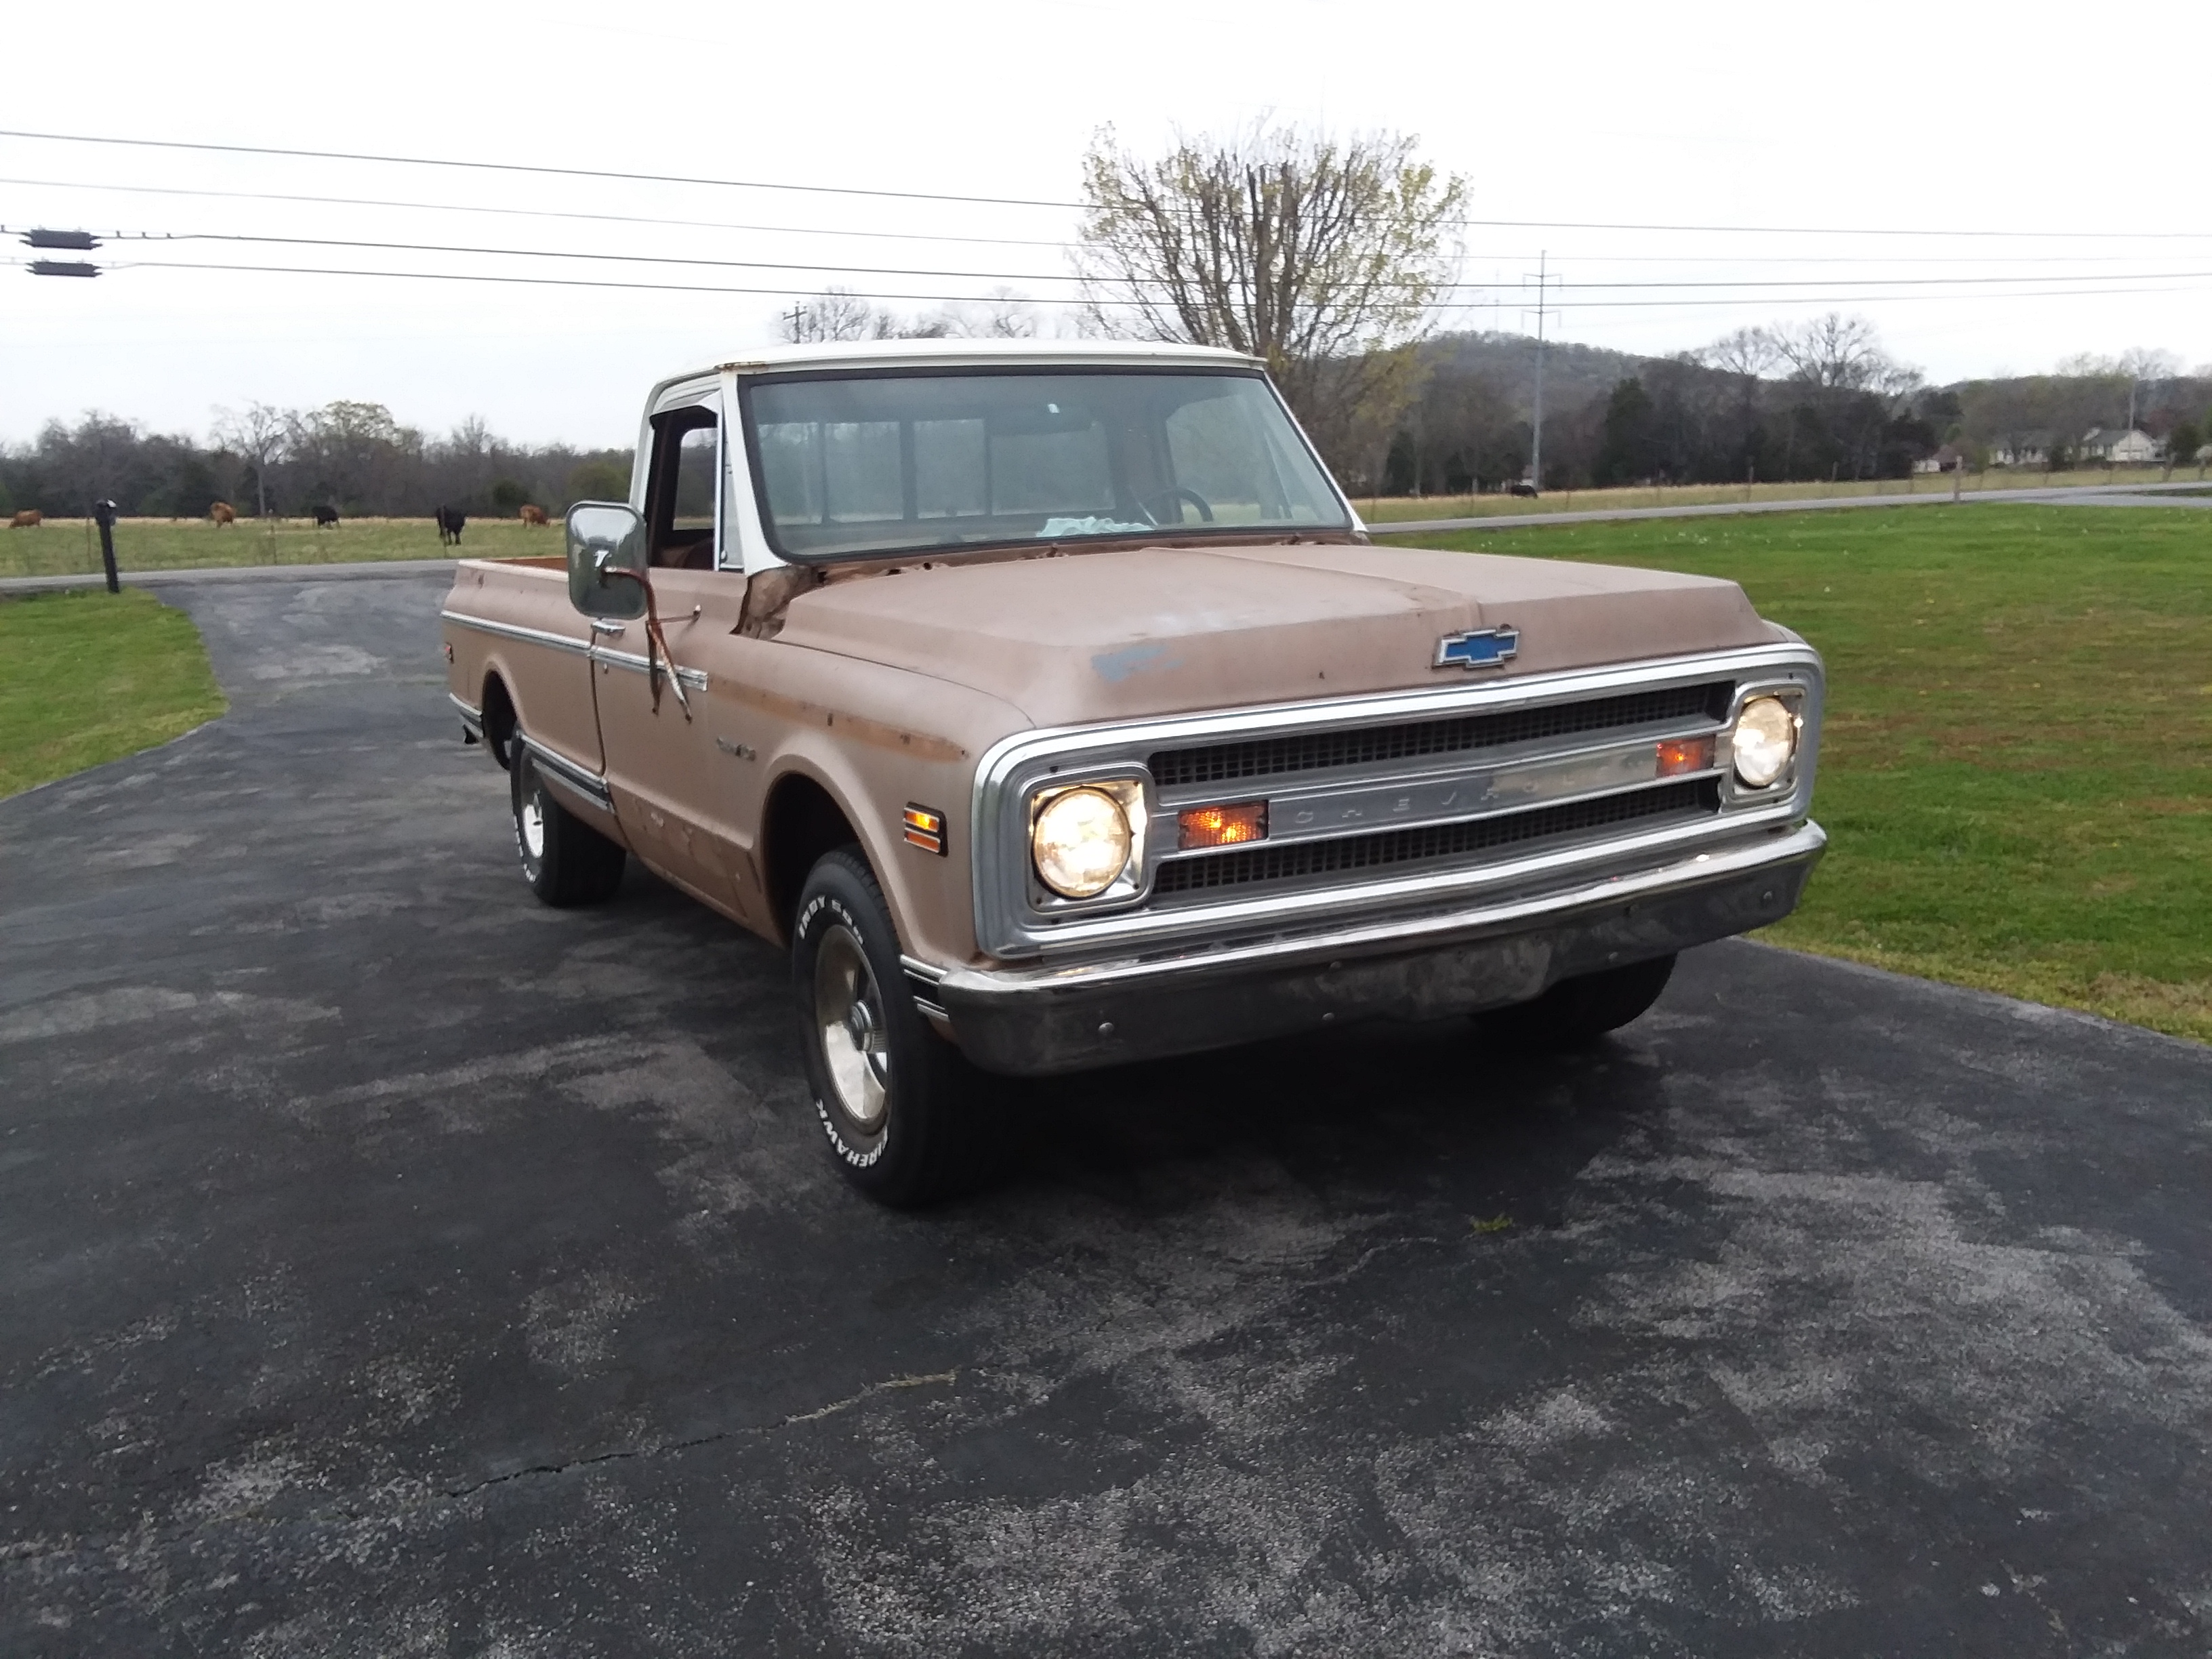
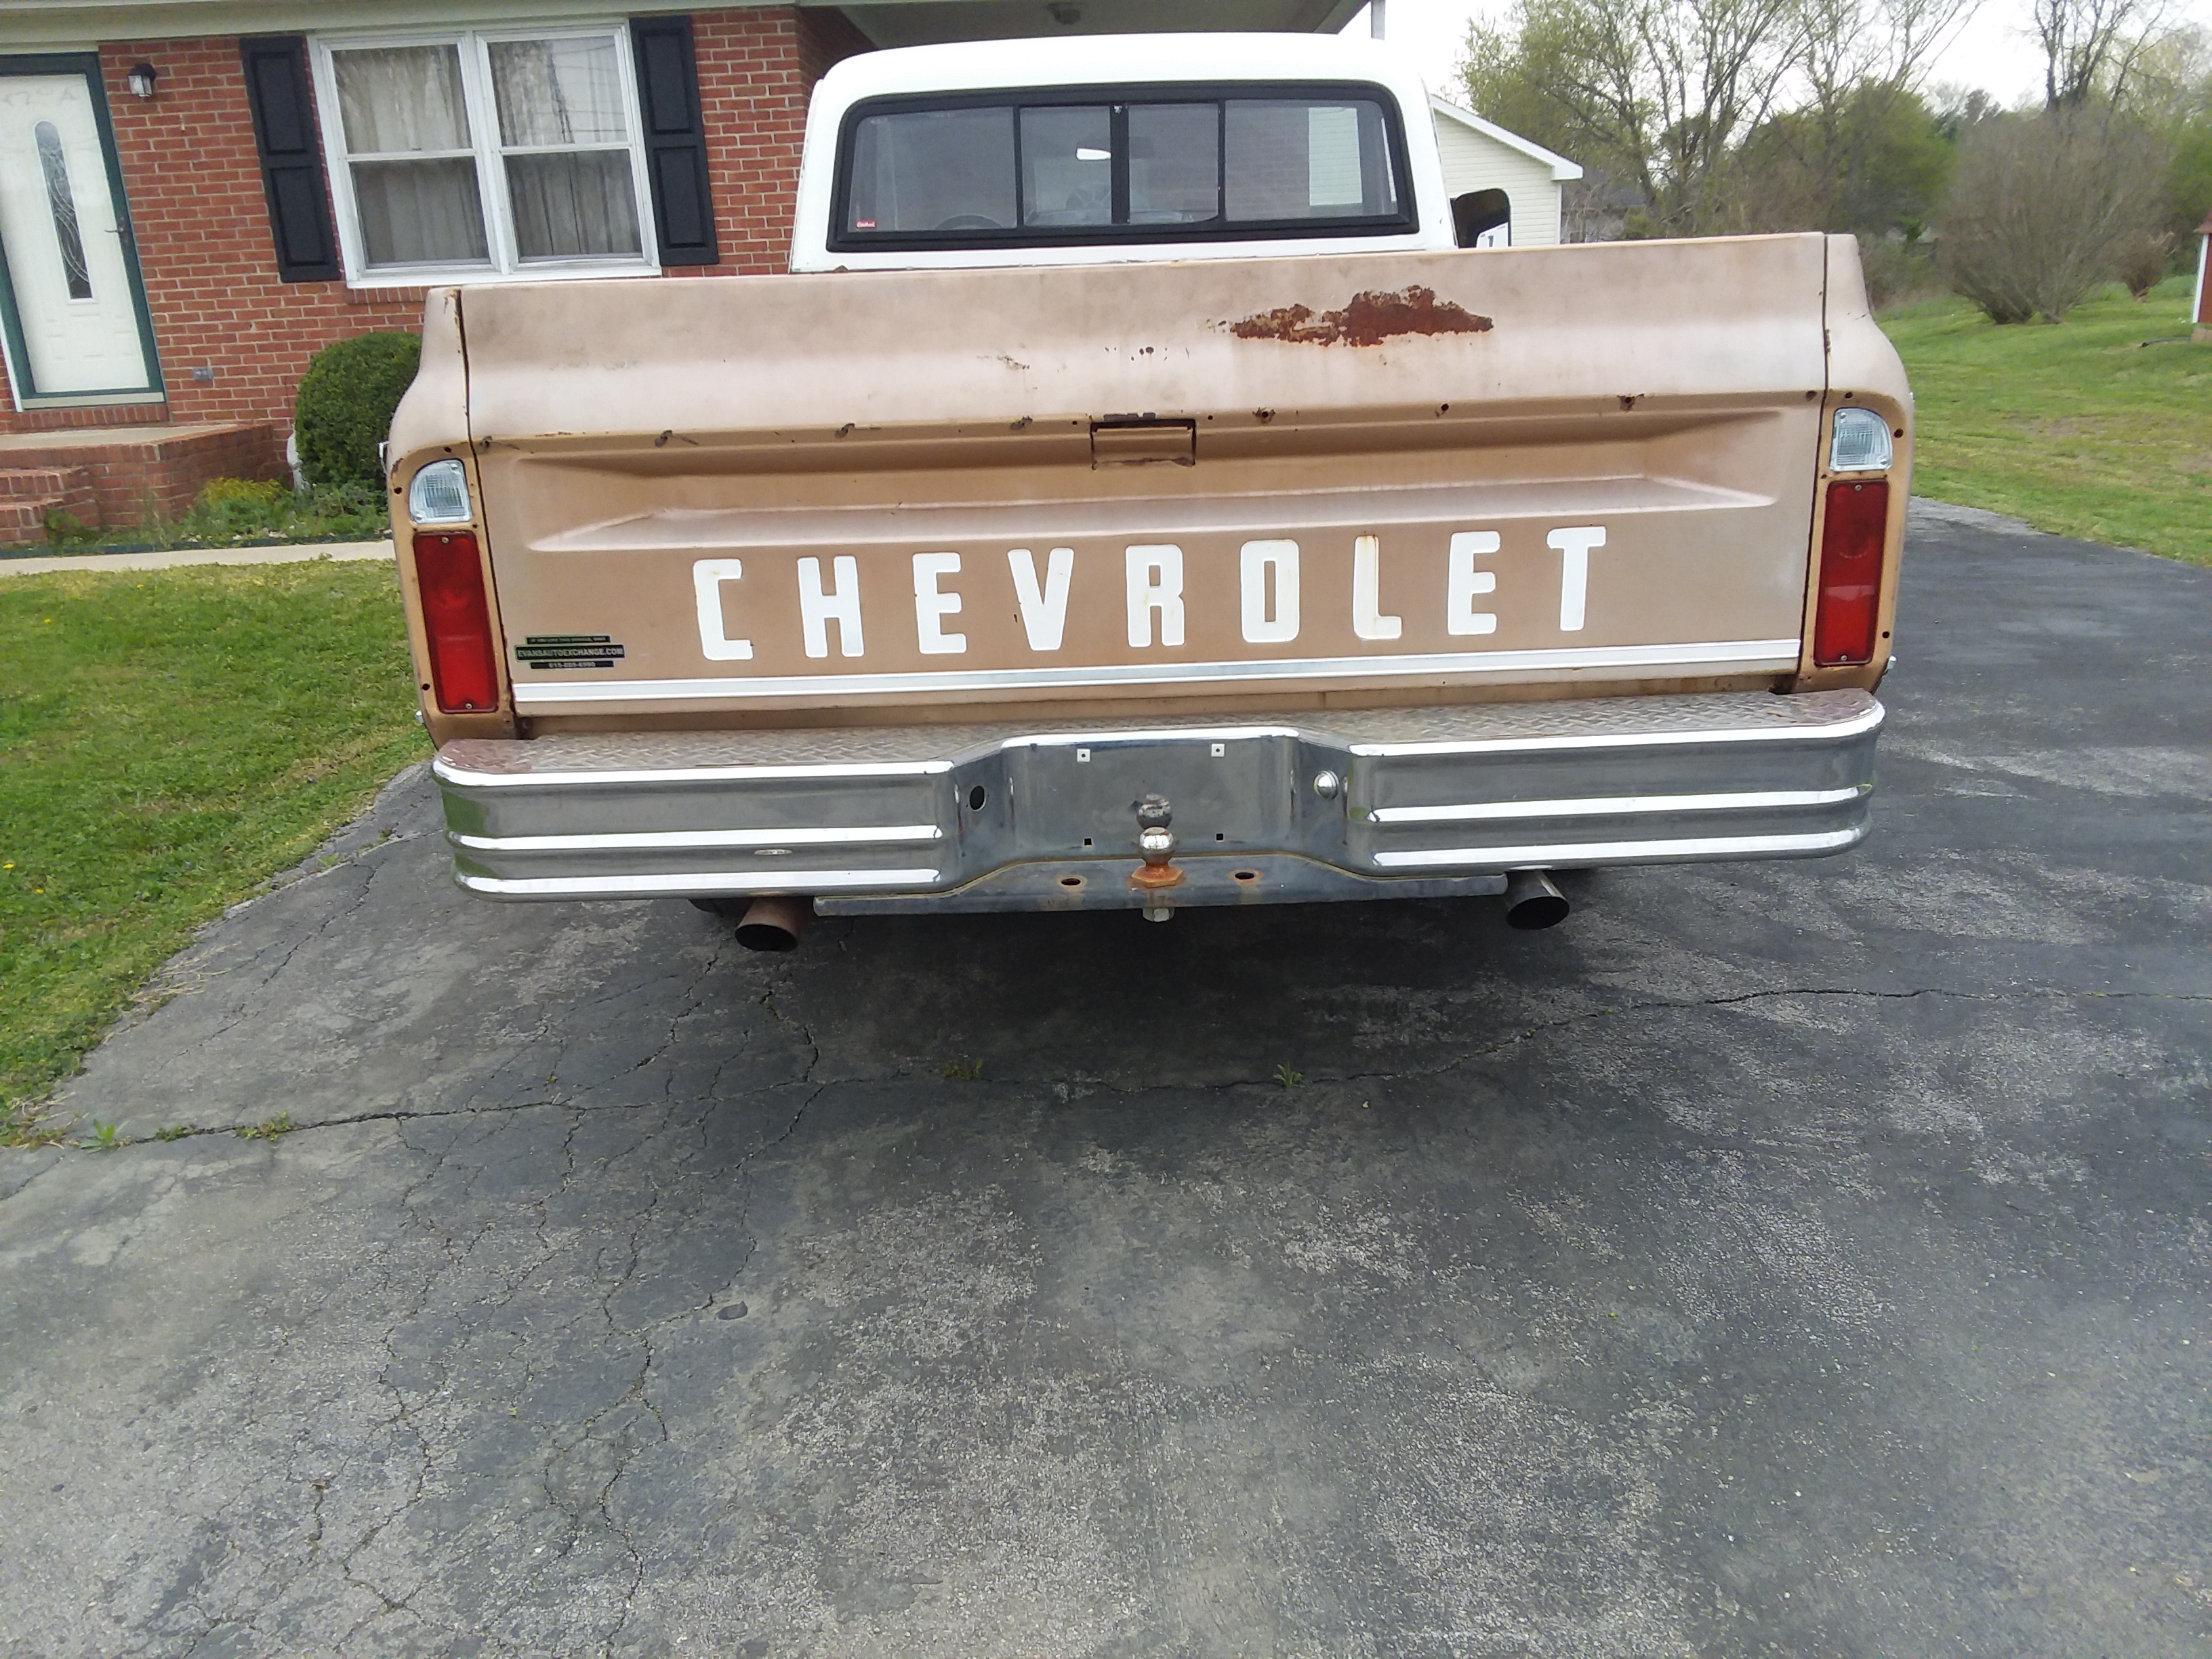
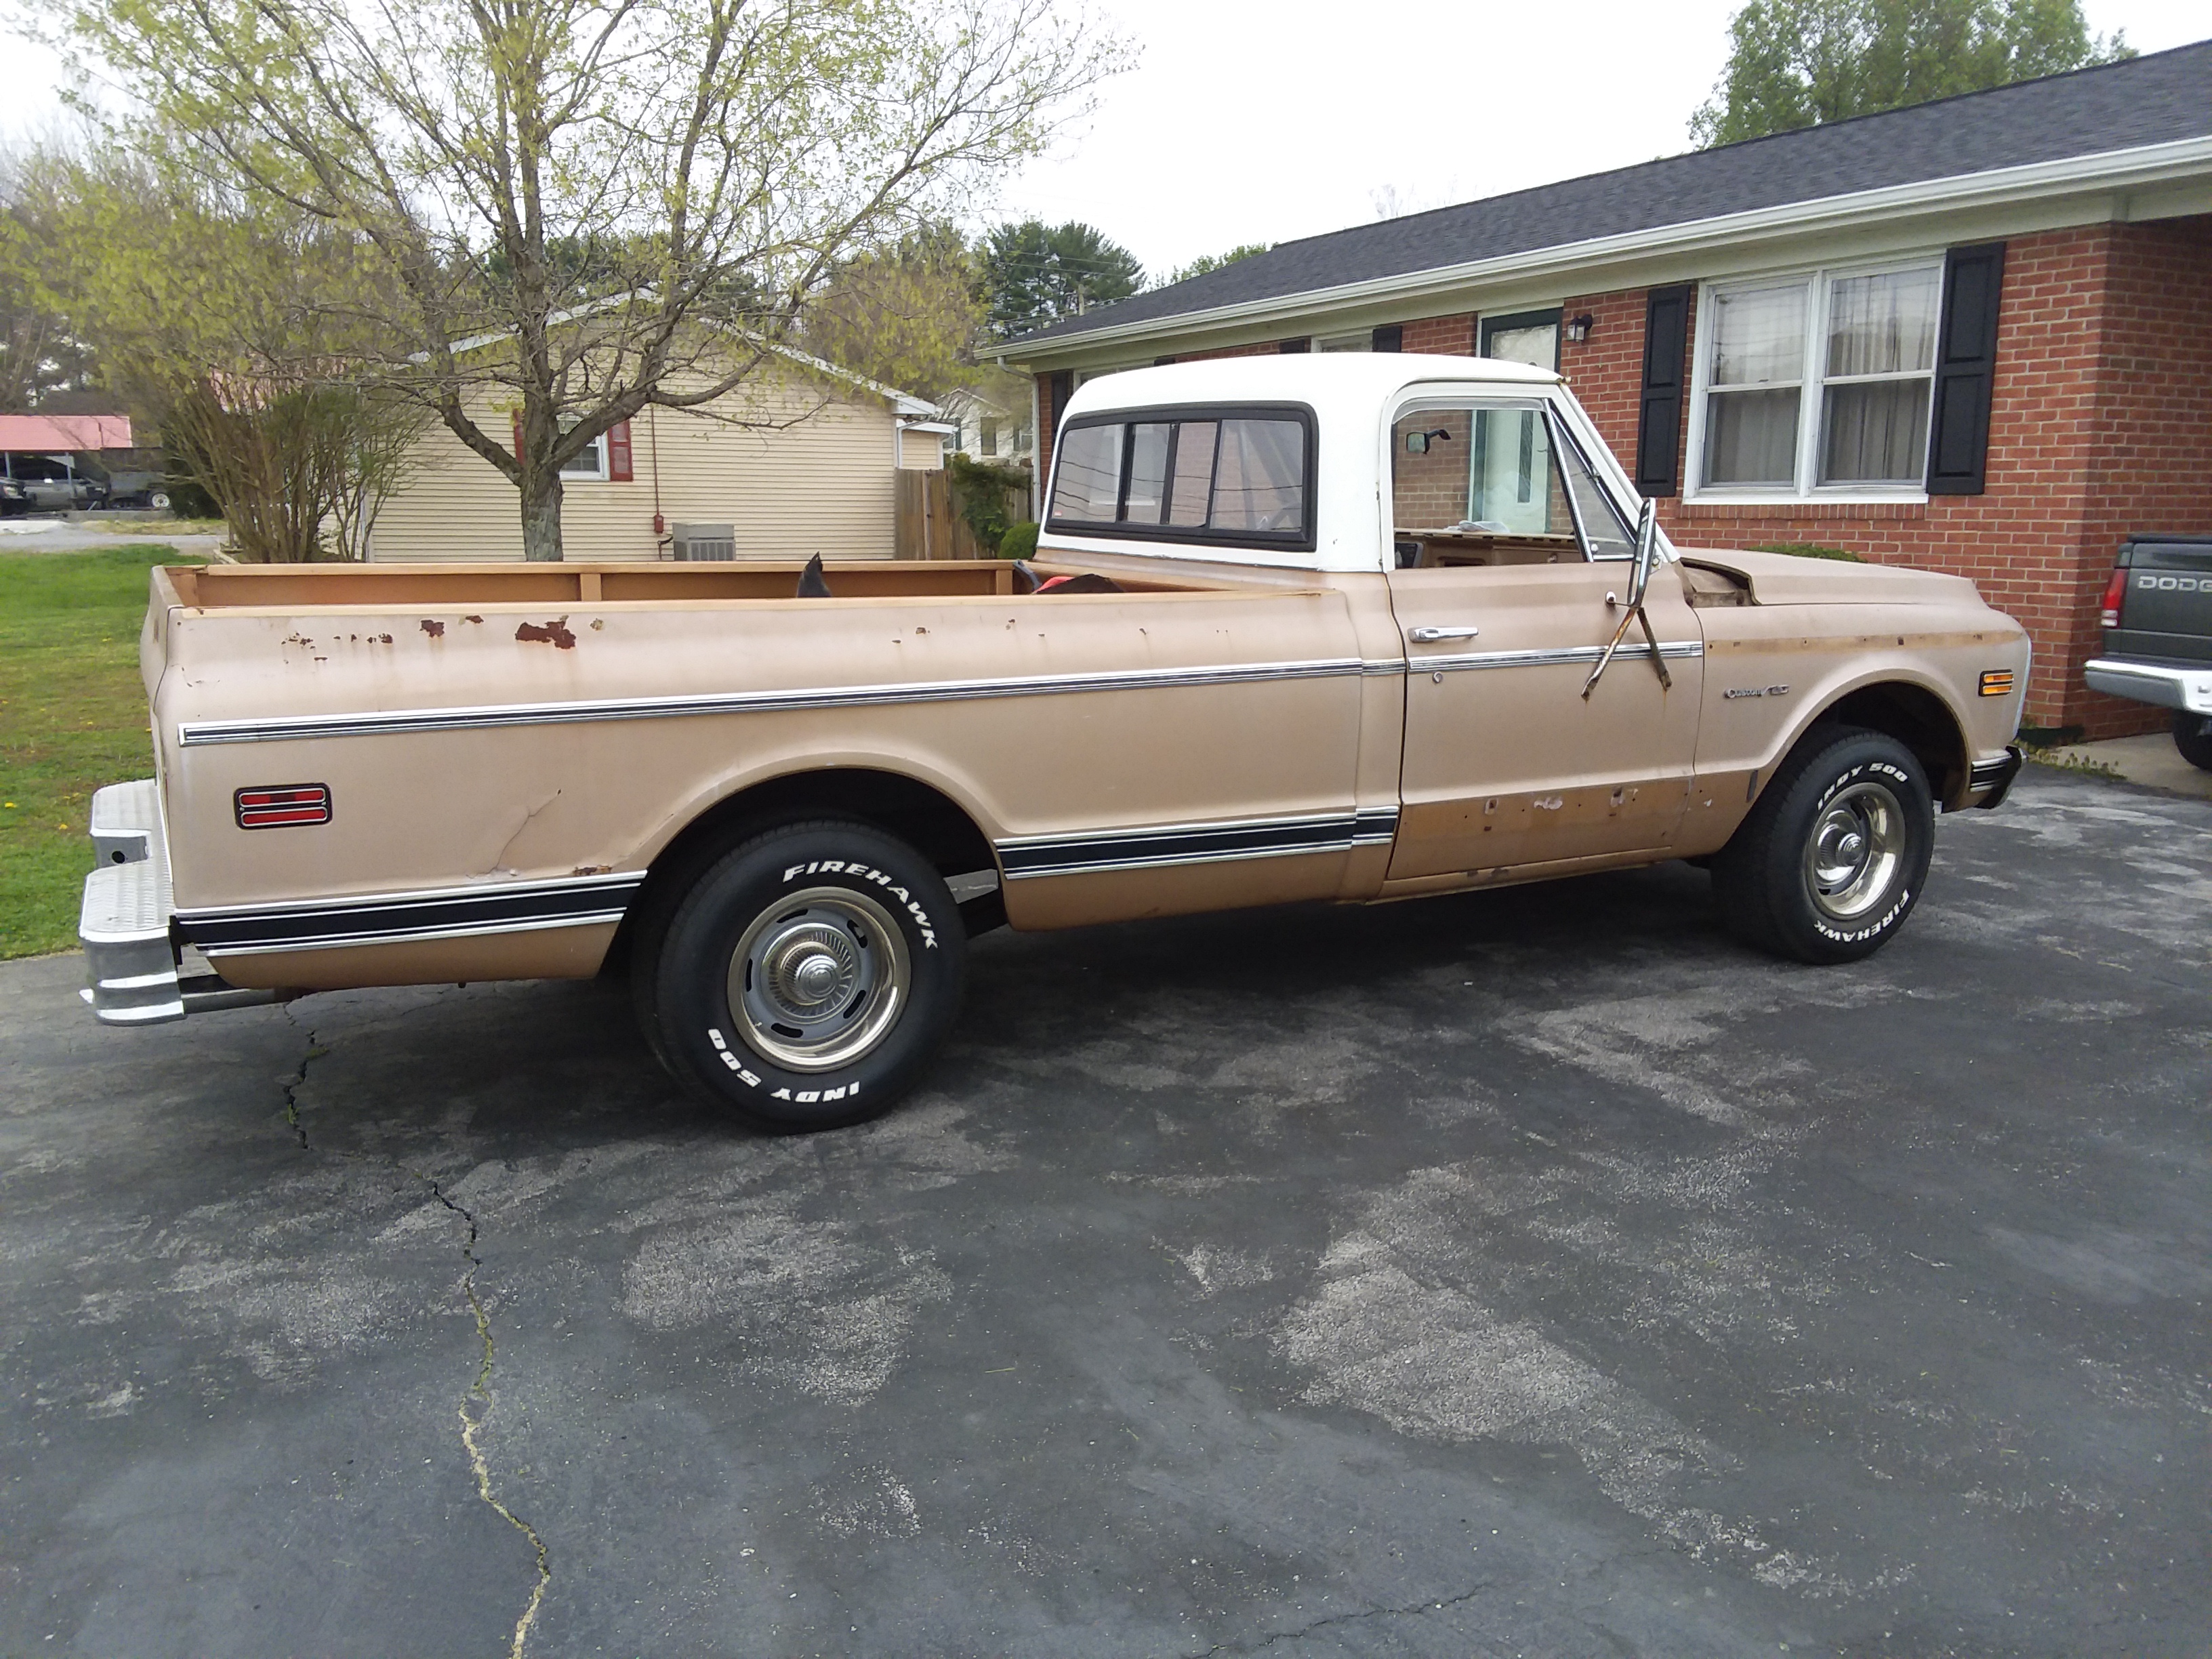
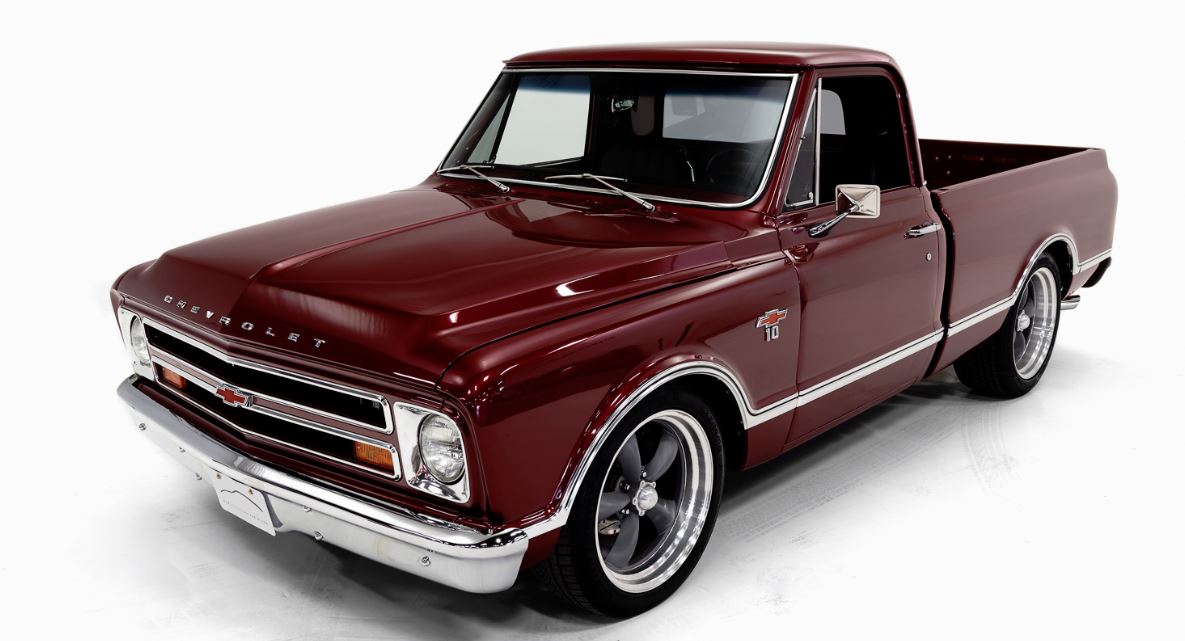
Well…the Dodge Dakota has finally left my family. I came to the conclusion that it was time. I still think someone could get it and use the rest of it up, but another truck came up locally and I could not pass it up. 2015 Chevrolet Colorado with only 29,000 miles on it. Still has warranty and all. You know you get used to a vehicle….seat feels good, you are comfortable with all the knobs and things. But its really was time.
Here it is:
After 199,870 miles and a few things I had to have fixed recently and some other stuff that was going to come up including a new paint job. I decided it was time. The dealership will auction it off and I hope someone buys it and will fix it up for a few more years of life. But……it probably will be bought and parted out. Still had a good engine and a lot parts. I took care of it best I could, but I used it up and I will this newer truck also……..Its what they are for.
Well started to get out in the garage and do some work on the old truck. Back in the fall I got the newly rebuilt power steering box and pump. Got it all installed and was going though bleeding the air out and……………..failure. I seal popped and power steering fluid went everywhere. Here is a pic of the fail:
Steering Box Fail
See that black rubber ring…..that is not supposed to be showing. Contacted the place that rebuilt it, they said they would fix. Its been sent off. Hopefully will have pic of the completed power steering rebuild soon.
Update: Got the fixed Power steering box back from the shop that did the work. They did not hesitate to fix it for free. It does have a lifetime warranty from them. Its just a hassle to mail an item that weighs like 25 pounds mailed to Missouri. Glad they paid the shipping. They told me it was a bad snap ring seal, so it has a new one that the pressure tested it for an extended amount of time and they say its good now. I hope to have it installed maybe over the weekend. I will post update with pictures. I am waiting on the correct power steering fluid to get here and a few clamps.
Notes: This box is not original to the truck. Probably the original wore out and this is a replacement. It has now been upgraded to have less turns to go from left lock to right lock. This will help the truck not turn like a school bus. Its also been painted like factory and it now has a date code stamped on it. that is my birthday….not the year though I had that changed to match the truck year, but at least the Month and Day. So the date code was March 7th 1972 – it now is May, 22 1969. It would be silly to have a date code that was before the truck was built. At least I thought it would be.
Still waiting on parts!!!! Part are back and I have them installed, and the steering upgrade is done and seems to be working. I will post what I have done and learned during this. Will show you the other parts I put in after the steering box fail.
I will be taking some pictures and posting on this. Started to look at the brakes……and well there is work to be one there. Hopefully next week I will post some progress after some investigative work.
Got some of the brake work started. I have taken the front crusty brakes off. Will post pics of how things went……..:(
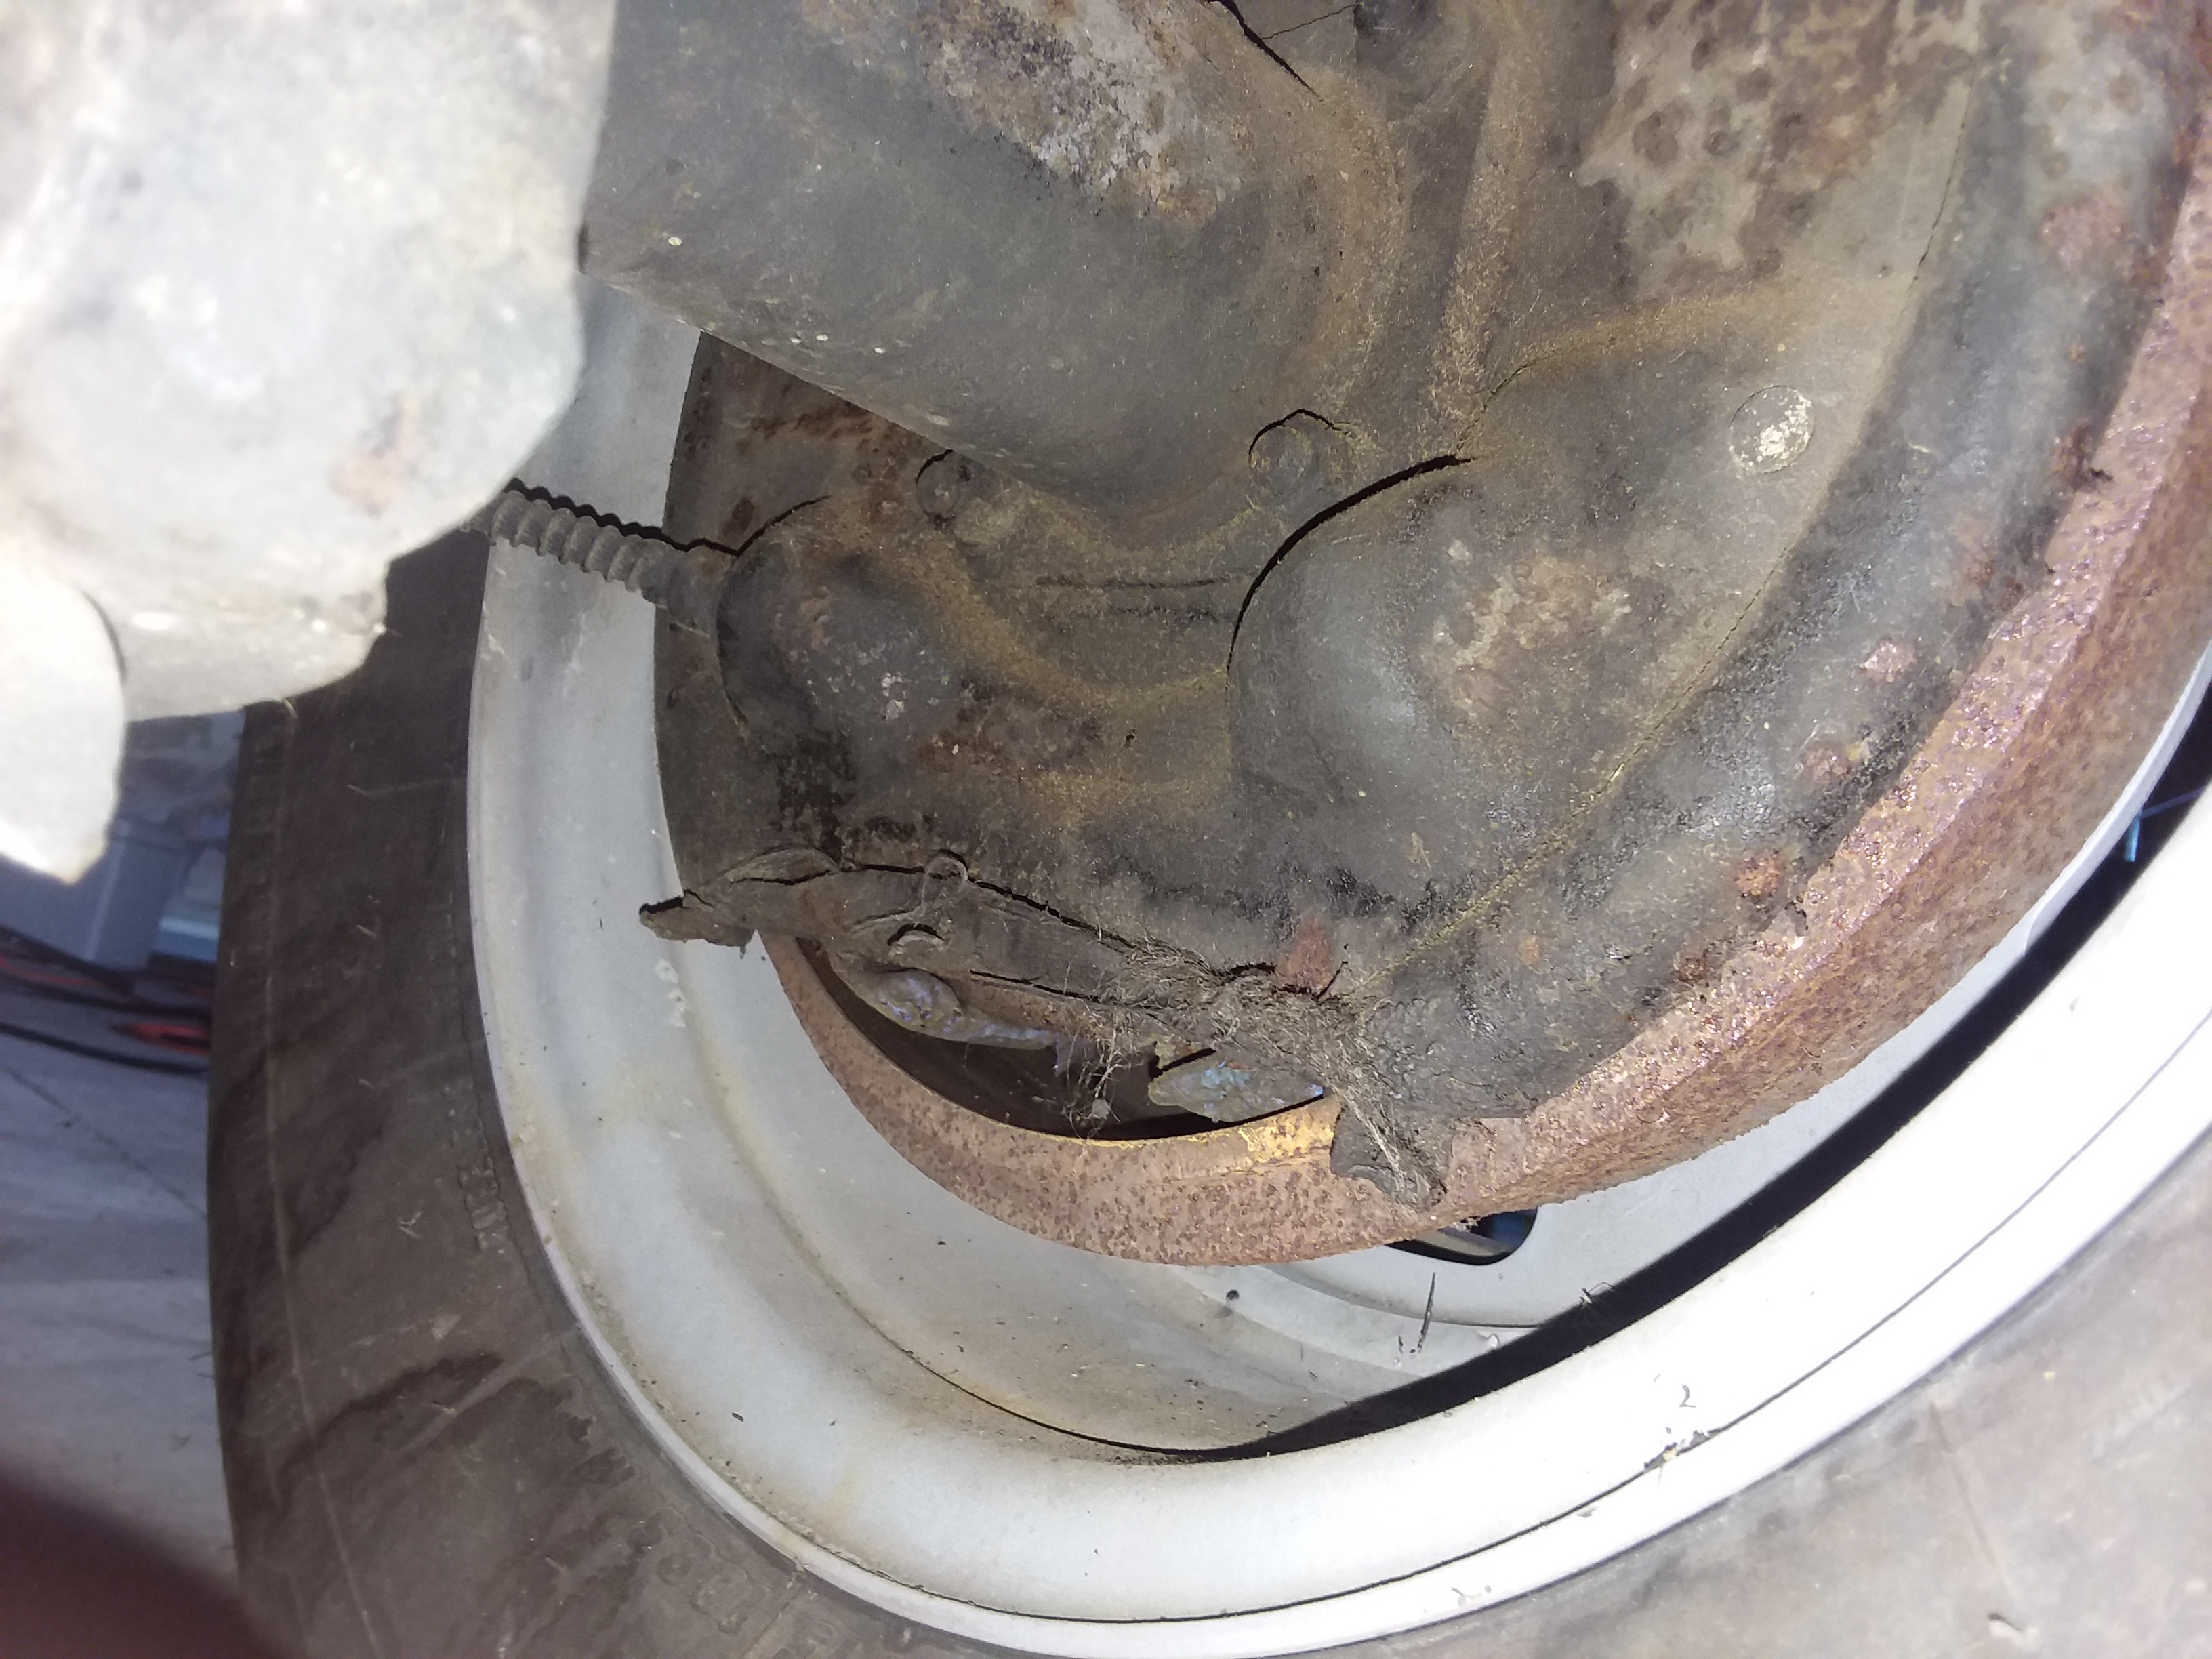
Rear brakes, easier. But, in order to fix the bent backing plate (see pic)….I have to remove the axles. So, I looked up how to do this and its pretty easy. This is what I need to fix…..this (below).
This is the backside of the brake backing plate on my truck. Looks like someone had a issue…like maybe a wheel feel off and this got bent. Brake drums have been changes cause its NOT bent. Dirt and debris has gotten in due to this being bent. So……I had to first open up the rear differential. Its called this because it converts the power from the engine coming from the driveshaft and sends it to each wheel, kinda like a “T”. I will be fixing this tomorrow afternoon….so more to come.
Well its Labor day and the end of Summer. Couple of things have happened. Some stuff in my home was taken out by lightning. So I am having to get those replaced. Main thing is my refrigerator. Insurance is going to cover all of it, but will take some time. Plus, I had some wind damage to my garage roof, just shingles blown off so new shingles will be going on. But I have to cover my deductible.
But, for the real bad news. I have to get my Dakota painted and the school can’t do it. So….I will have to pay for it fully. No way I can get the old truck ready by then..due to cost and all. So, the work on the old truck will slow. Right now I can’t move it in the garage, but I am going to try and finish it up with the parts I already have. Which should get it moving again.
Its a setback, but now that I know and I can plan. Will update and hopefully will be showing you my brand new painted Dakota later on. Who knows I might be able to start tear down of the old truck next year and then some big stuff will get done.
Update….due to the craziness in the world right now, painting of the Dakota is on hold. I am saving for it, not there yet. Life gets in the way. I hope to get it painted sometime this year. Fall at the latest. I am trudging along with some things on the old truck.
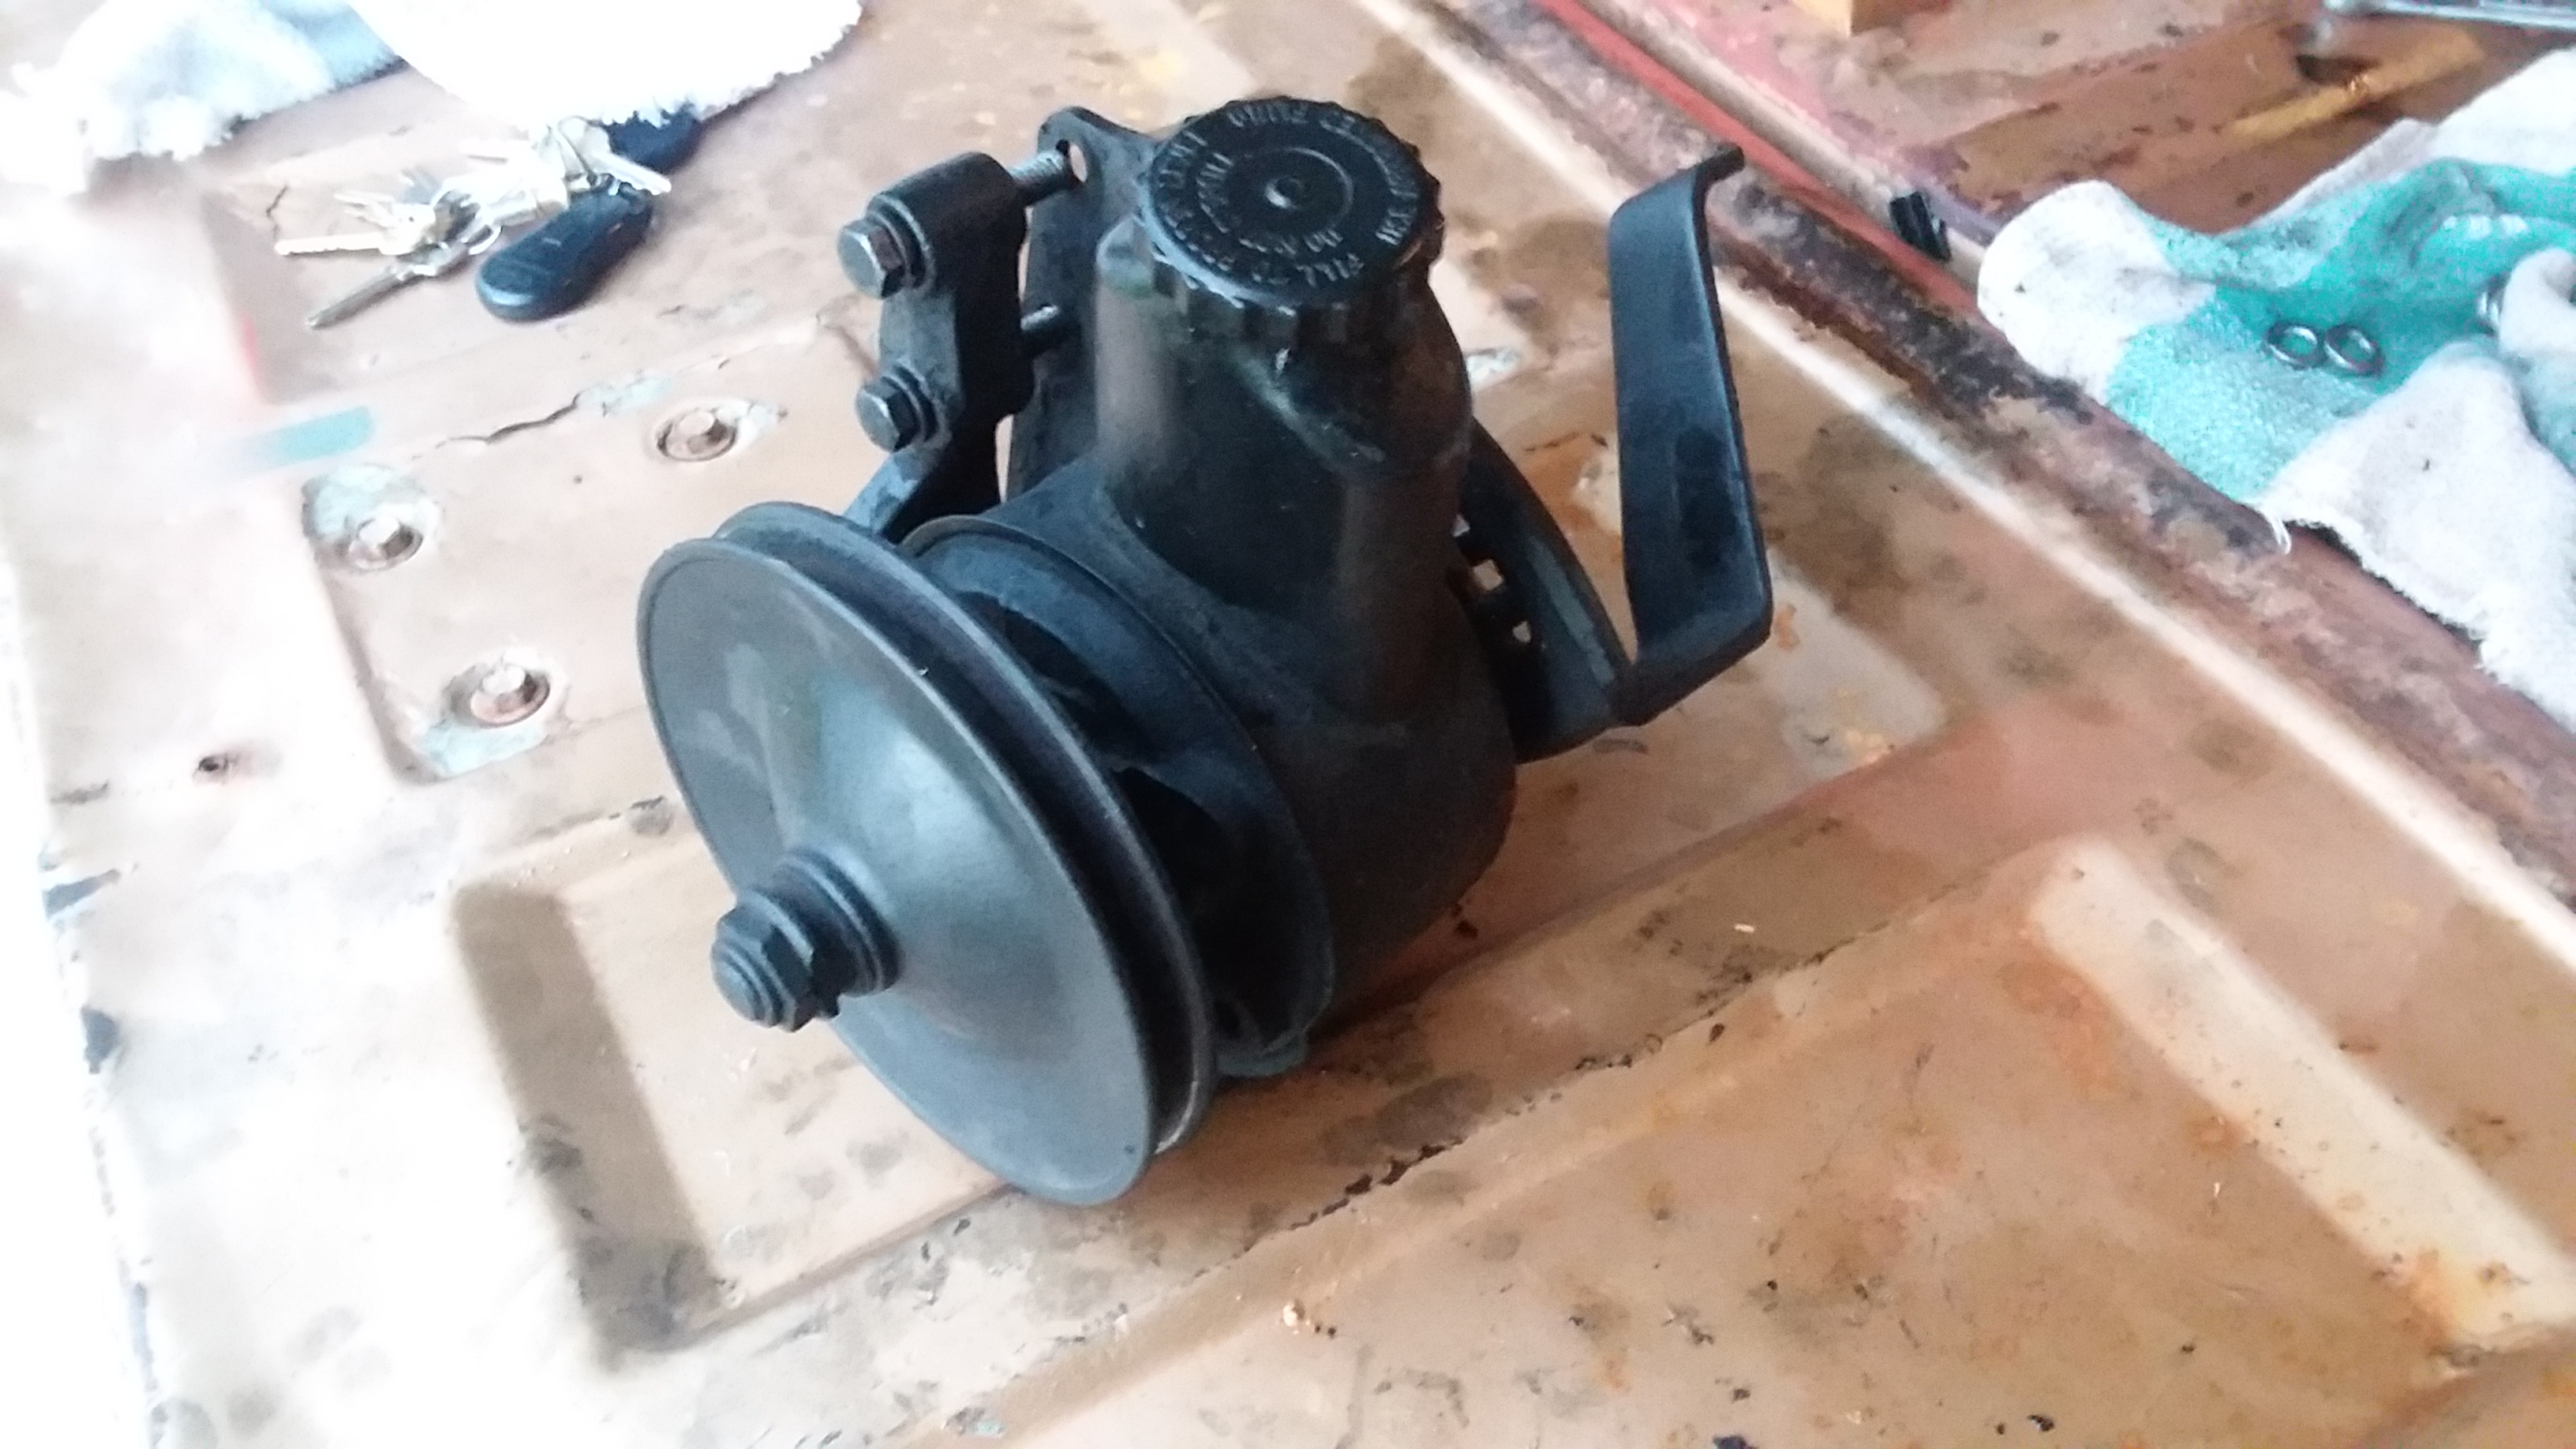
Well the steering rebuild has been coming along, but slow. I found out the steering box needs to be rebuilt and after doing some research I decided to ship it out to a guy in Missouri and have him rebuild. Actually, remanufacture. He is going to take it all apart…hone, polish and replace any parts that need to be with original or OEM parts. Here is a picture of the old steering box and power steering pump, that is all being rebuilt.
Power Steering Gear BoxPower Steering Pump
Ok…..these parts don’t look too bad…………BUT….the steering fluid was black…goes in red and something was leaking, not sure if it was the pump (lower pic) or the gear box (upper pic). Also, I am getting the steering box upgraded to be a faster ratio. What this means is that instead of 4 1/2 turn lock to lock it will be 3 1/2. Does not sound like much, it makes a difference. Couple weeks. This is kind off expensive, but its a upgrade I wanted to do.
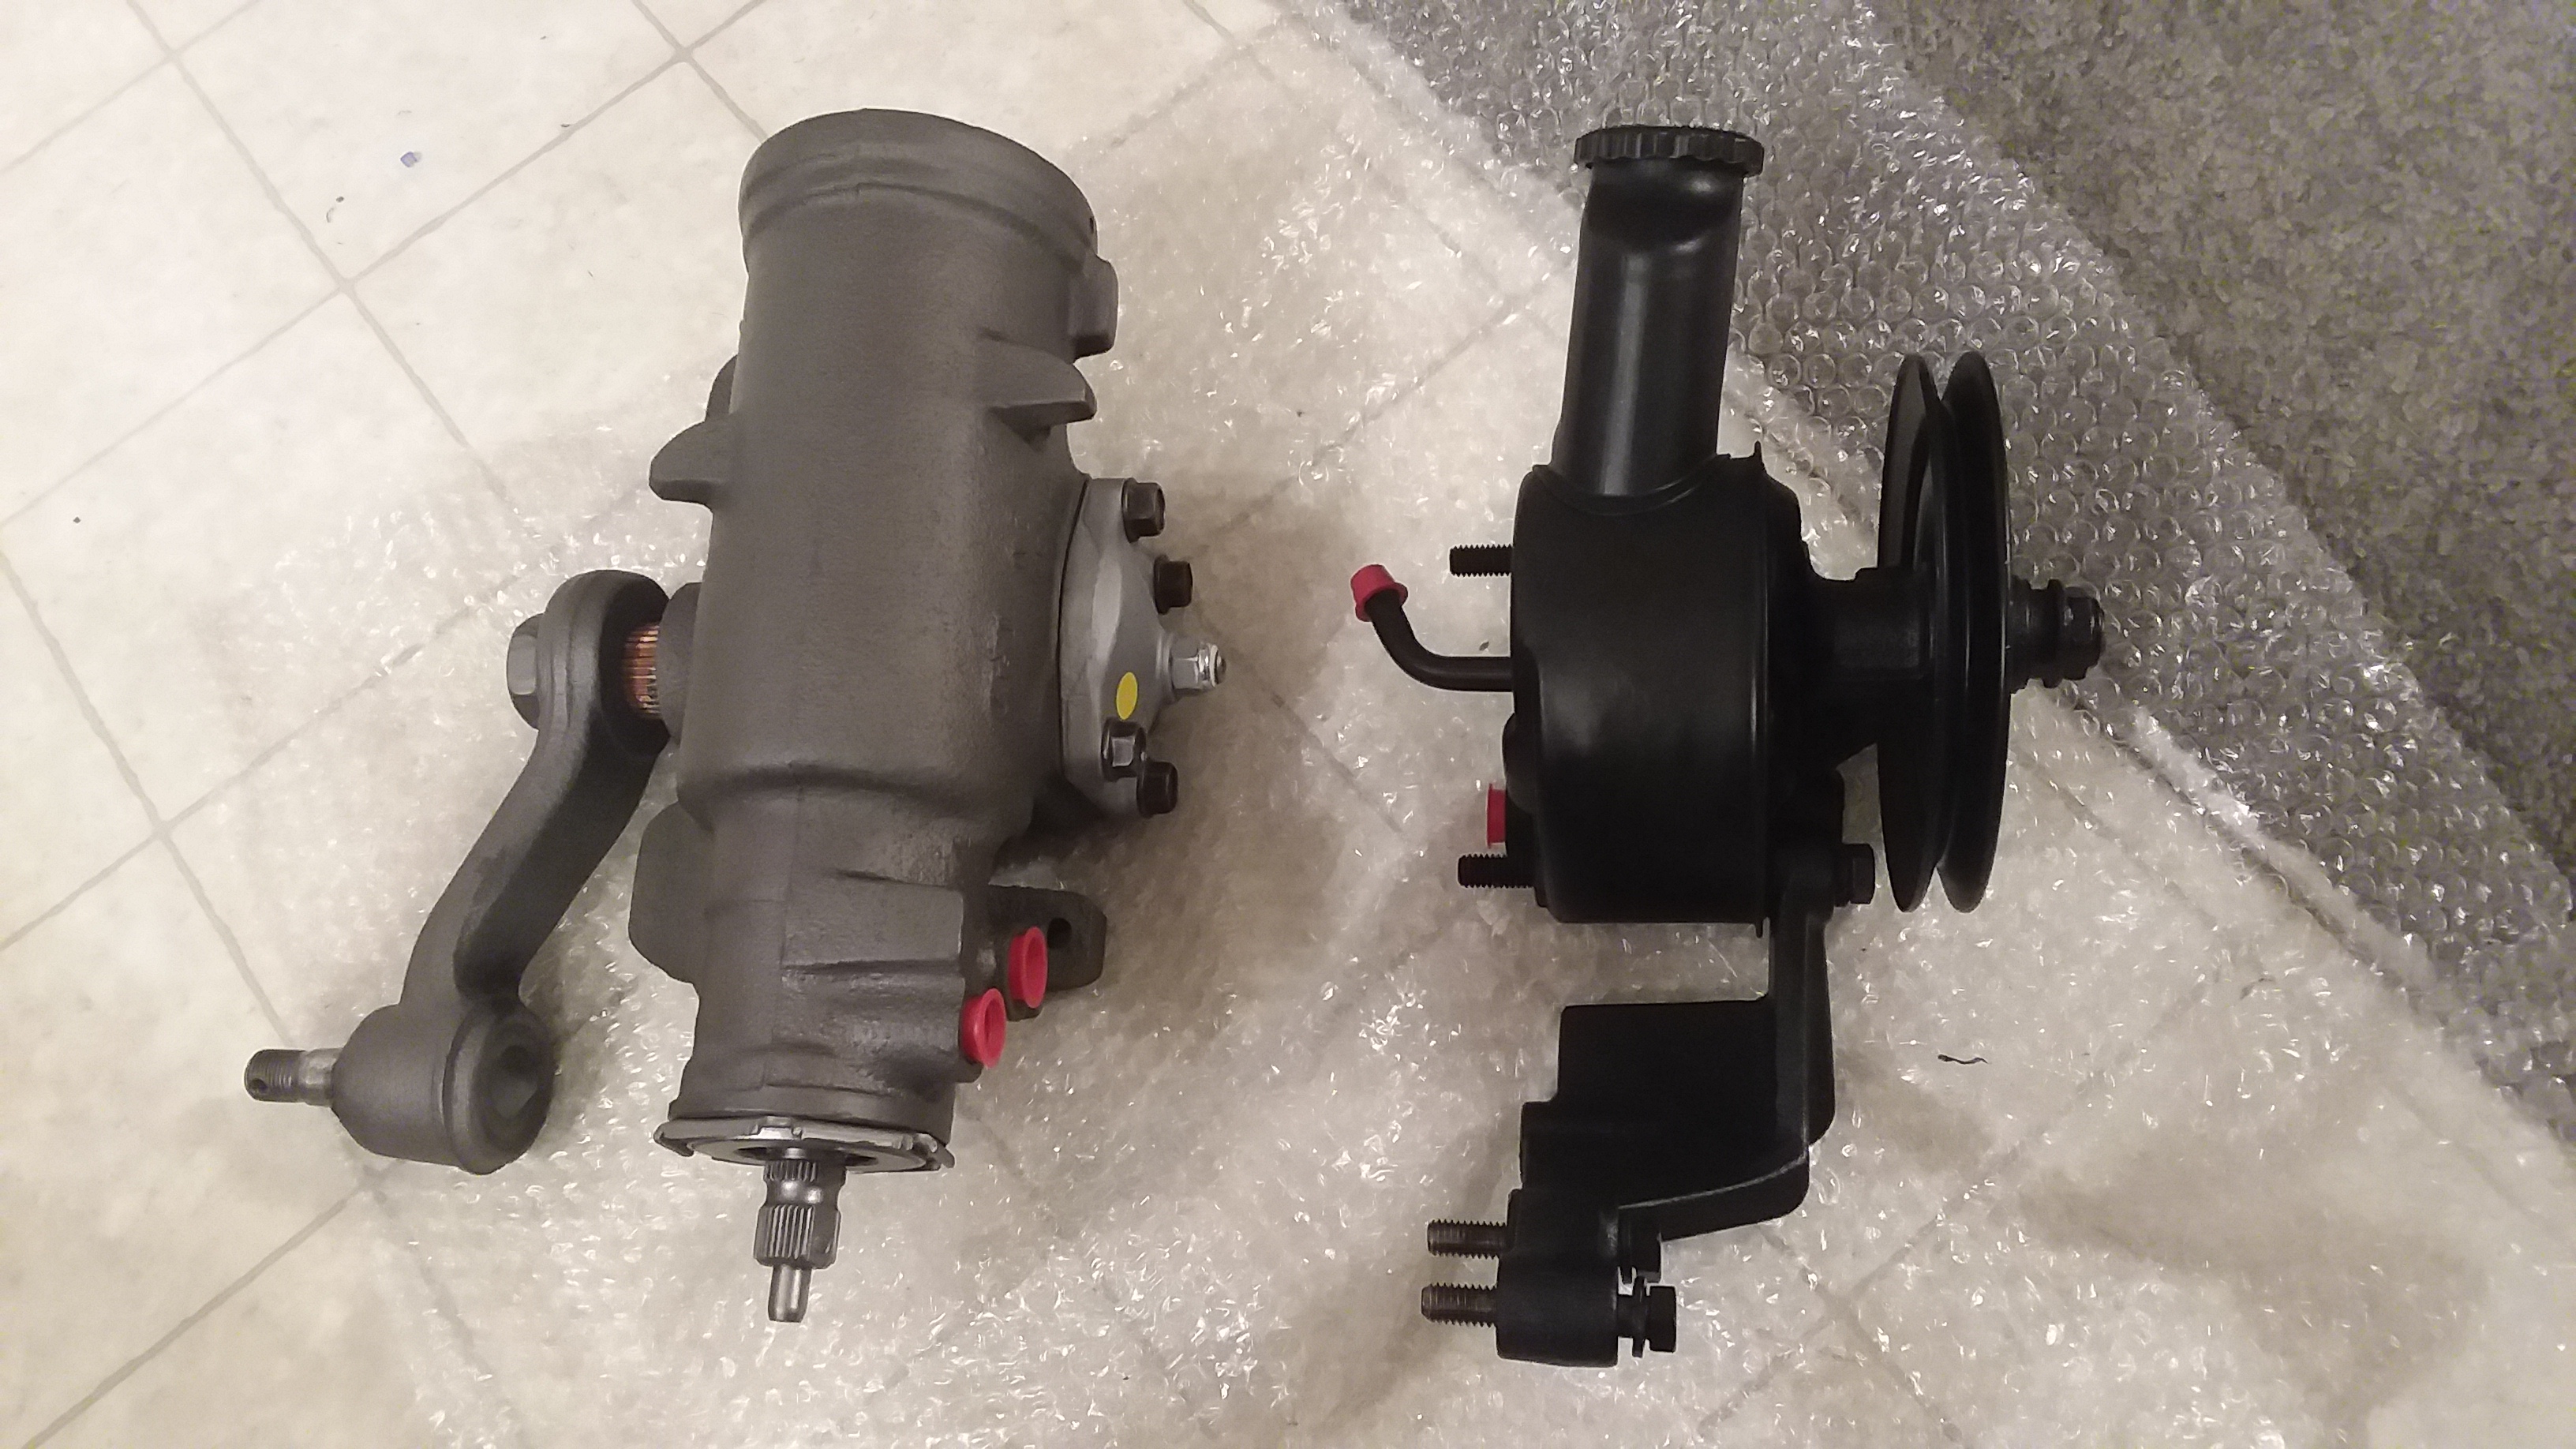
Ok…I have got the parts back and they look great……take a look!
Factory colors…and all. These ARE the same parts. Ok, this is what was done. Each parts is taken apart, cleaned and all surfaces inside and out are stripped done to the bare metal and and seals, bearings that are bad or leaking are replaced. As I mentioned the steering box (left) was changed to a 3 1/2 turn. Meaning, instead of 4 1/2 turns to go from lock to lock it will only take 3 1/2. This also means that the steering will be more like modern trucks of today….well at least thru the 90’s. In the case of the steering pump, also stripped and all dents are worked out and the internals are redone and pressure tested. So there should be no leaks. Hopefully I will be installing this week.These should be like new inside and out. What I like about all this…is that these are my original parts. Bad news is the steering box is a 1972, so its not original to the truck. But, you can’t tell other than the date code on the box. Must have been replaced by the previous owner.
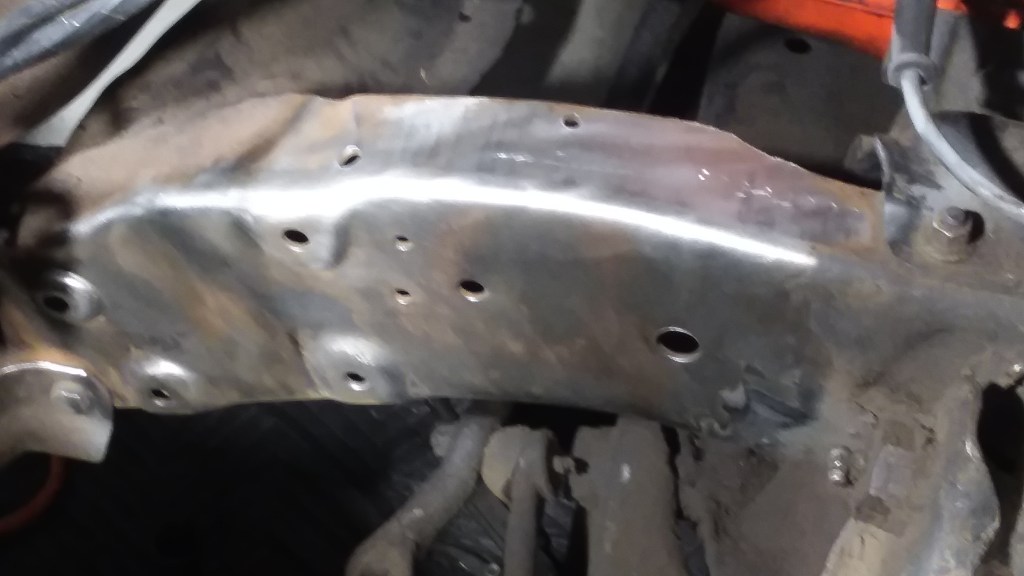
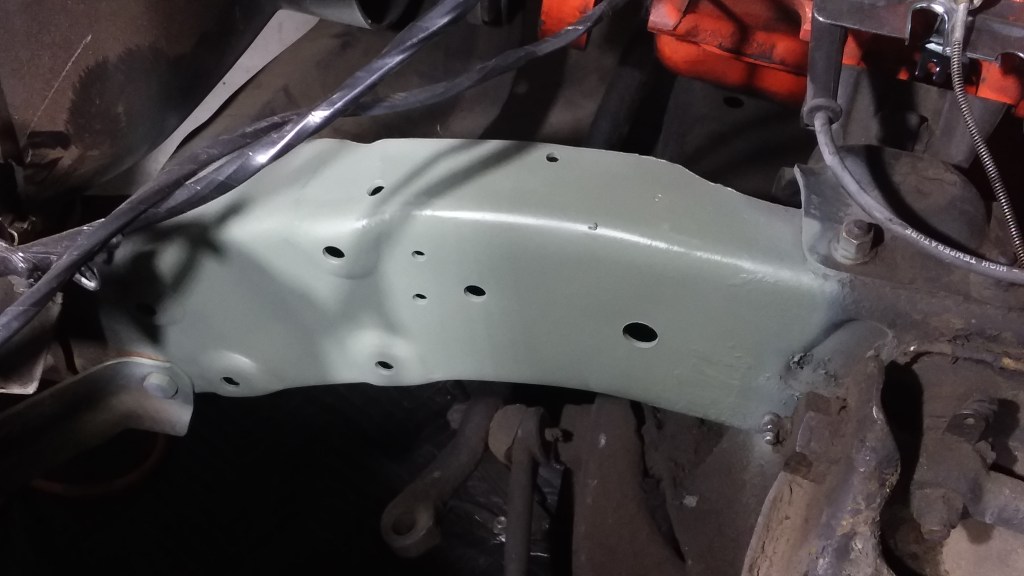
Have done a little in the last few weeks – work has kept me very busy. I have prepared the frame for putting in the power steering box I have some pics of what I did to the frame and the primer.
Sanded of the gunk and rust After a couple of coats of etching primer
I will be putting on the box and pump in real soon. I also have trial fitted my new steering wheel to the new tilt steering column. All is good, I was able to get the indicator lined up perfectly. I will show you what I did to get that done. I am writing up a post seperate for that, which I will be putting on a National blog also so others can see how I did it. I saw a whole bunch of other trying to get new shifter linkage done up right and having questions. So, I will be putting what I did in a post of that site so I can help them out.
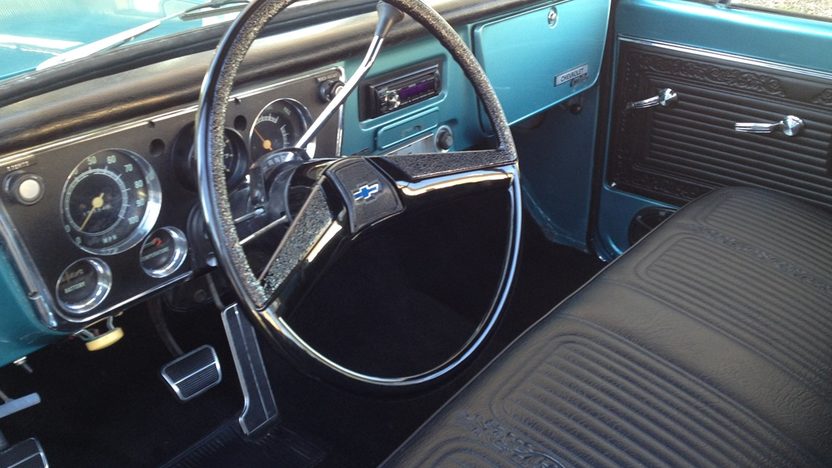
The Steering wheel is a reproduction of a ’69 Camaro steering wheel, which I like. Original 69 Camaro wheels are astronomical in price. So repro will do. I think it looks better than the original truck wheel and is 1 inch smaller in Diameter-16 inches instead of 17 inches. Same as the wheel in my Dakota, so it feels familiar.
Test fit 69 Camaro WheelOriginal truck wheel
Originals are hard to come by in good shape, hard to fix and the reproductions are terrible. Plus its kinda plain and not sporty. But, some like it.
Well the weather has been better. So I got out and wanted to start up the old truck. That is when I noticed the lower radiator hose was leaking while running. I did not change this hose last year due it looking pretty good. But…went to the auto parts store and got a new lower hose…installed and no leak. So…….I got the truck out of the garage so I could clean the garage floor. I also wanted to get a another project maybe started.
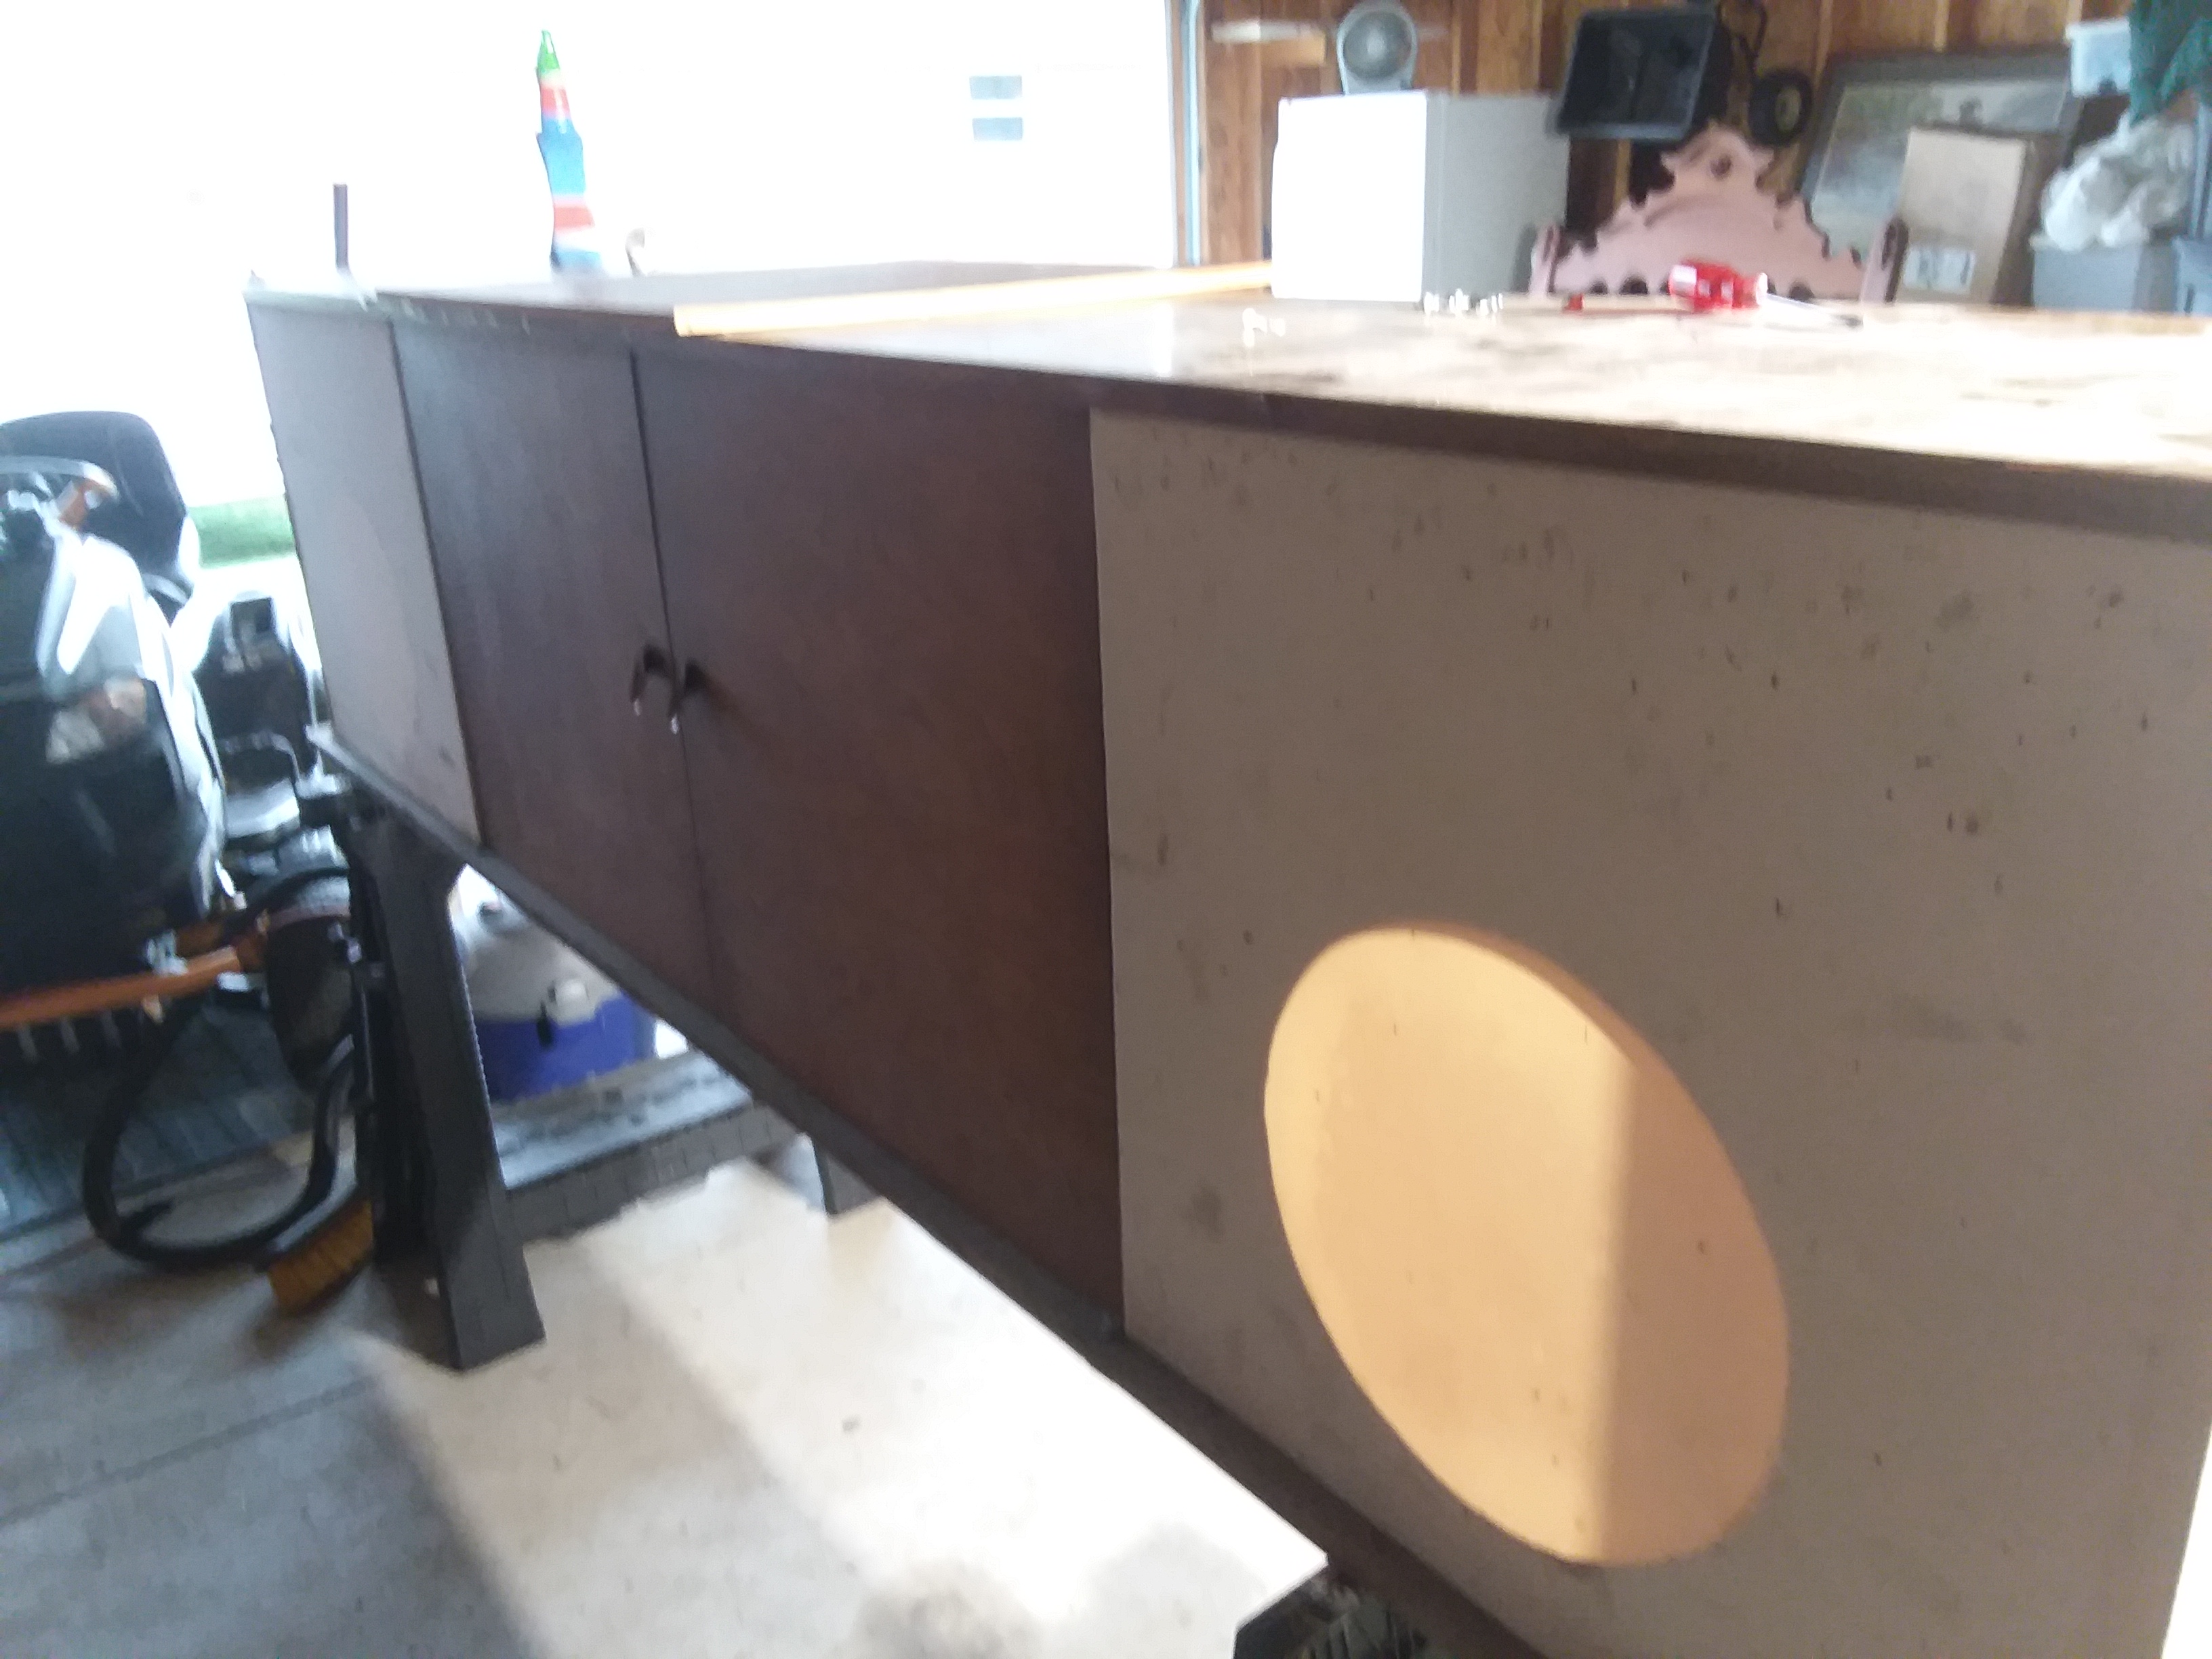
I have a old stereo console my dad made long ago for a co-worker. It has been sitting out in the garage and I want to try and see if it will be worth to re-purpose it into a home theater console with DVD storage. Trying to keep a 60’s style. So I have it up on some saw horses and got most of the old stereo equipment out. Here are some pics:
So I will see the family that Dad made this for did some changes over the years. So….I will see if this is something I would like to re-purpose. It is quite long, but its something my Dad made so I do what to keep.
Well, I also had the truck out to sweep the garage and get the console moved. out/pics:
Update:
Radiator hose has been fixed and no leaks.
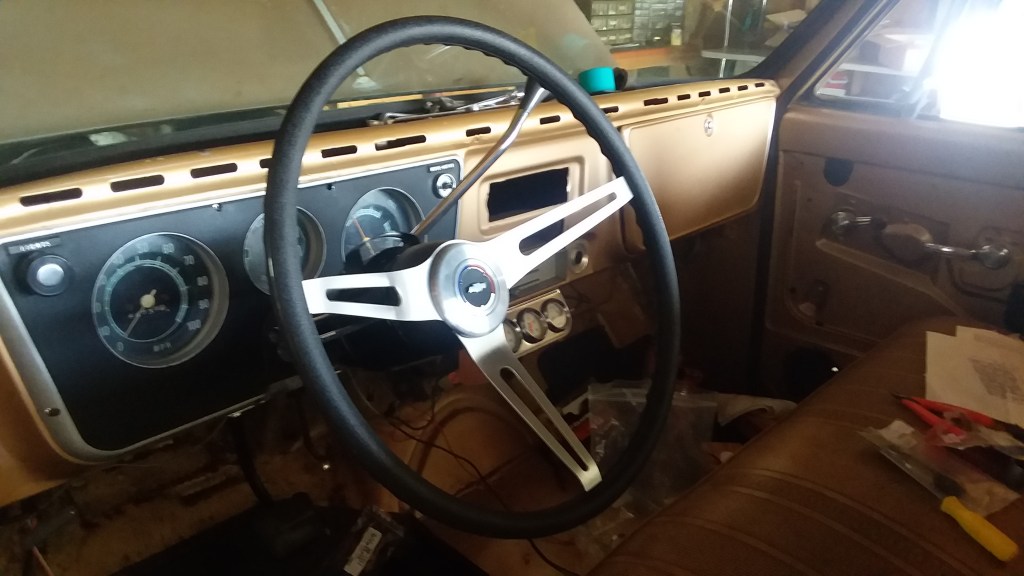
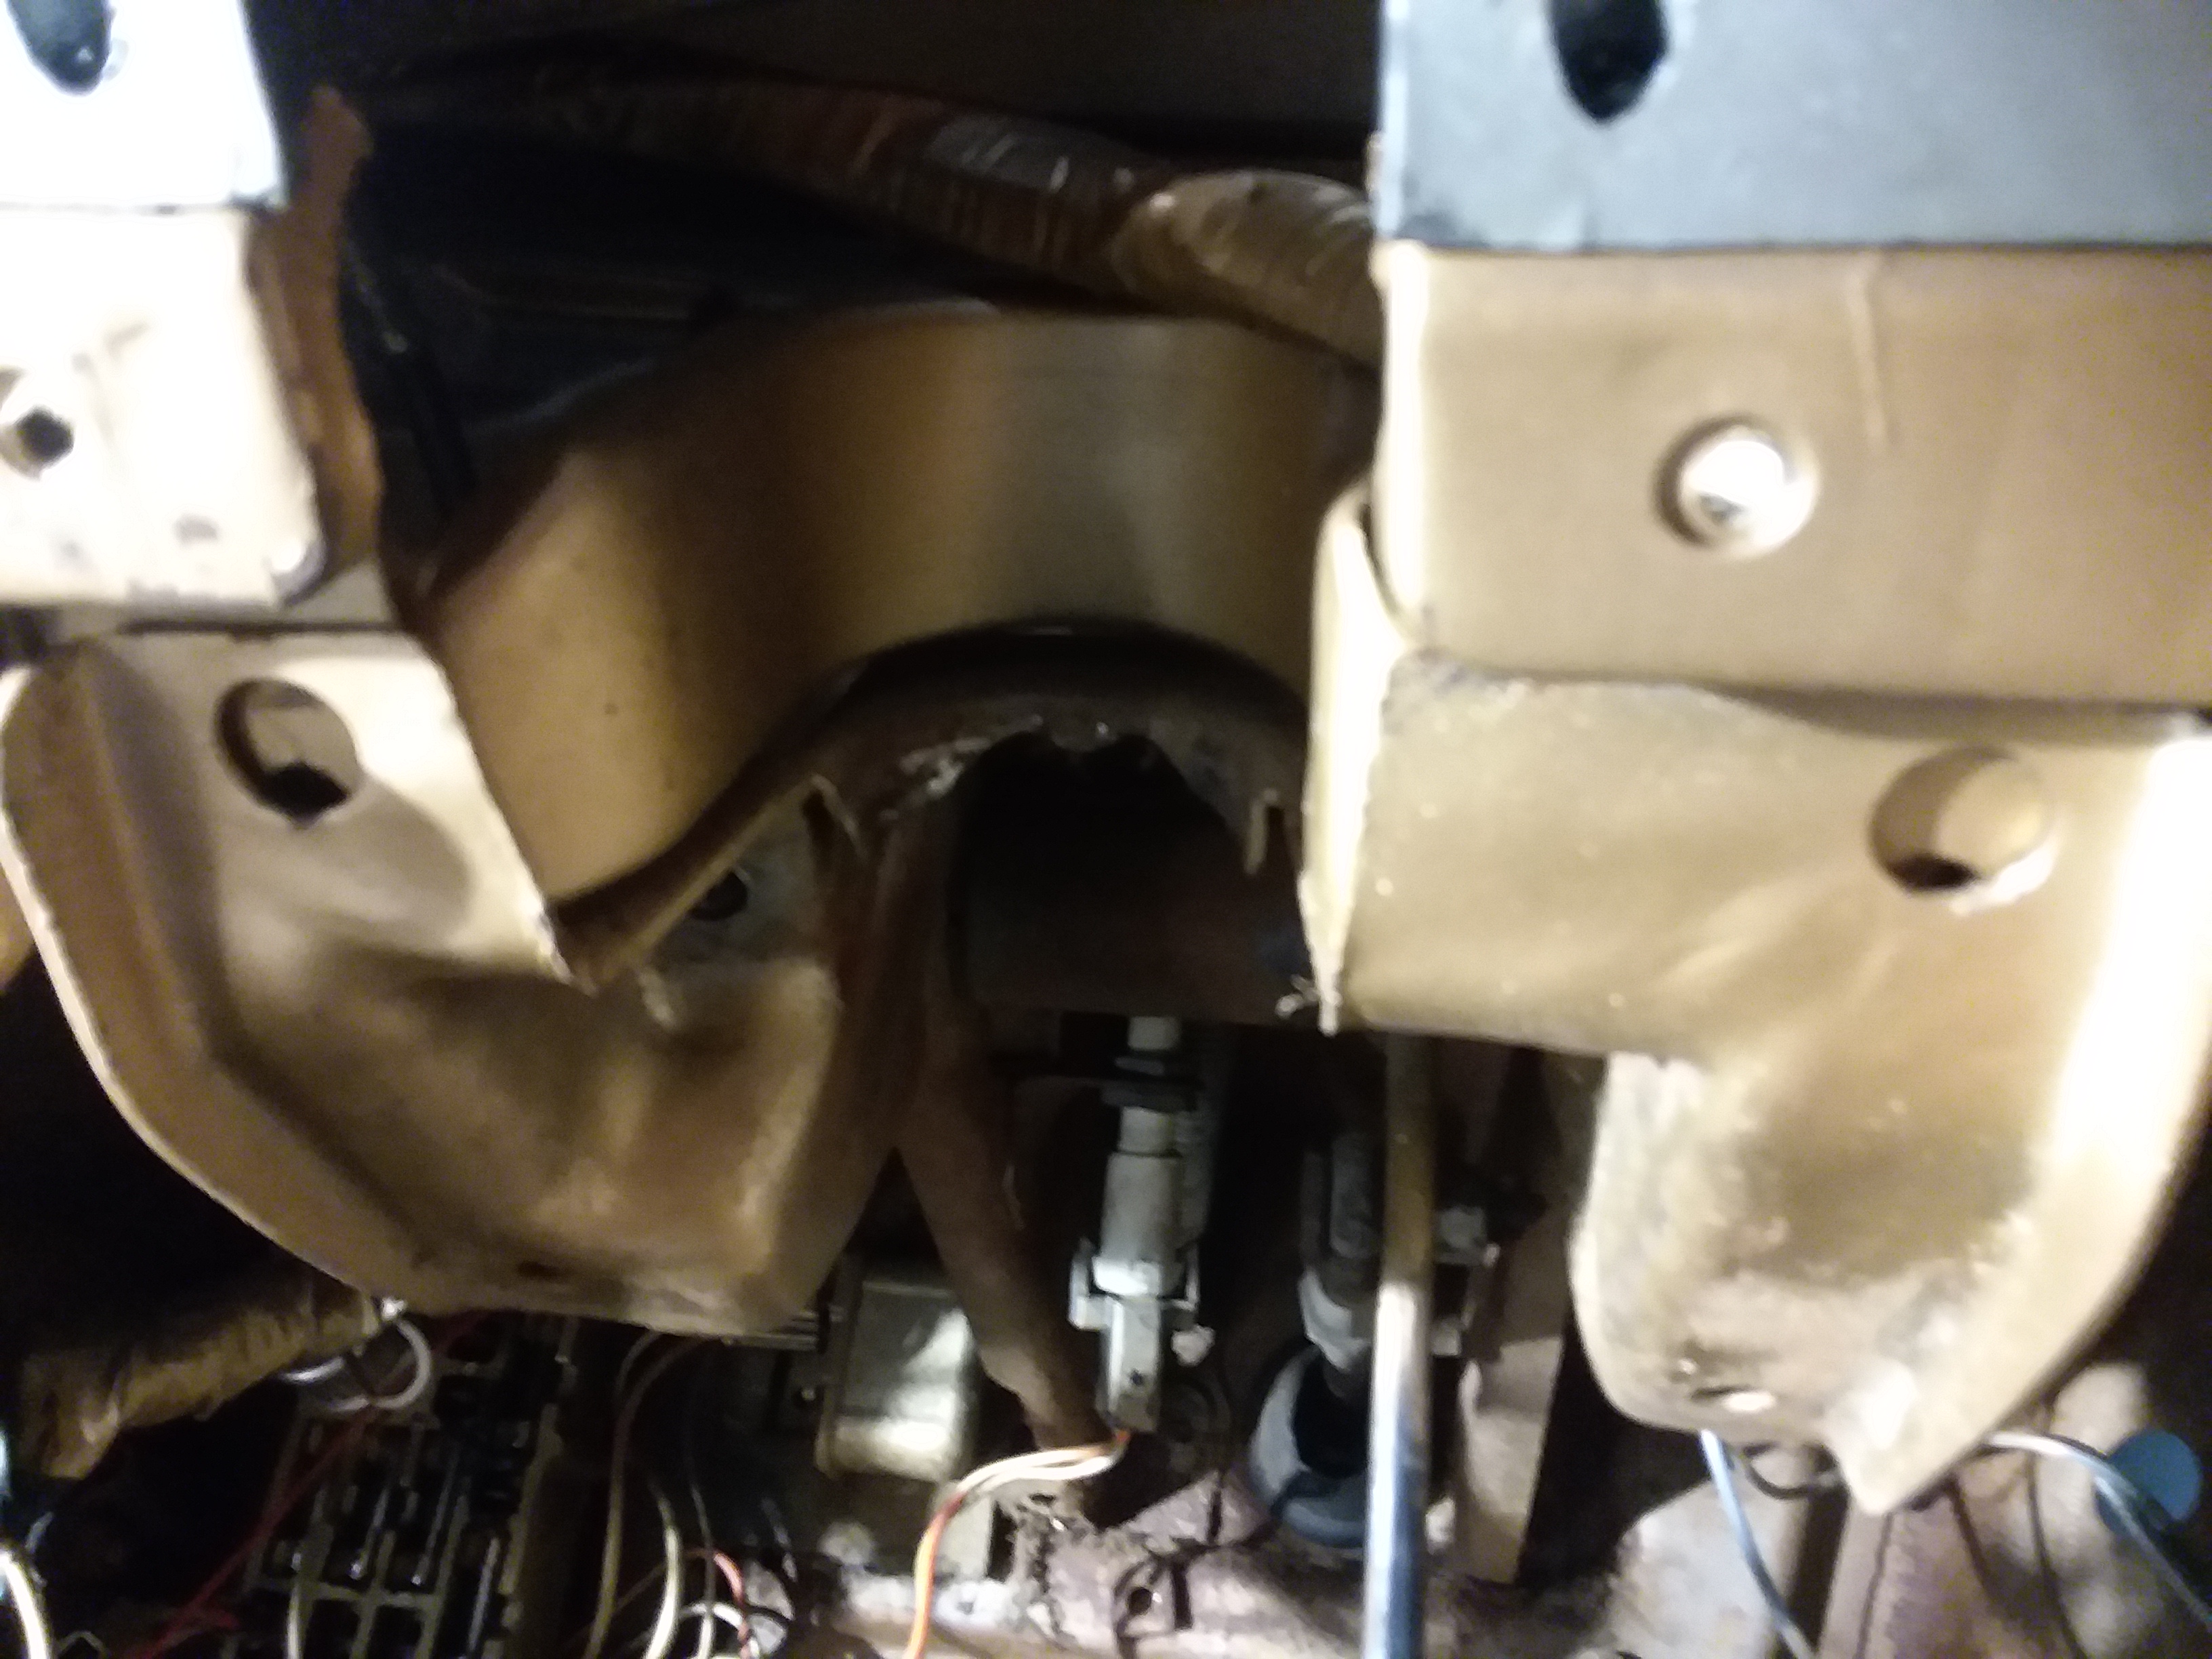
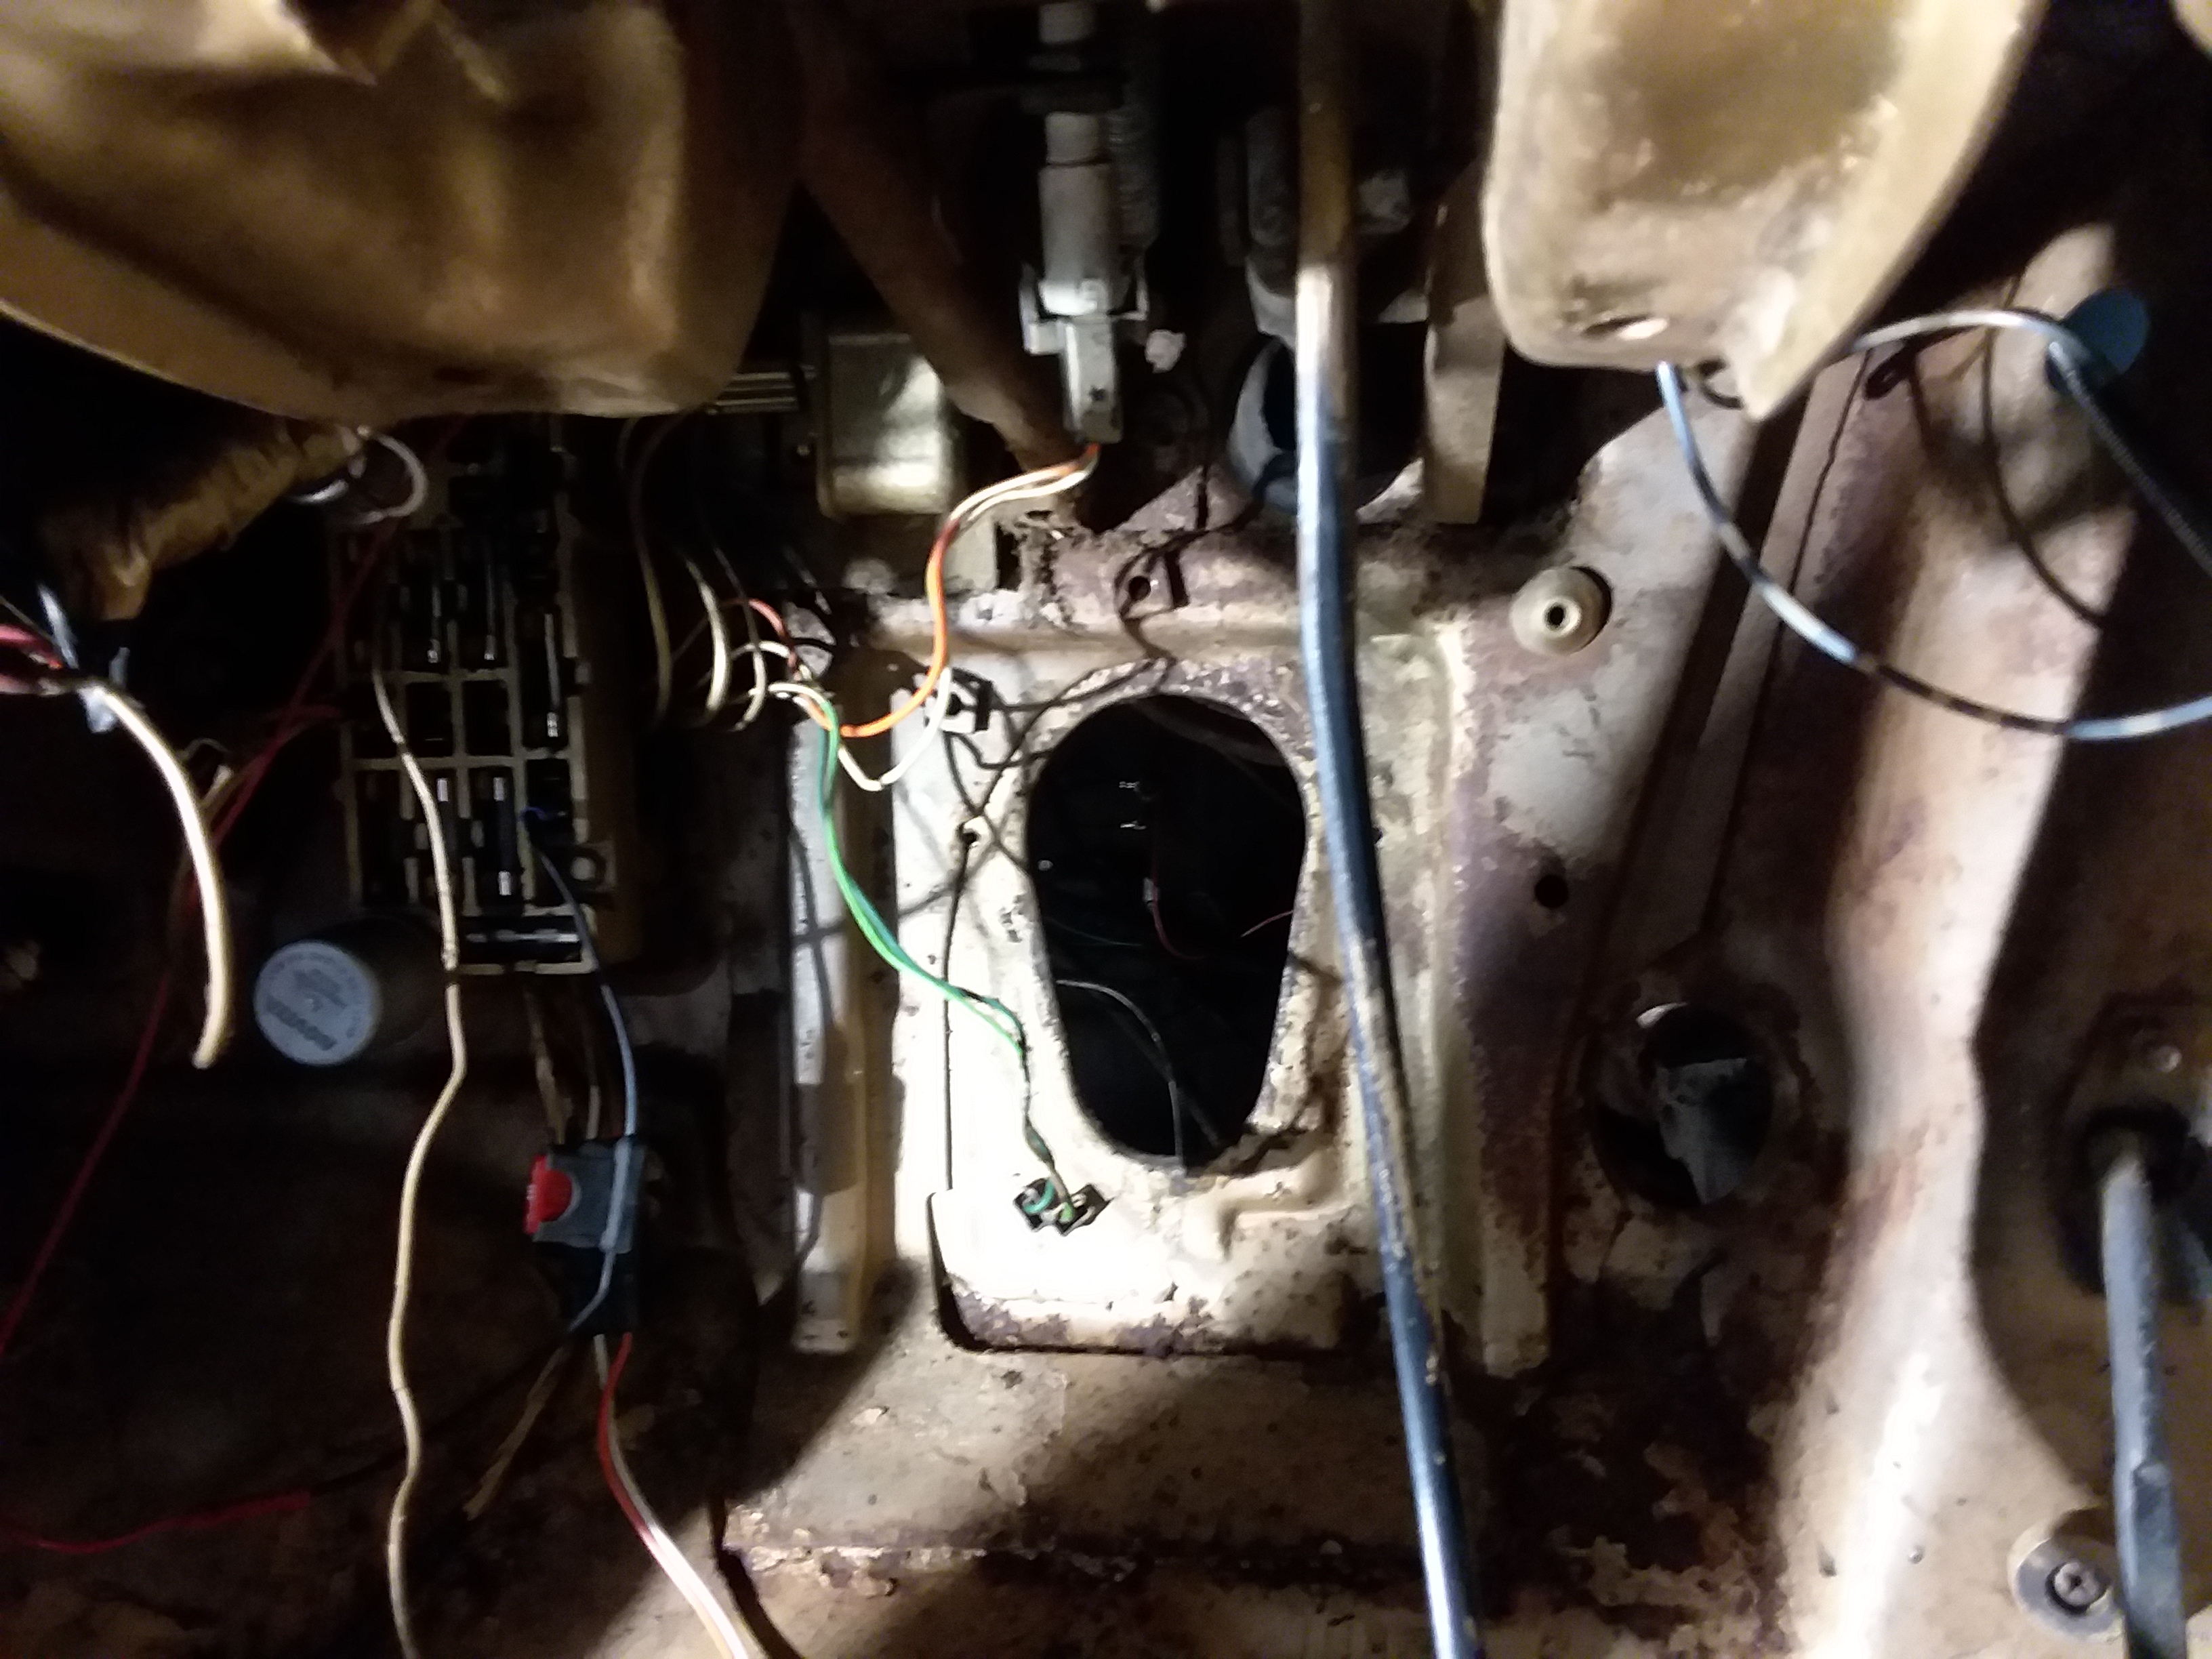
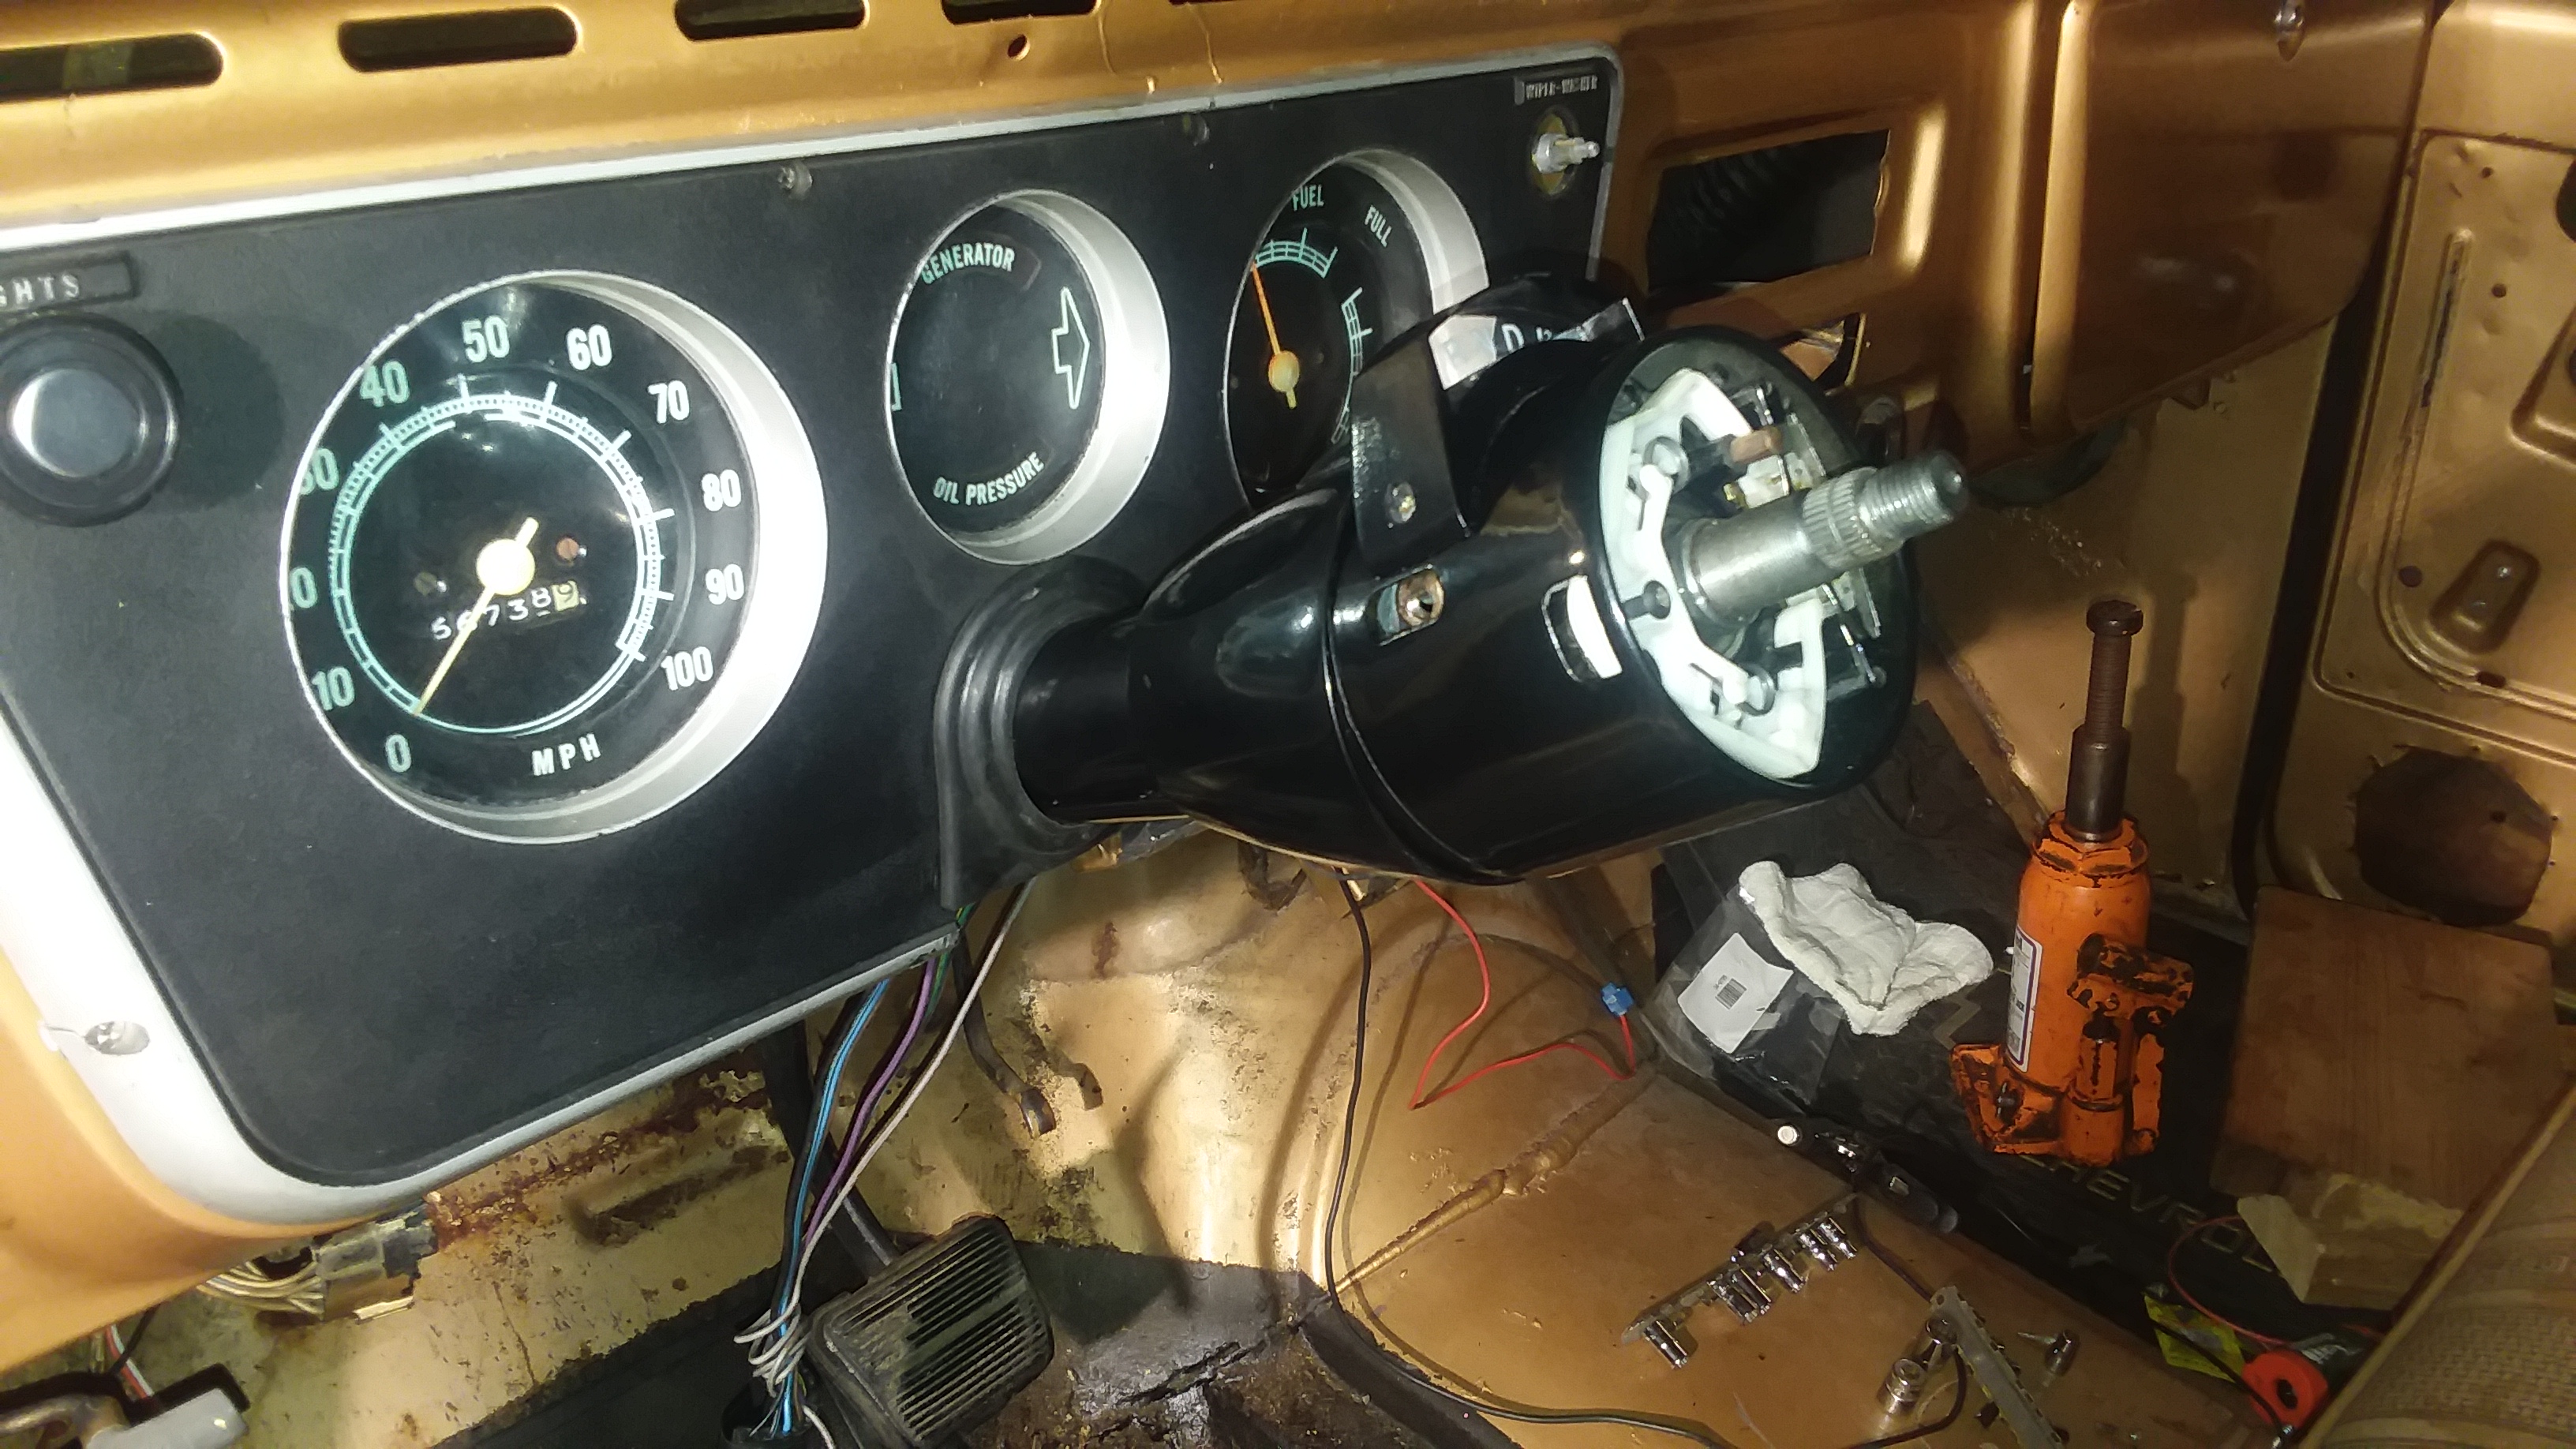
I have the old non tilt Steering Column out and the new tilt steering column in. Waiting on new steering wheel. It was harder than I though it would be, but not super hard. Here are some pictures:
This is where the column was looking from under the dash Here is the hole the steering column goes through down to the steering box Here is the old “rag joint” this keep vibrations from affecting the steering column and wheel so you don’t feel them. On right is the new rag joint. New column in looking at it from inside the engine areaNew tilt wheel installed. awaiting new steering wheel
Well….2018 is almost done and I wanted to update everyone. It was a year of some small accomplishments. I did not get as much done as I wanted, but I learned a lot. I learned that parts are going to be more trouble than I hoped. Here is a summary:
Radiator and Cooling: It took me three radiators to get one I think will cool properly. I still will not know that until I get out on the road. It cools in a hot garage and standing still, so that is promising. I will pressure test it soon and that will prove that there are NO leaks. I feel pretty good about that since there are no drips.
I had to get upper radiator mounts made and that took a month. I had to get these made since I could not find a stock sized radiator that worked. There is one out there but it was beyond my budget at this time. I will get some pictures when I pressure test the system.
Brakes: I have all the parts to redo all the brakes, but it took so long to get the radiator part done I did not get that done yet. Maybe in a couple months.
Driveline: Rear shocks are changed so NO clearance issues. Driveshaft has been rebuilt with new universal joints and center bearing and repainted, It looks new and is safe now. New speedometer gear….the correct one. Transmission pan has been painted and new filter, gasket and fluid installed. New transmission oil cooler line have also been installed. I decided to order an upgraded shifter linkage that is supposed to be smoother. I will be installing when I change out the steering column.
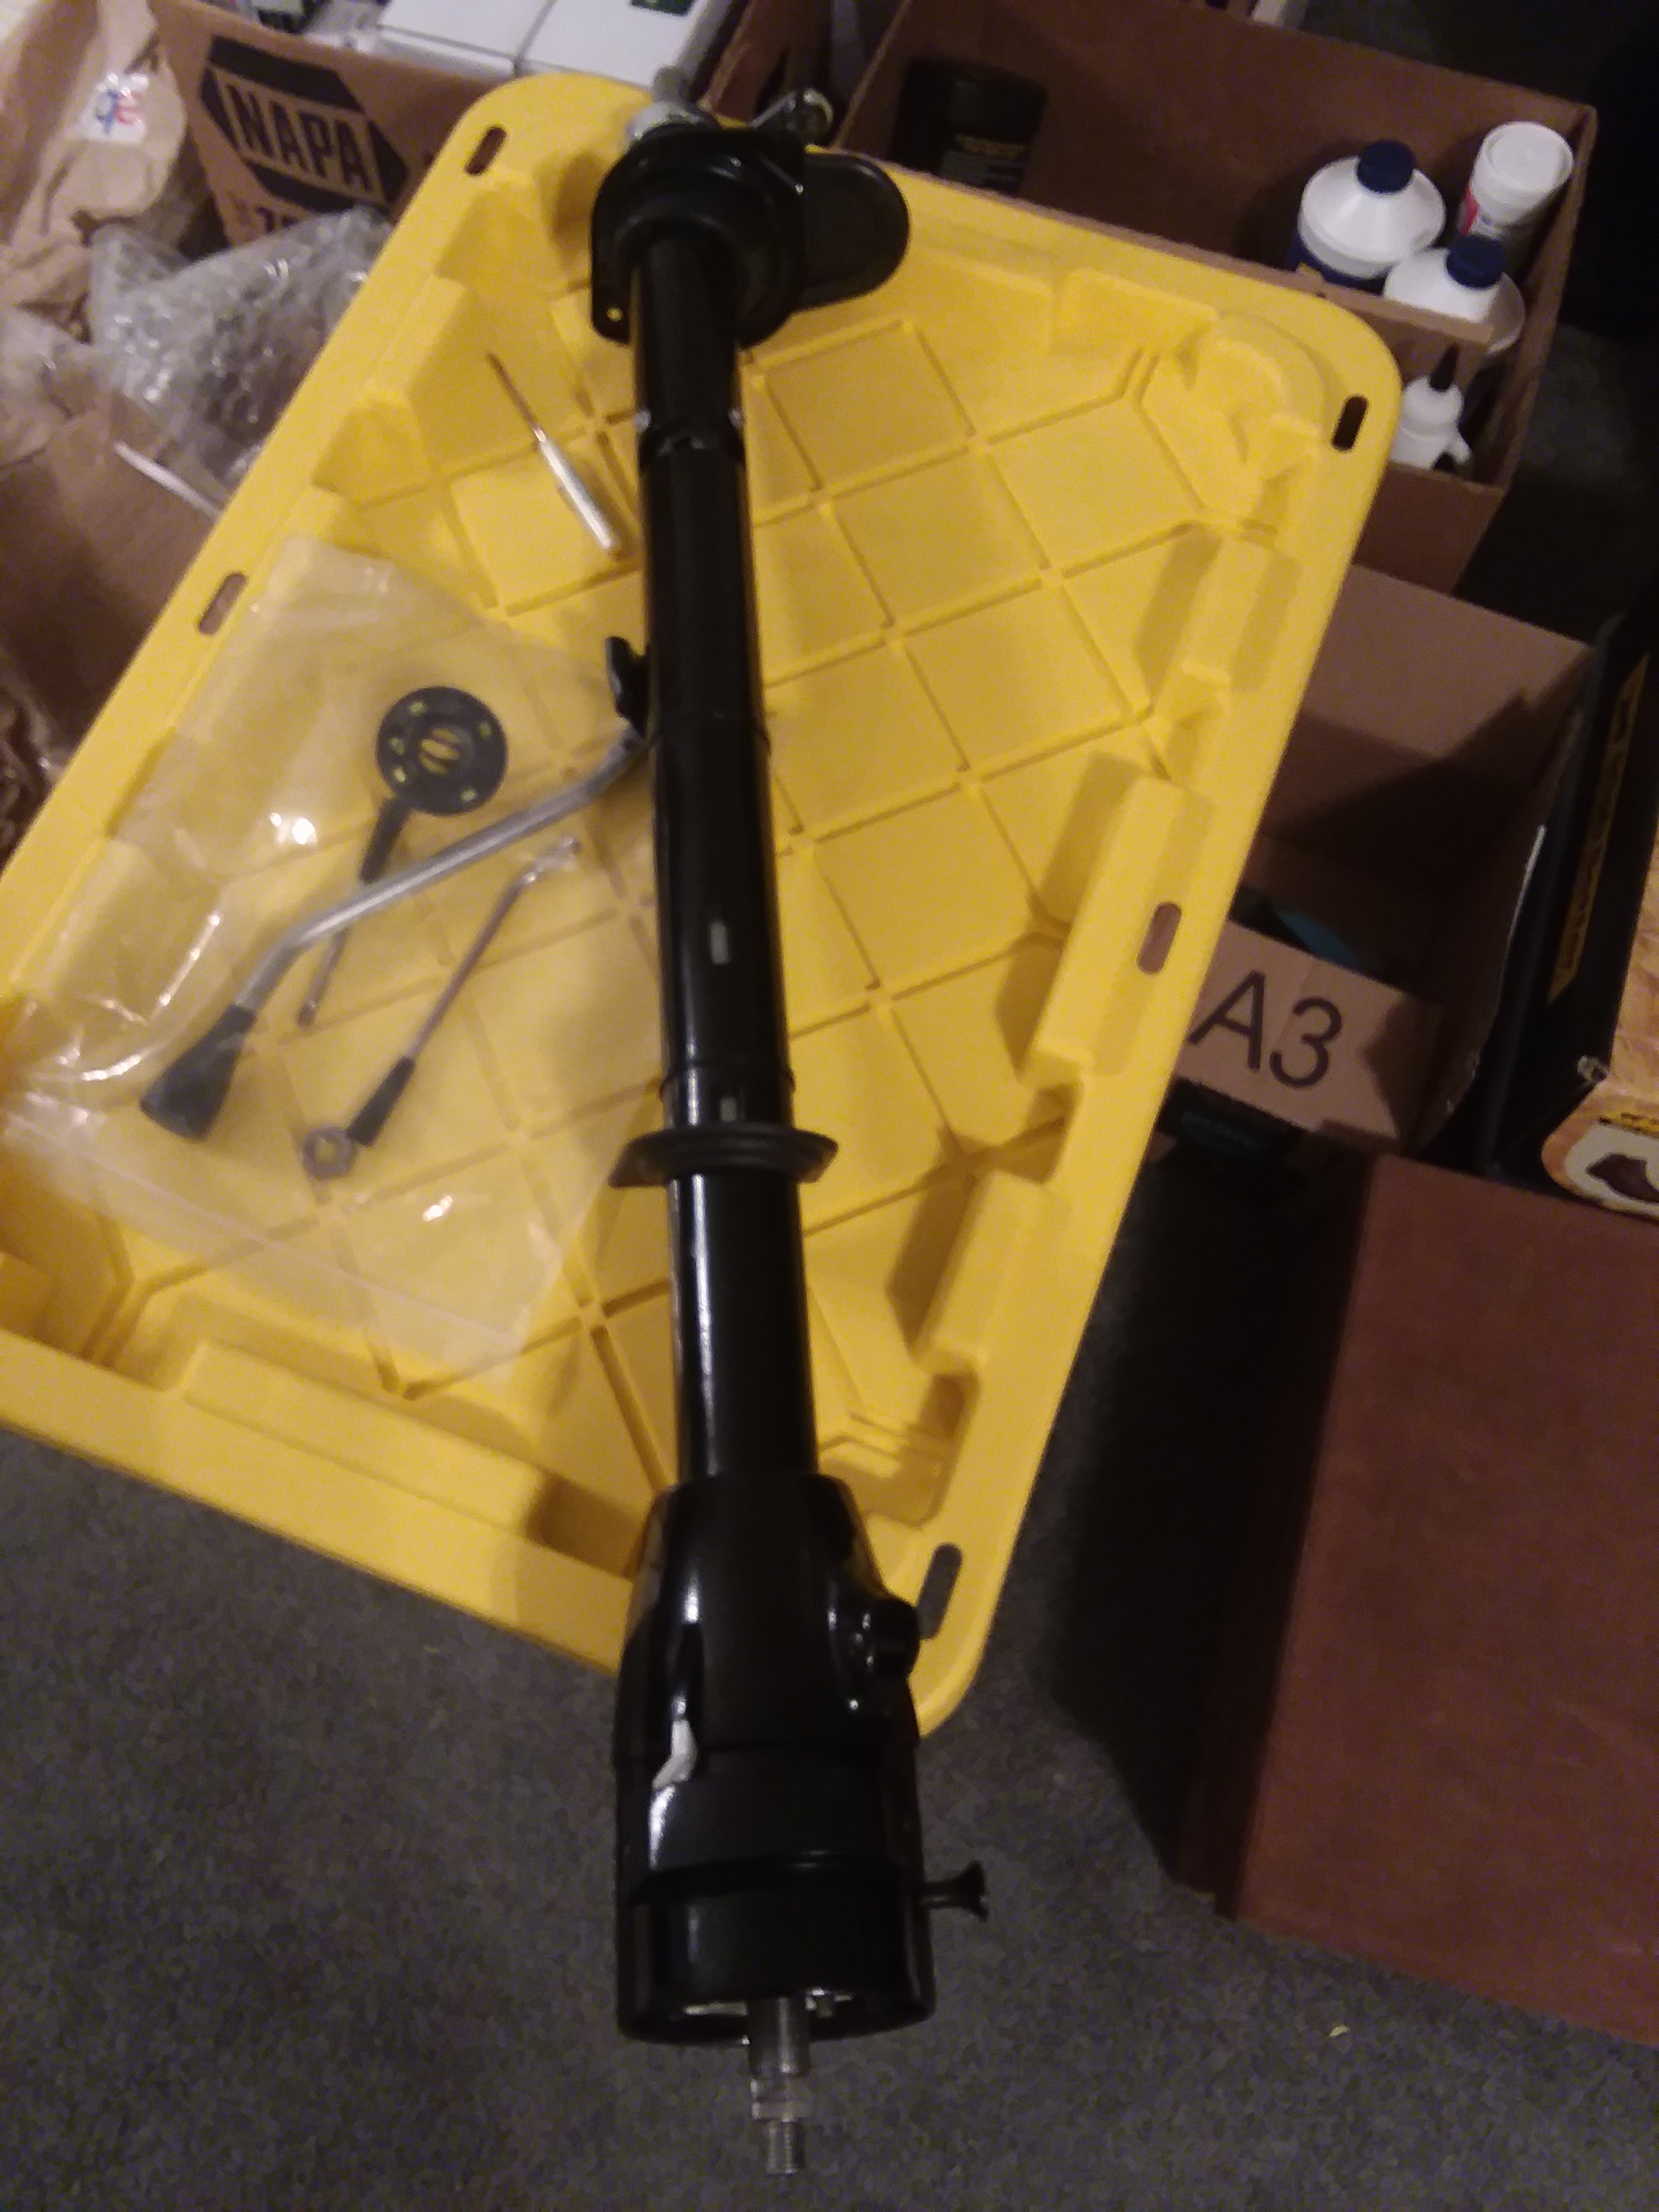
Steering: I have a 1972 OEM rebuilt steering column that is TILT….original is not. All new parts inside and its ready to go in (picture below). If I get some warm days I will change that out and document. I still have to get a new steering wheel…that one that came with the truck it is way too small…12 inches, it takes a lot of force to turn it even with power steering. A larger wheel will make that easier. I am going for a 15 or 16 inch wheel. I found a guy on a Chevy truck forum that rebuilds truck columns and got one from him. This is the rebuilt like new steering column:
Engine: Just new sparks plugs and I set the timing since it was way off though..now its at 12 degrees as that is a good starting point. The carburetor still needs tuning and when that is done timing can be set to what this engine likes. Its still running rich (too much gas) but is a little better after I set the timing. I had to replace one spark plug wire, but really need to change them all. I am looking at that now. Must be the correct length to route like I want too, so they do not get close to the exhaust manifolds which could melt them. Will post pictures when I do that.
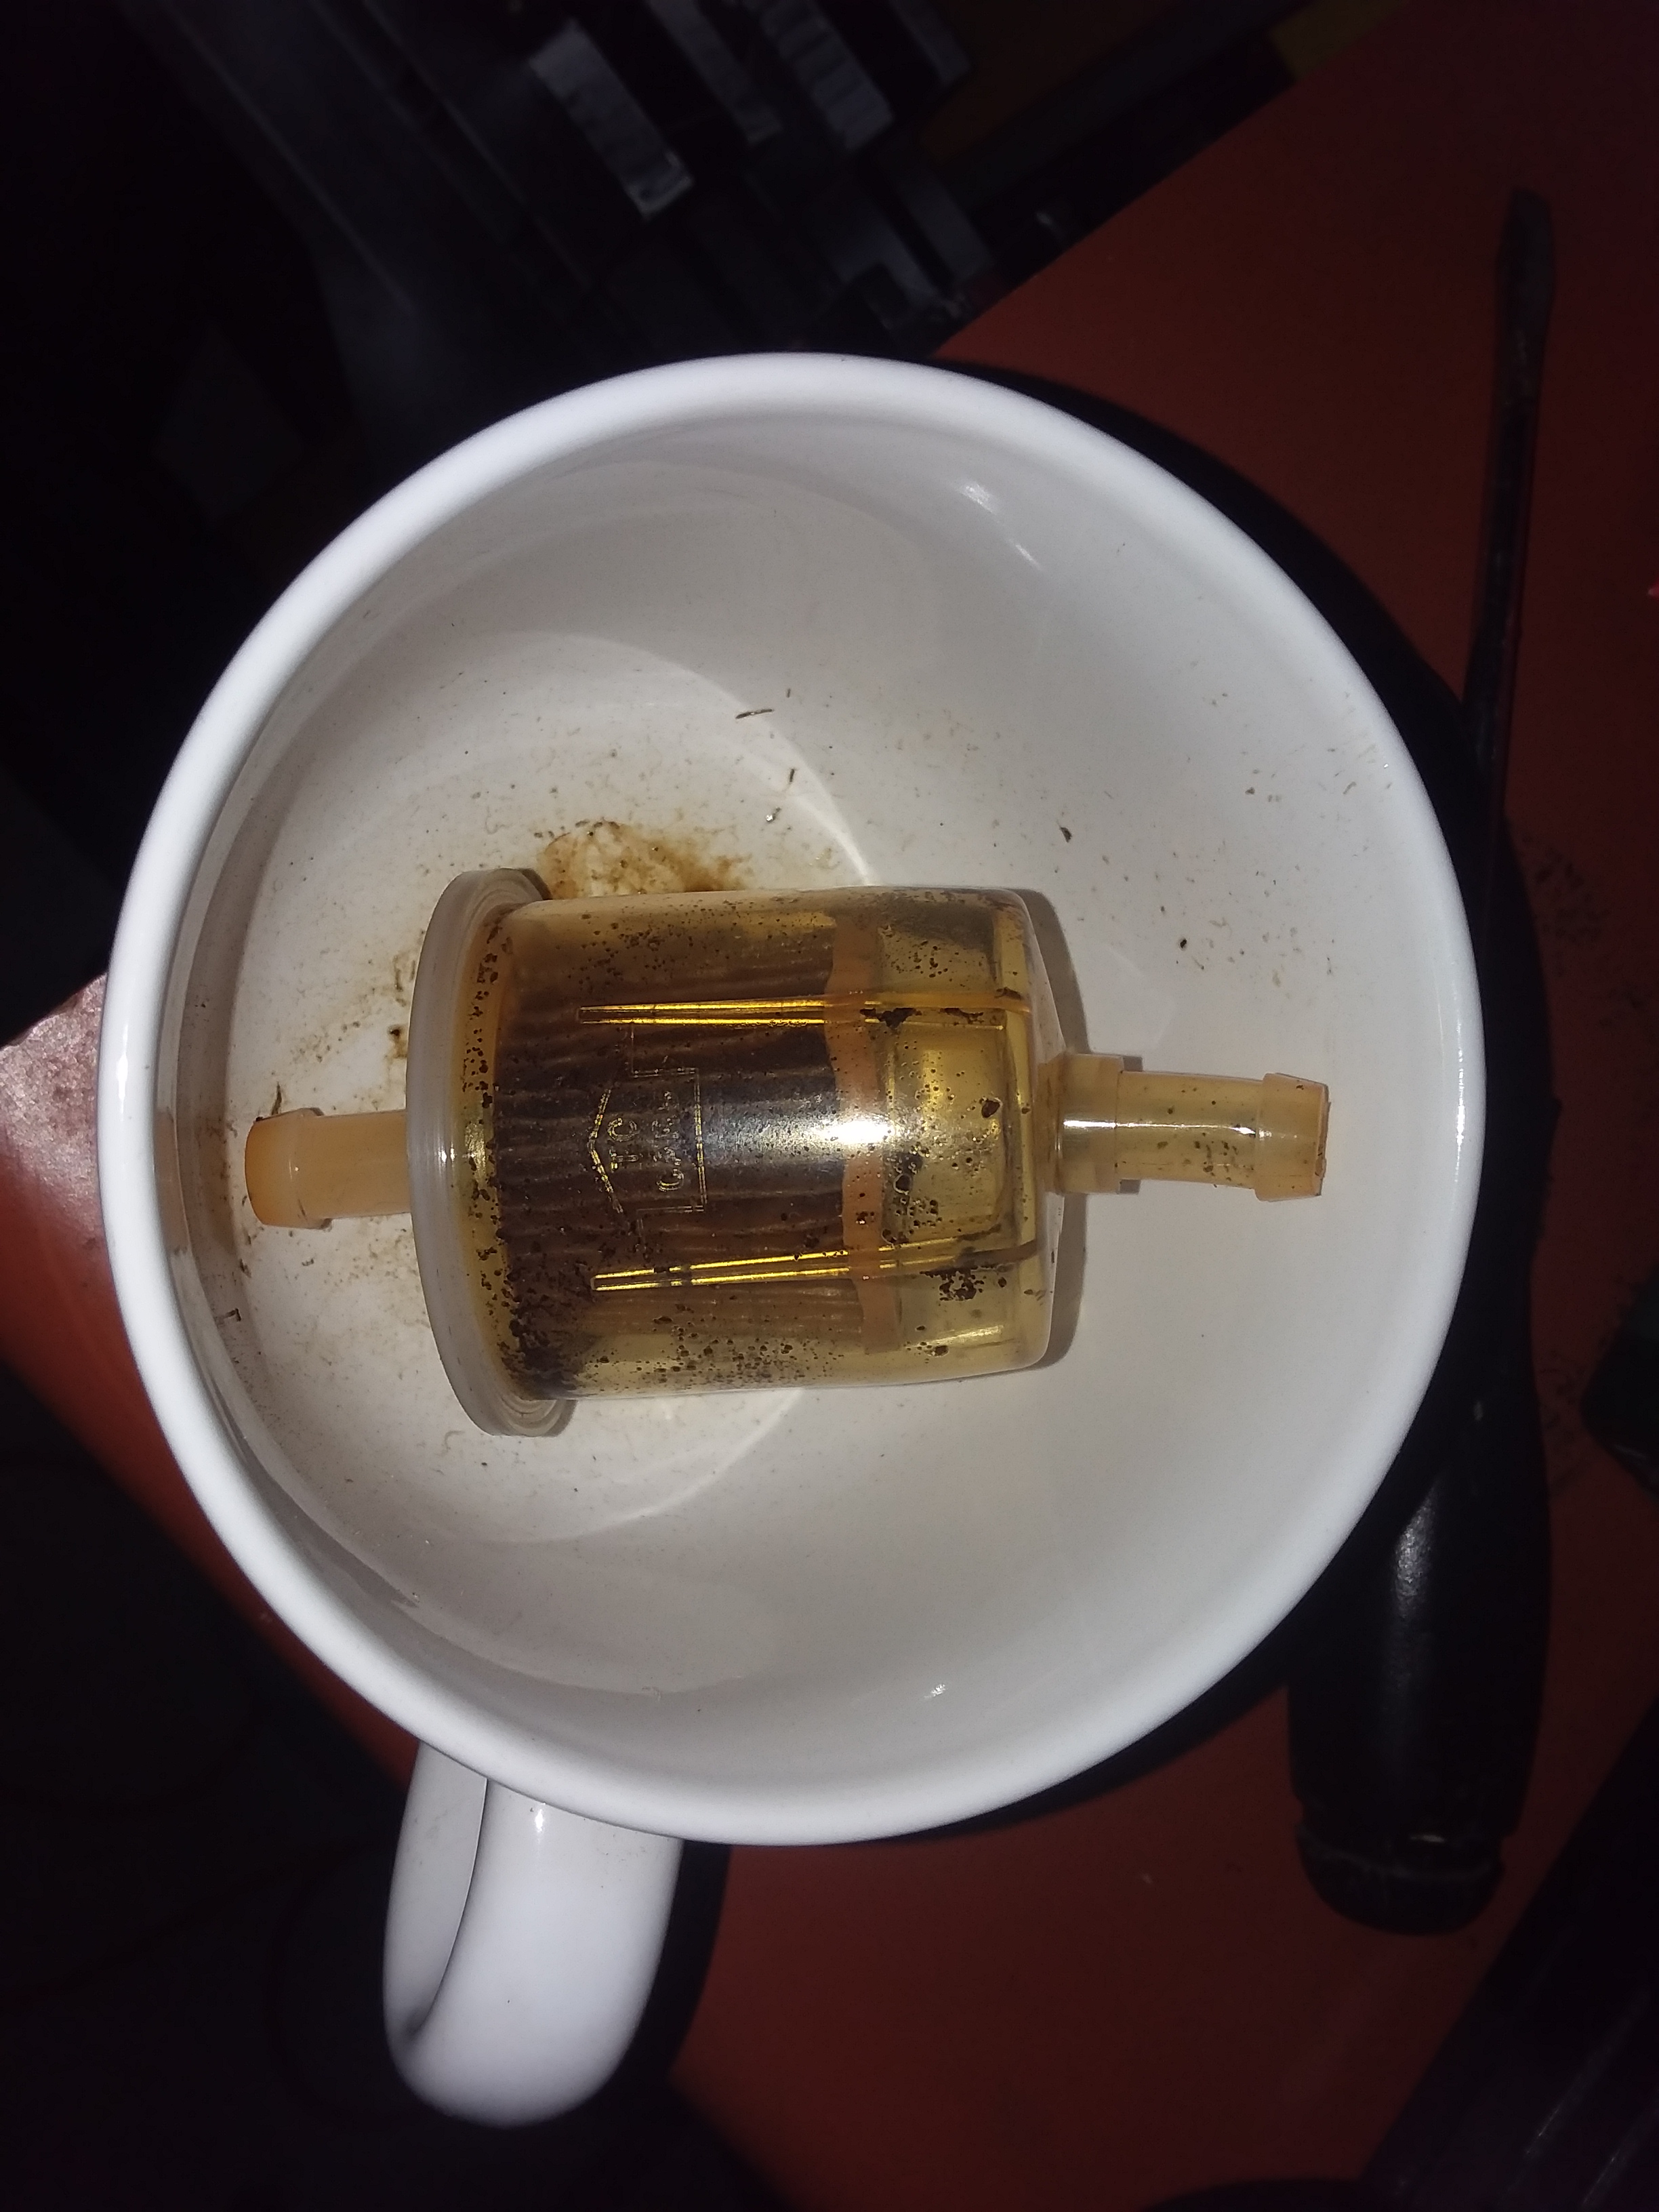
I also changed the fuel filter. This was the old one.
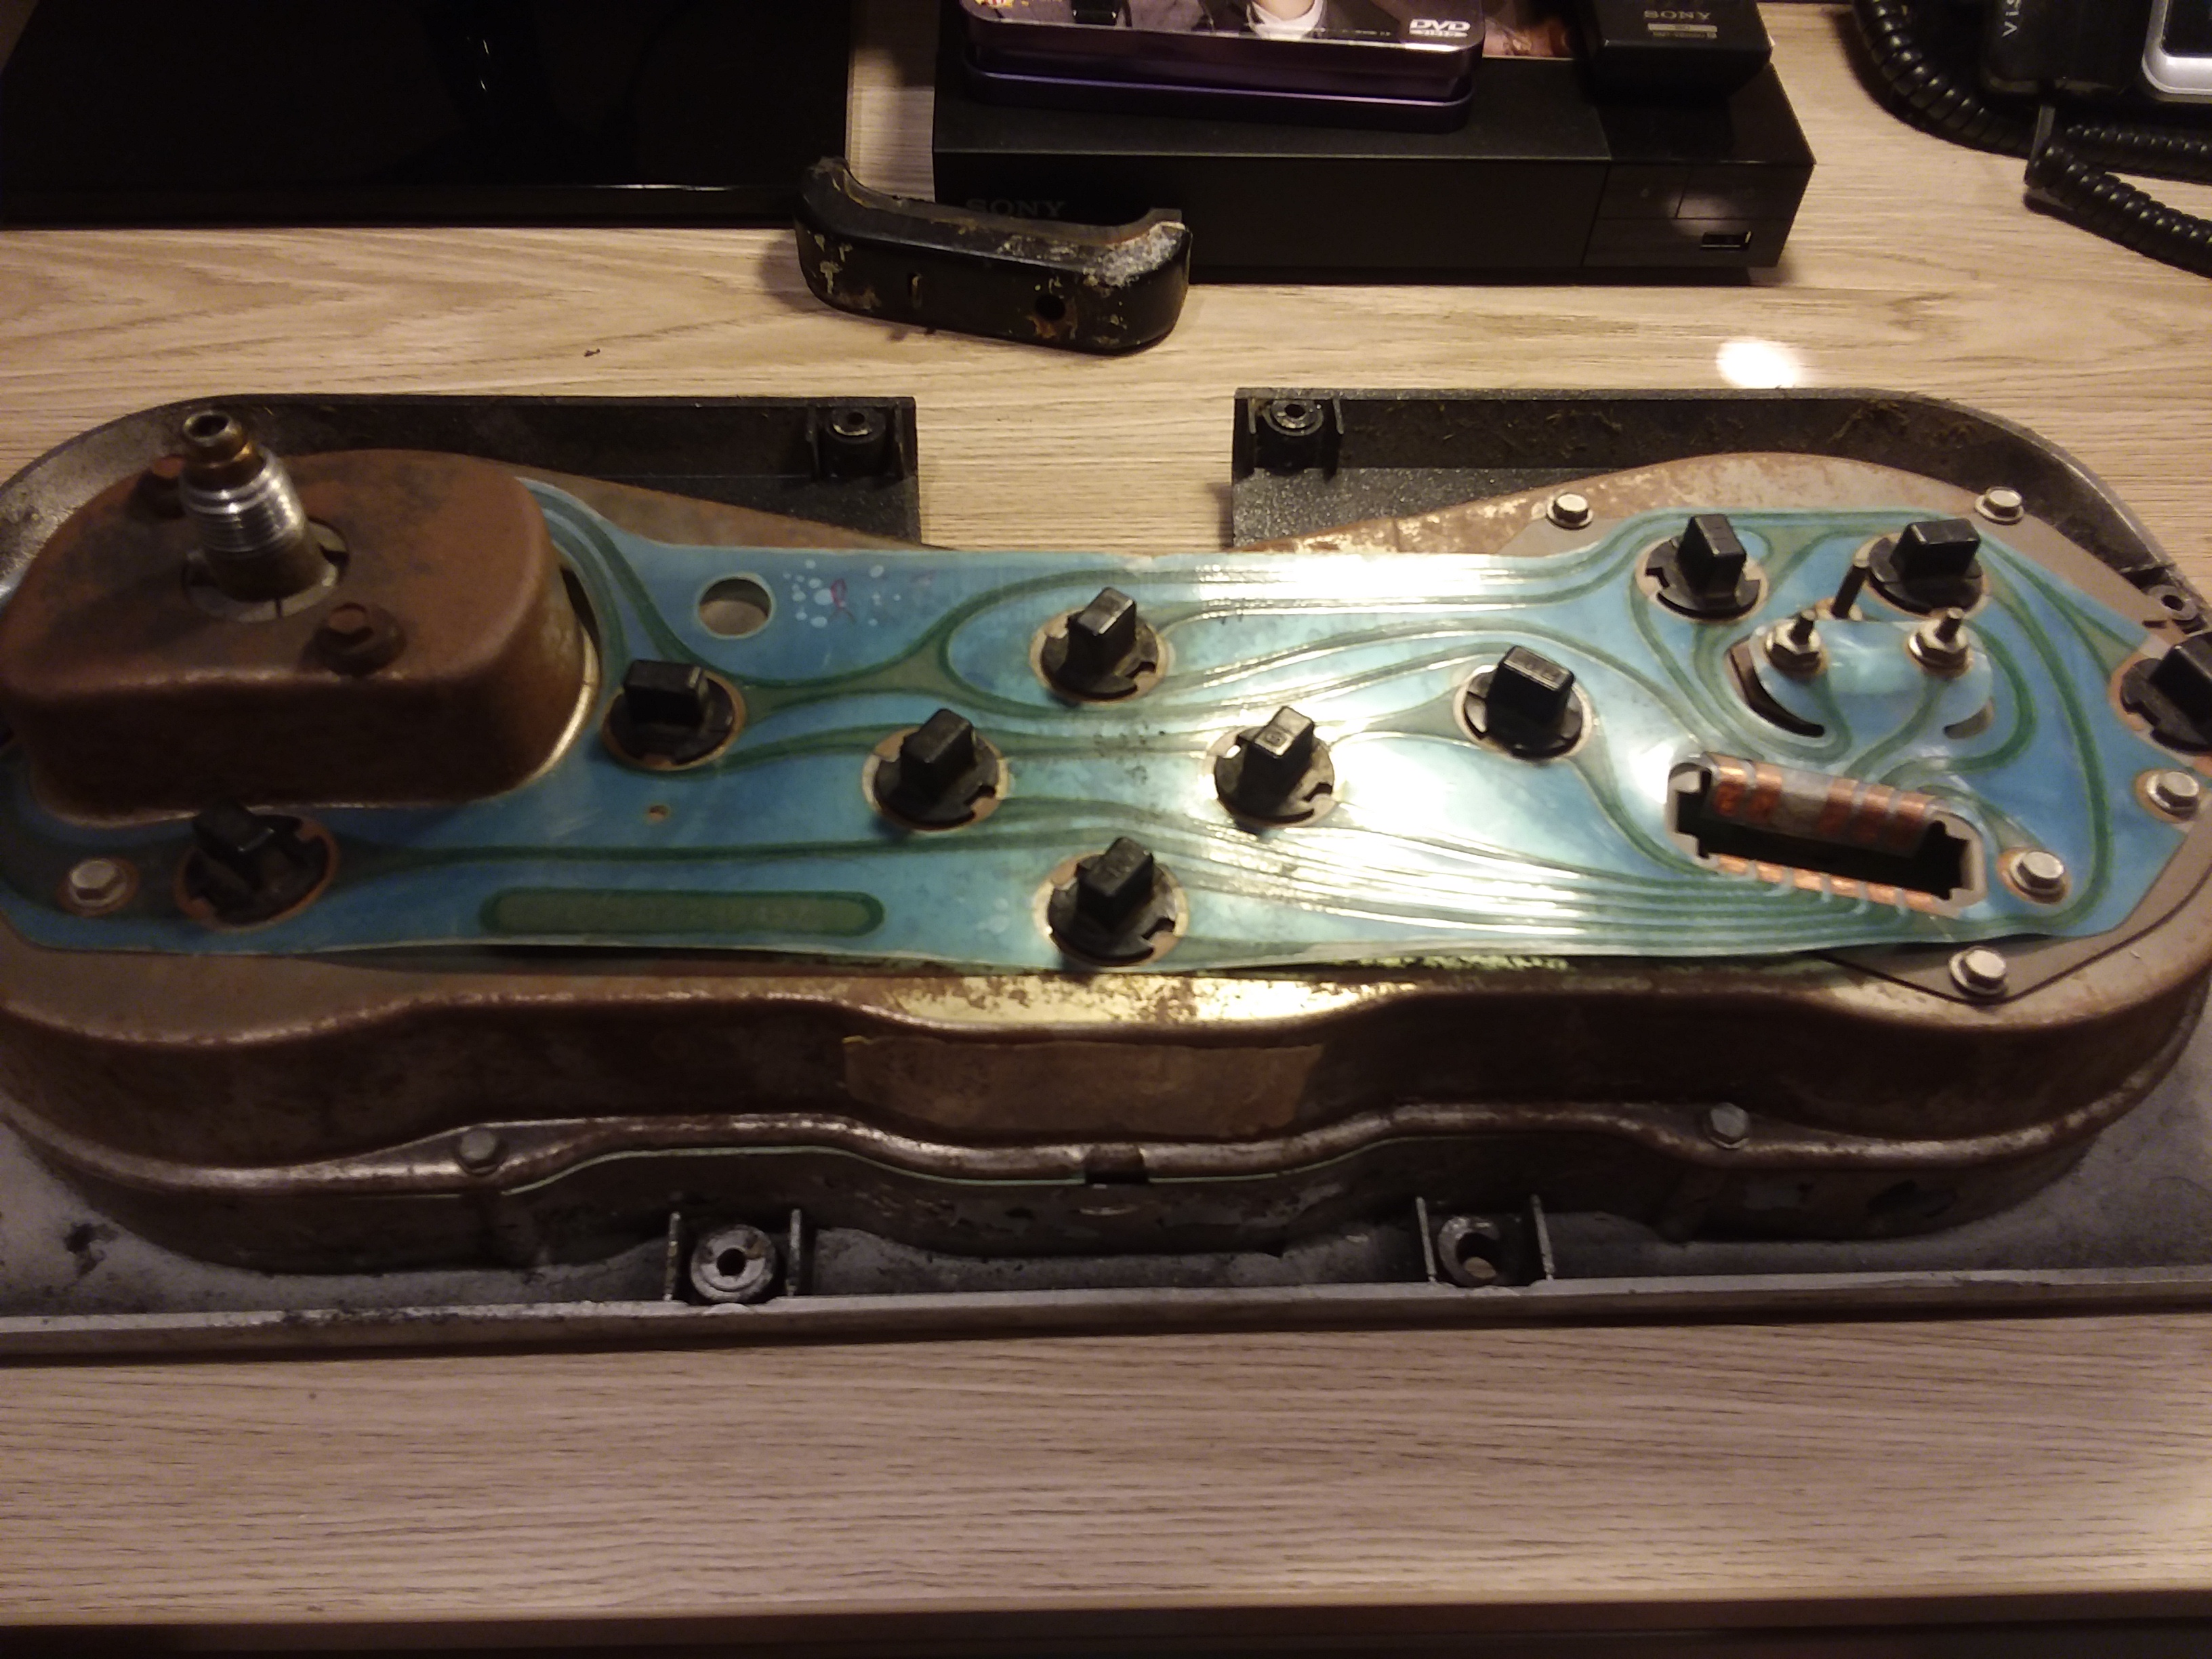
Interior: Dash lights are working now after replacing fuses and bulbs.
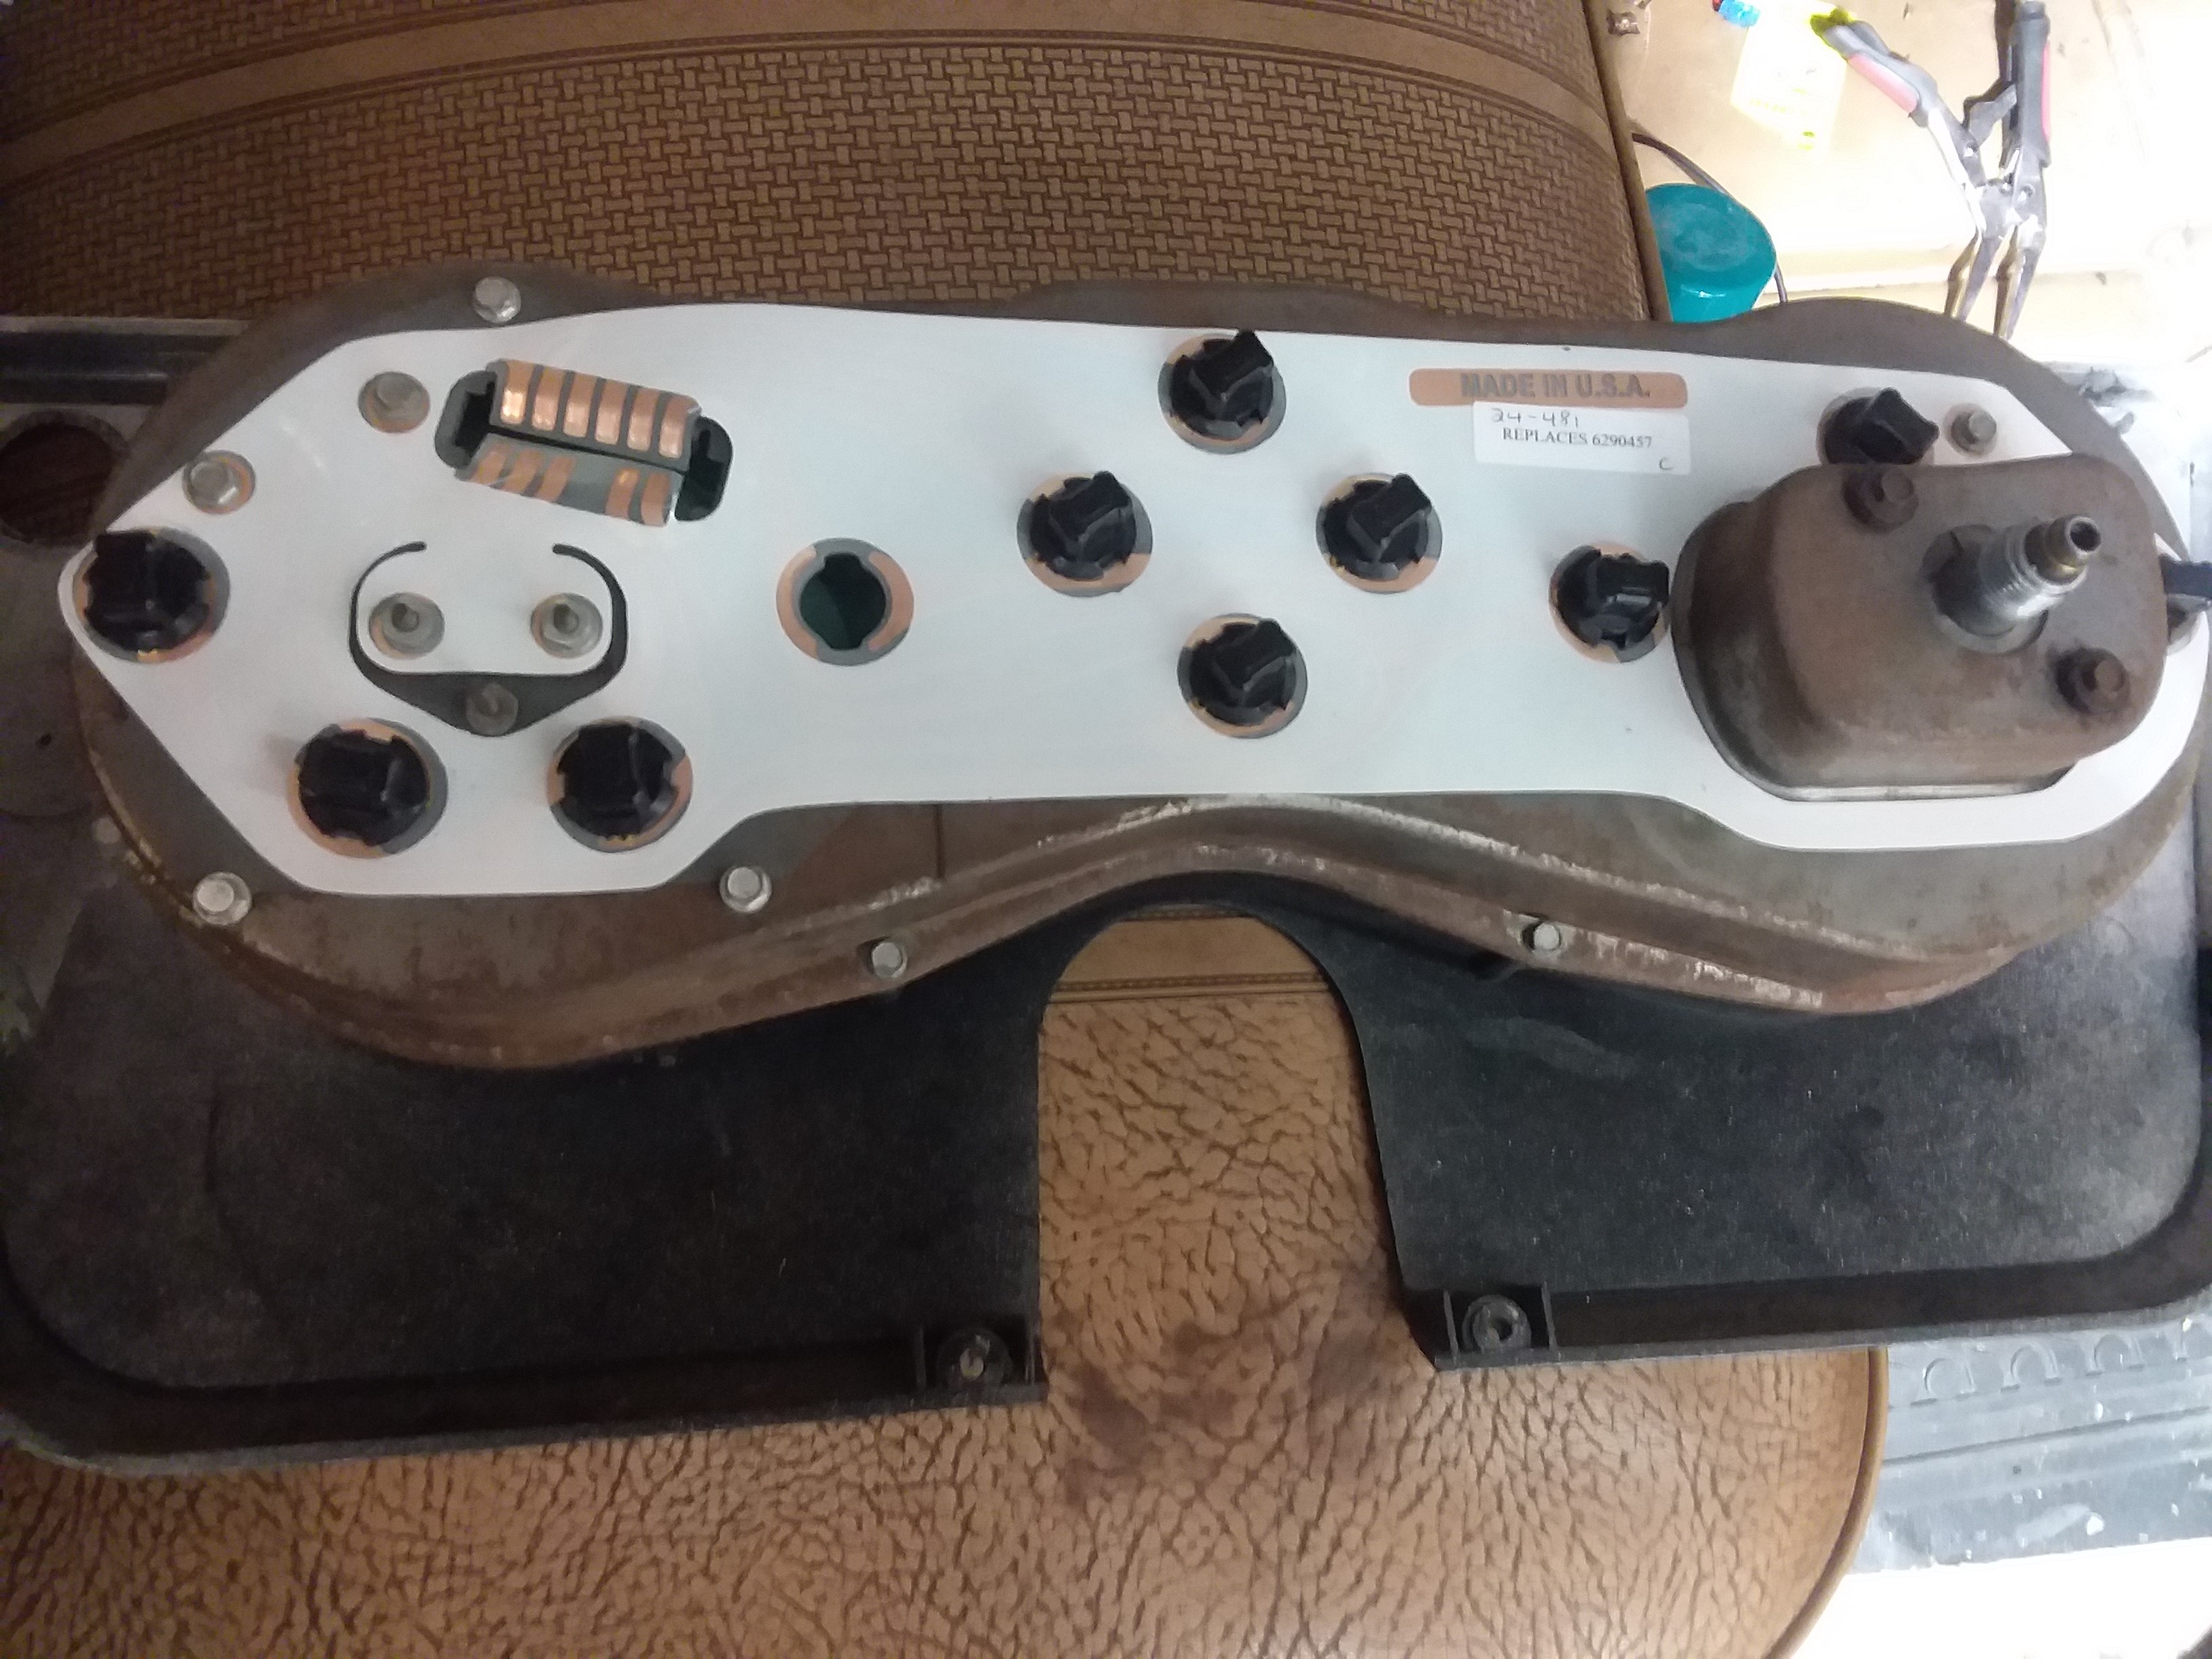
All those little black knobs hold the bulbs. They were replaced and new bulbs put in. “Below”
New circuit “board” installed with the bulbs put in. They insert with a turn to hold down the Circuit “board”.
Actually made in the USA. WOW…..
Old fuses….All new ones put in. This WILL be updated to a modern fuse block later one along with new wiring during the total rebuild stage.
Wipers are a mess. One of the previous owners changed the wiper motor mount, probably due to rusting out. They did use a correct mount, although old, but they did not mount it in the right direction. So………..working on a plan to get that fixed. Plus I will need to either get a new motor or mine rebuilt. This will be a spring project because I must have wipers to drive it.
That is about all I got done this year, due to delays on parts and getting some things made and painted (driveshaft).
On to 2019, since cold weather will probably be here soon and my garage is not heated. 2019 will be better I hope to get it driving again and get my Dodge Dakota painted and then I can tear down the old Chevy for the real work and transformation to begin.
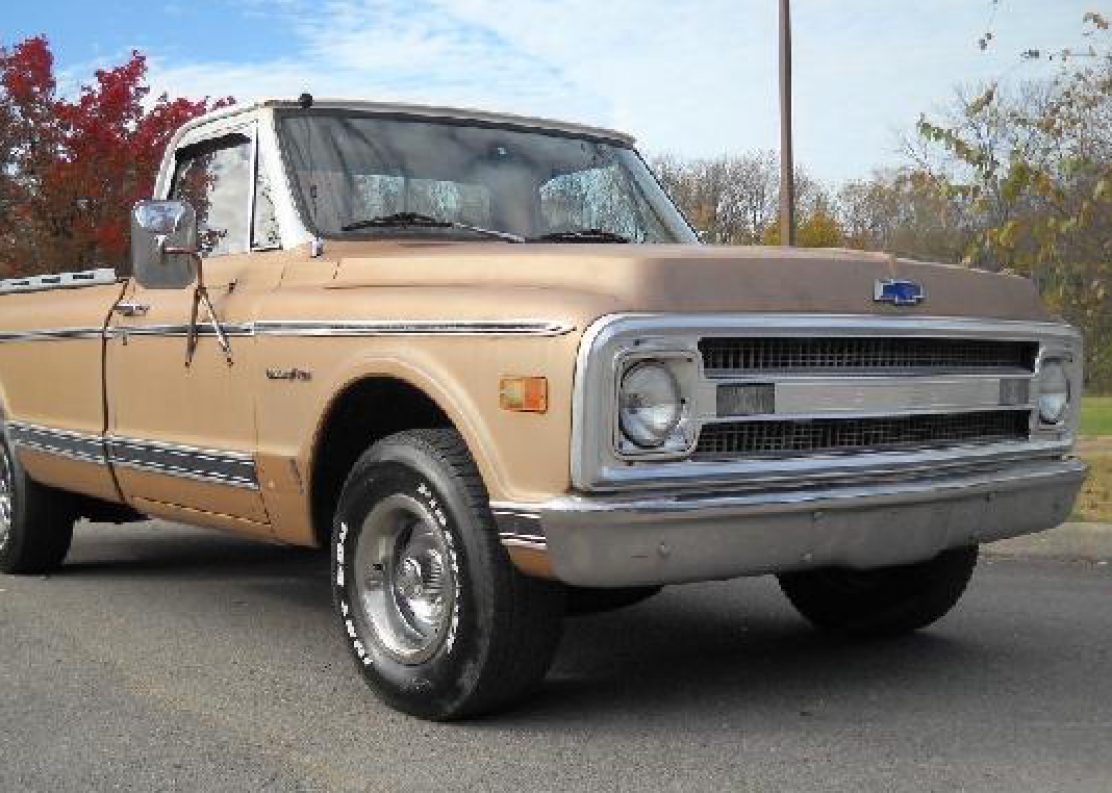
Found this picture on the Internet and it is close to what I would like to have my truck look like if I go with custom paint. The orange color will be a shade of red, but you get the idea. I am going to work on changing the color in this pic from orange to closer to the red I want.
The color red I would like is on this truck.
So…put this red on the above truck, where the orange is. That is what is in my head right now. Years down the road and it might change, but I like this combo and style.
Plus I will have these images saved here for future reference.
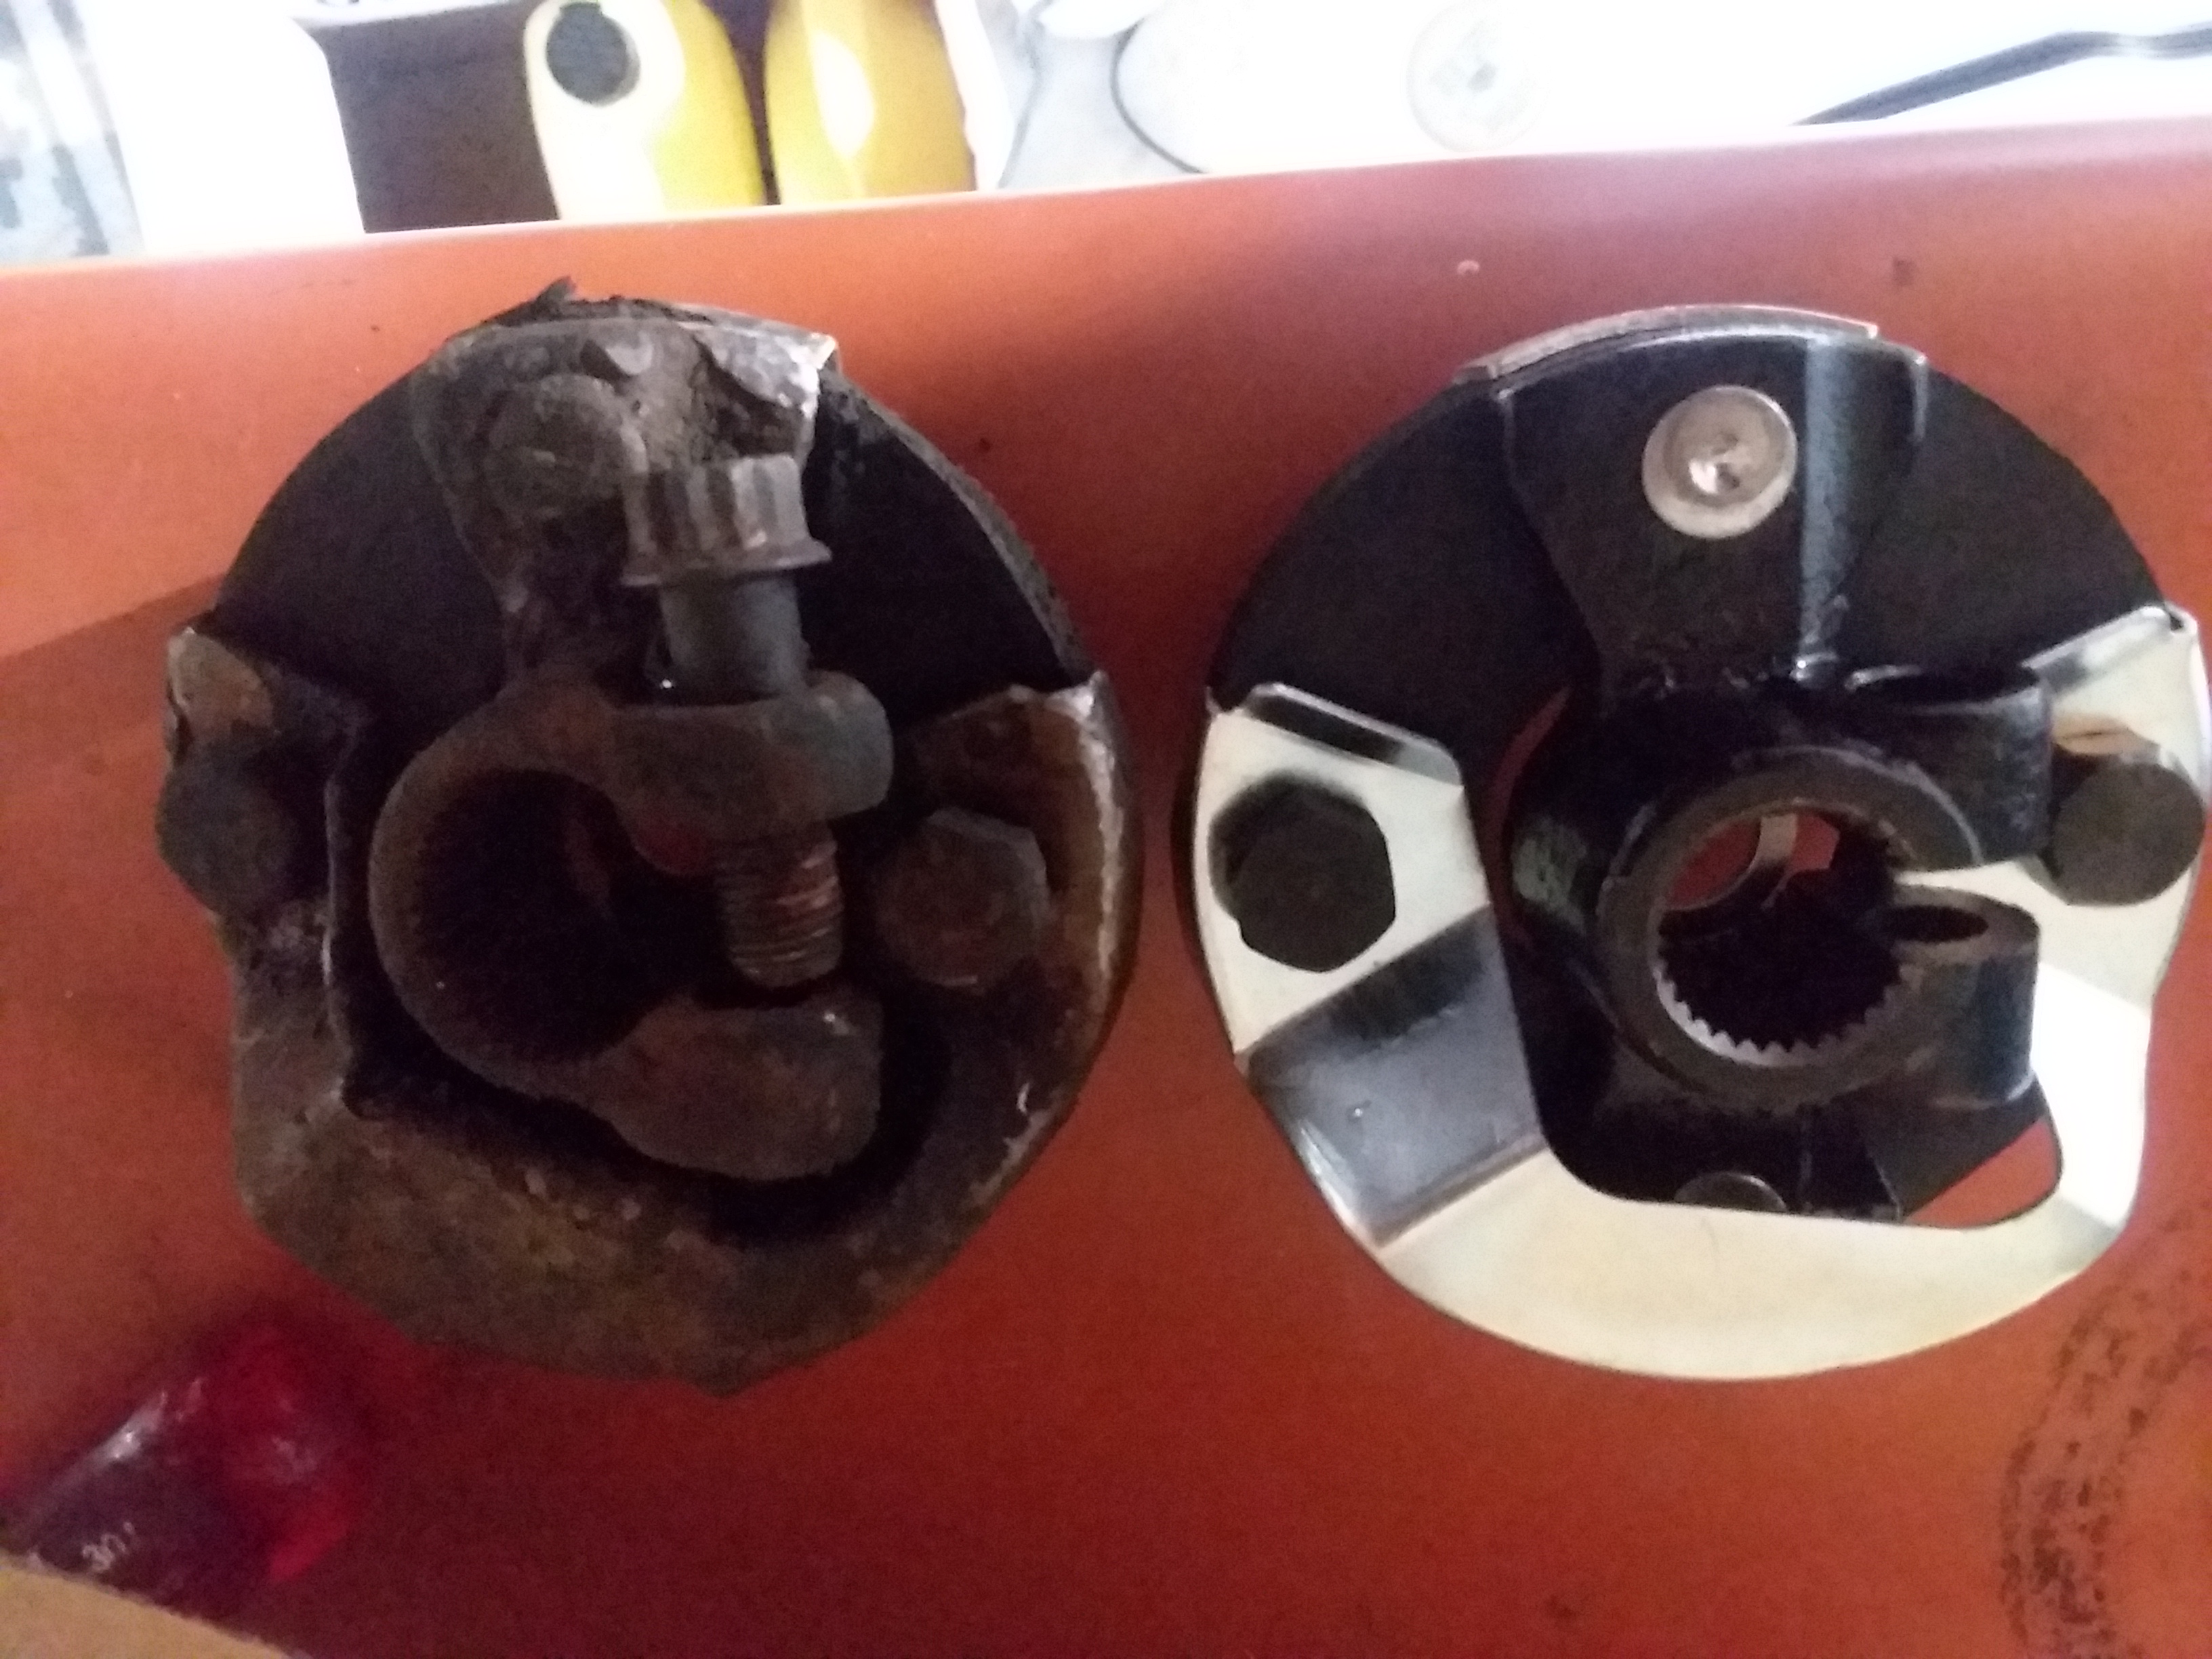
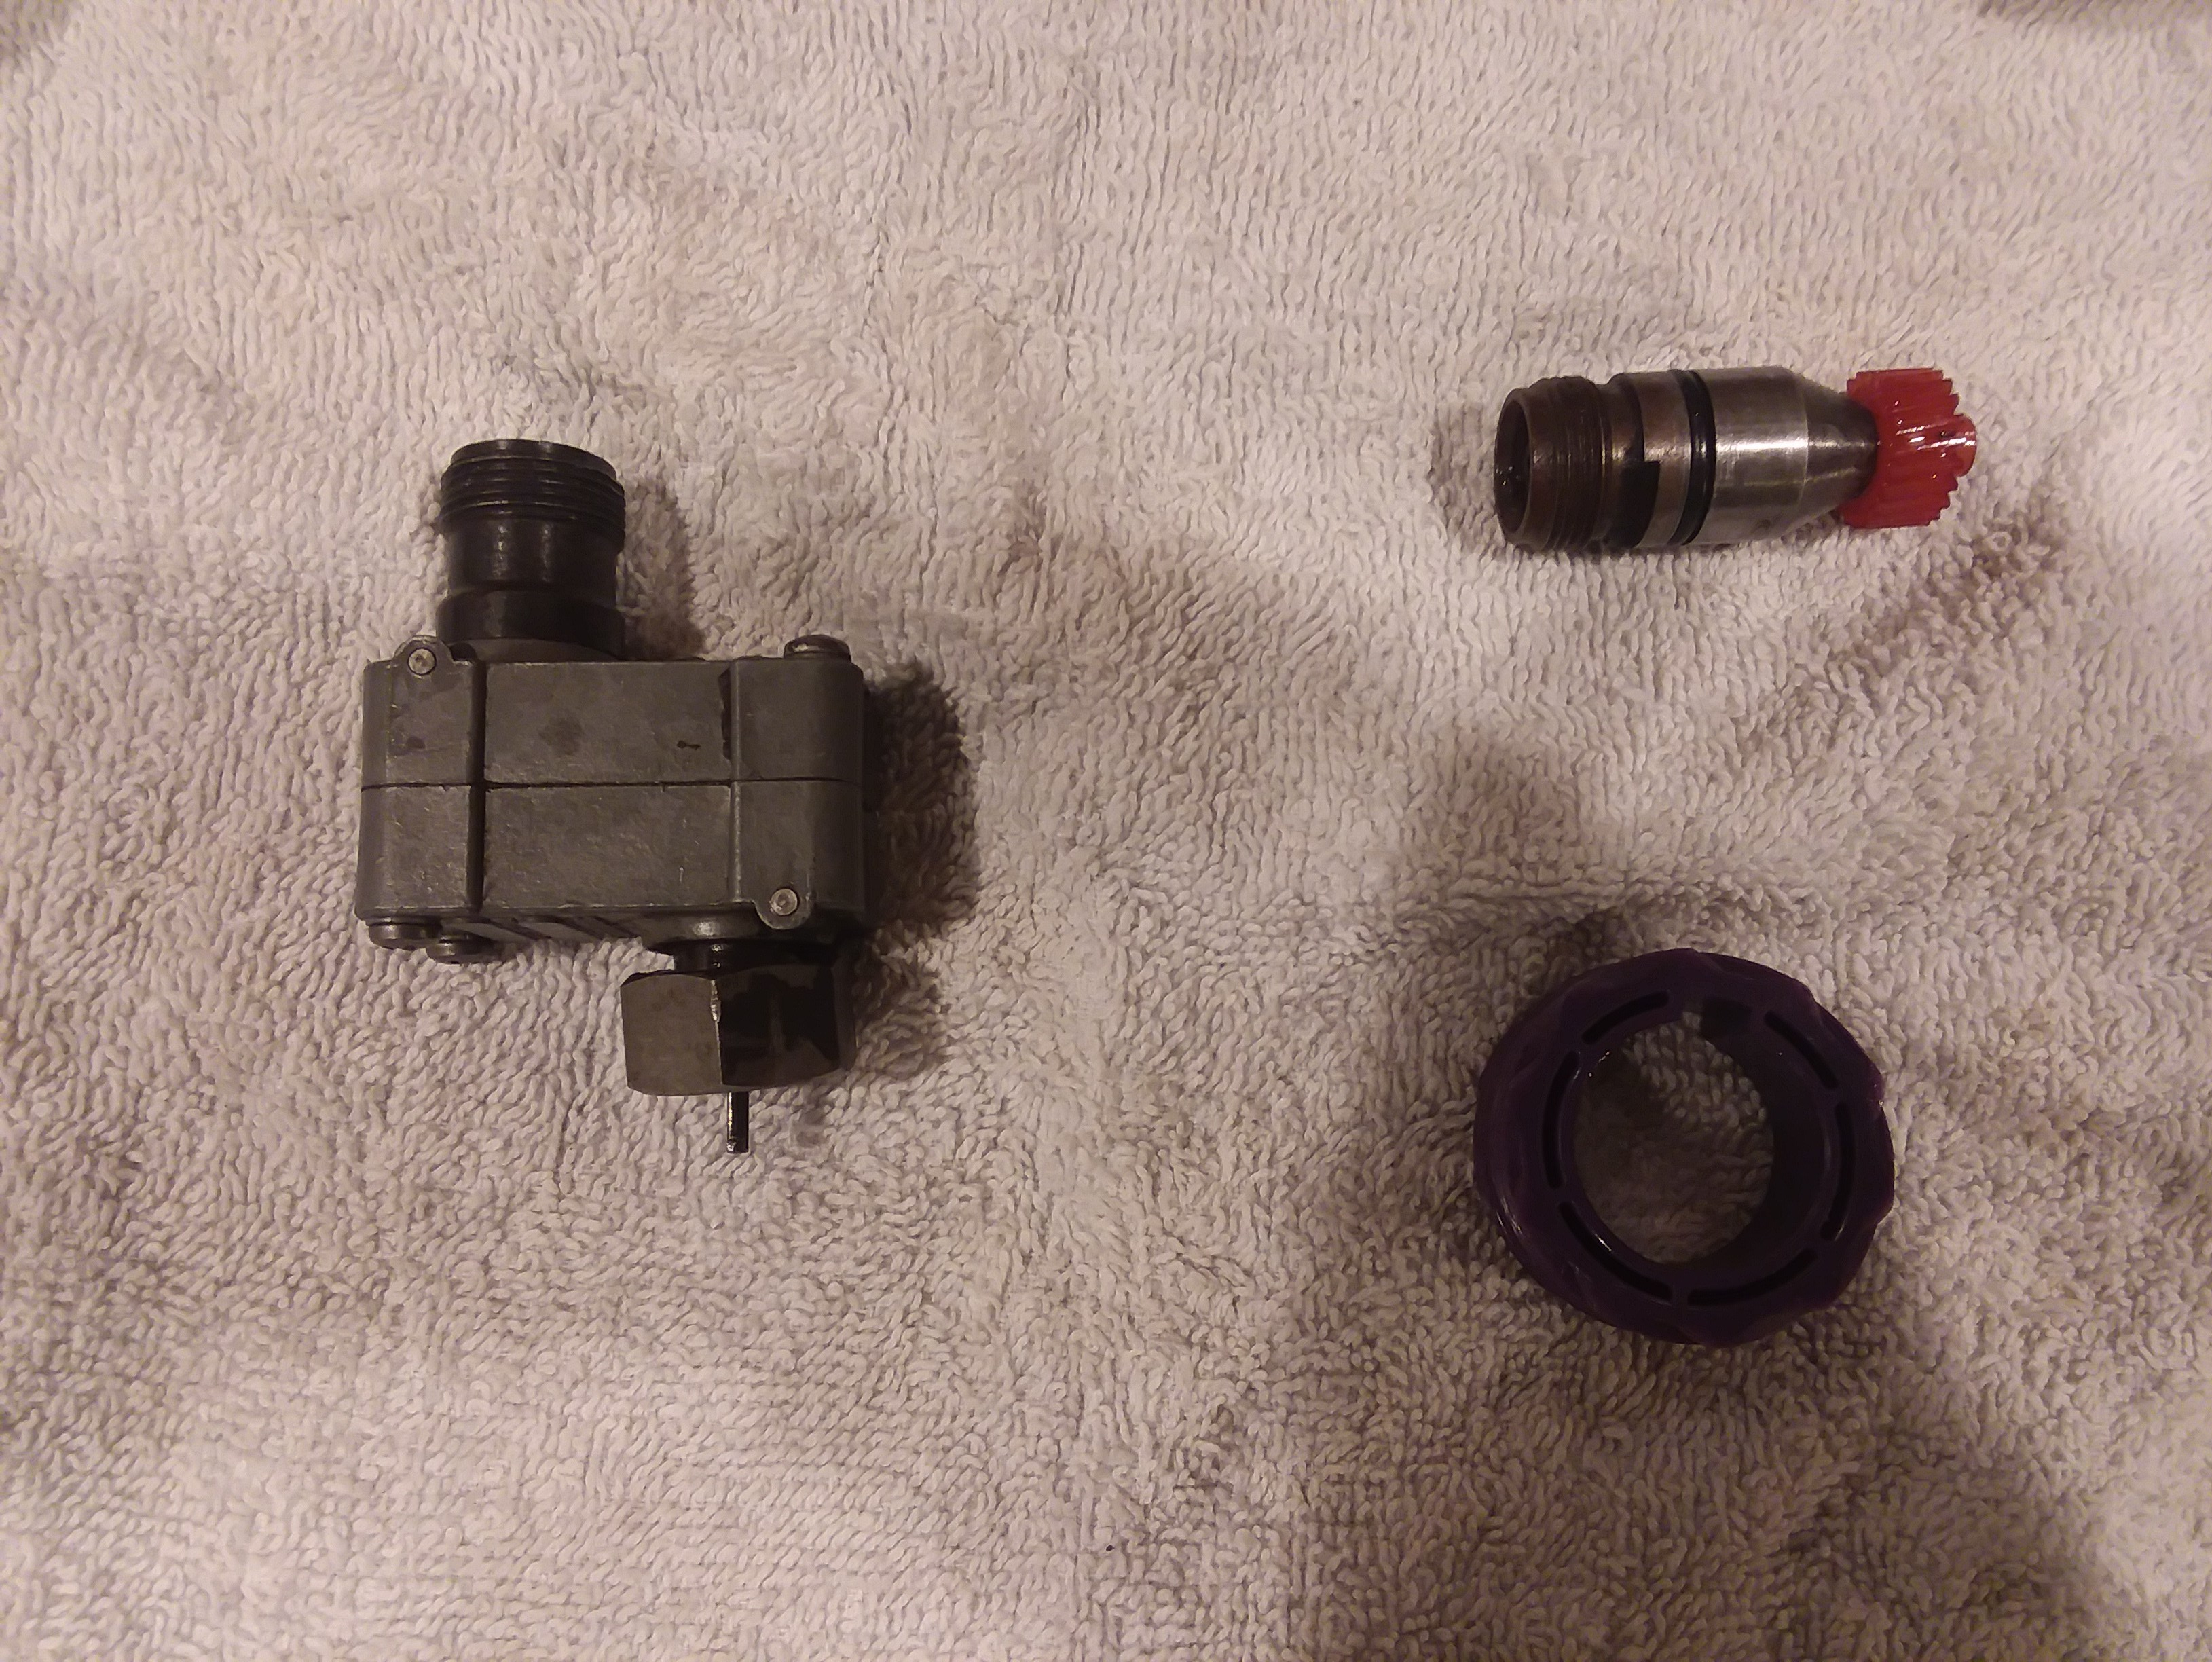
I have made a little progress. I was able to replace the speedometer gear to the correct one. This is so the speedo will show the correct speed….kinda important. I have learned some more about my truck. It was originally a three speed manual. I think it was changed to a automatic when the engine was changed and someone did not want to take the time to put the correct speedometer gear in and put an adapter on. This is a picture of the adapter and the old speedo gear.
The item on the left is the adapter. Not sure what someone was thinking but this thing costs about $40. Ordering the correct speedo gear (items on the right) cost less. So I removed all this and got the correct one in. You will see the difference in the following pictures.
But first…..I had to so a little work on the transmission pan. It was scratched up bad, and even though this will be changed later I wanted to make it look a little better. Here is what it looked like after I sanded off the bad paint and after I put etching primer on. Etching primer will make the paint adhere better. This took some work with the drill and a wire brush attachment. Two layers on paint to take off.
Then I was able to start putting it together.
But wait…..look at these two parts. Do they look different than the ones above, parts on the white towel. ……..hard to tell in the picture. The old larger gear was purple and the small one was orange. The new larger gear color is orange and the smaller one is red. What does this all mean…..Well, that’s because the different colors mean different ratios… I ordered the new ones based on my rear diff axle ratio and the size of my tires and of course the type of transmission I have. TH 350. The two pieces work together and as supper easy to put on. They just slide on with a locking clip…easy…easy…… which I why I wondering why someone just did not do it right when they swapped.
So, it should be in sync to show the correct speed on the speedo. A lot of people go out and get bigger tires and don’t know that doing this will mess up your speedo readings. Either showing faster or slower than you are actually going. There is a formula and according to TCI transmissions I should have it right now.
Here is the completed assembly. Speedo cable attached in the pic on the left.
Next after getting the new universal joints and center bearing pressed on at the shop. I don’t have the tools to do this, you have to have a hydraulic press to put the center bearing on….you can get universal joints in without and press, but its risky, in my opinion. They may not seat properly. I put the new drive shaft or (prop shaft) as they call it in the UK in. Oh….and its all painted up and everything and turning smooth.
Here it is:
I am now waiting on a new headlight switch to get here and I will be hopefully with get all my dash gauges lighted properly. Which is coming soon…here is a preview…….I am working with this. Looks like fun.
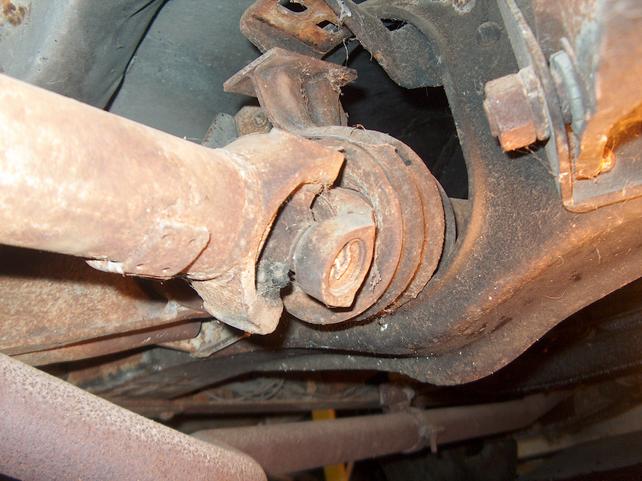
Well…I am waiting for some radiator top brackets to be modified, I found that the drive shaft carrier bearing was completely shot. So, I got the new one and also since I have to take the drive shaft out I will replace the u-joints also, all three of them. Why the odd number……these trucks have two piece drive shafts, most old trucks do if they are long beds, like mine.
Here is what I have to have replaced:
This carrier bearing (round metal hoop that looks like it’s wrapped around the driveshaft), it supports the end of the front drive shaft. Mine was completely shot and wobbling badly. This pic is not mine….but mine was just as bad, but was mounted to the top. Amazing I was able to drive it at all. That just goes to show you that some thought was put into these things and even parts when completely shot will still work long enough to give you time to fix.
The rear drive shaft is connected to the front drive shaft with a u-joint. All of this is getting replaced. I would have liked to have done it myself, but these parts have to be pressed in, I do no have a press. So its at the shop getting that done.
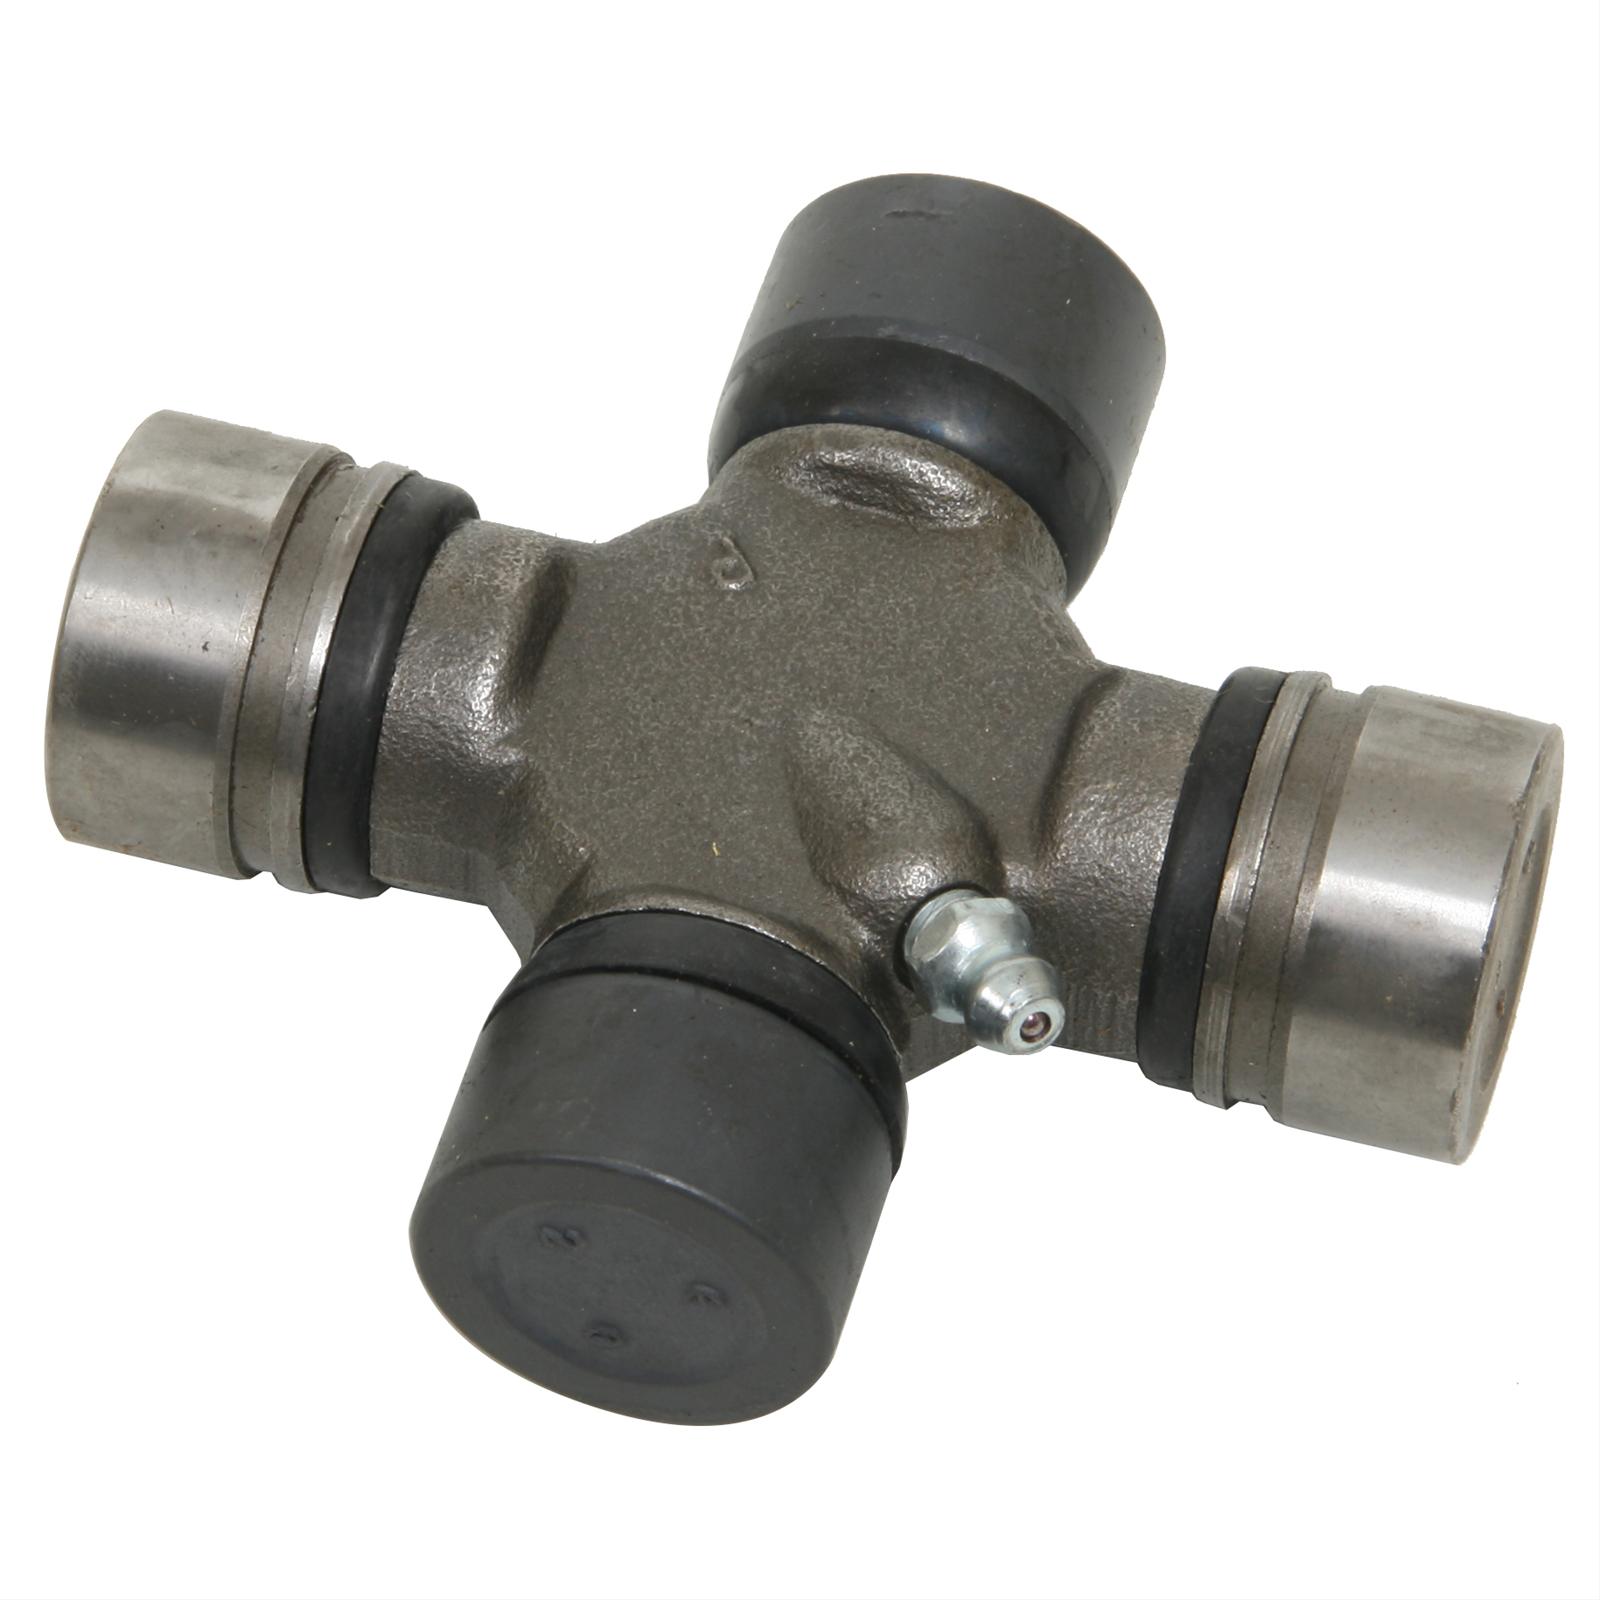
Here are the u-joints that will also be replaced:
Kinda looks like an X.
Okay…..well while the drives shafts are out I will be replacing the rear transmission seal and looking into the funky speedo gear I have on my transmission. Someone has done something weird for some reason and I will have to research it to find out. It looks as though since the transmission is not original that a speedo gear adapter have been used to try to match up the speedo, trans and rear gearing so the speedo is right. So………I hope to be able to get original style parts to fix this and be sure the speedo will read right.
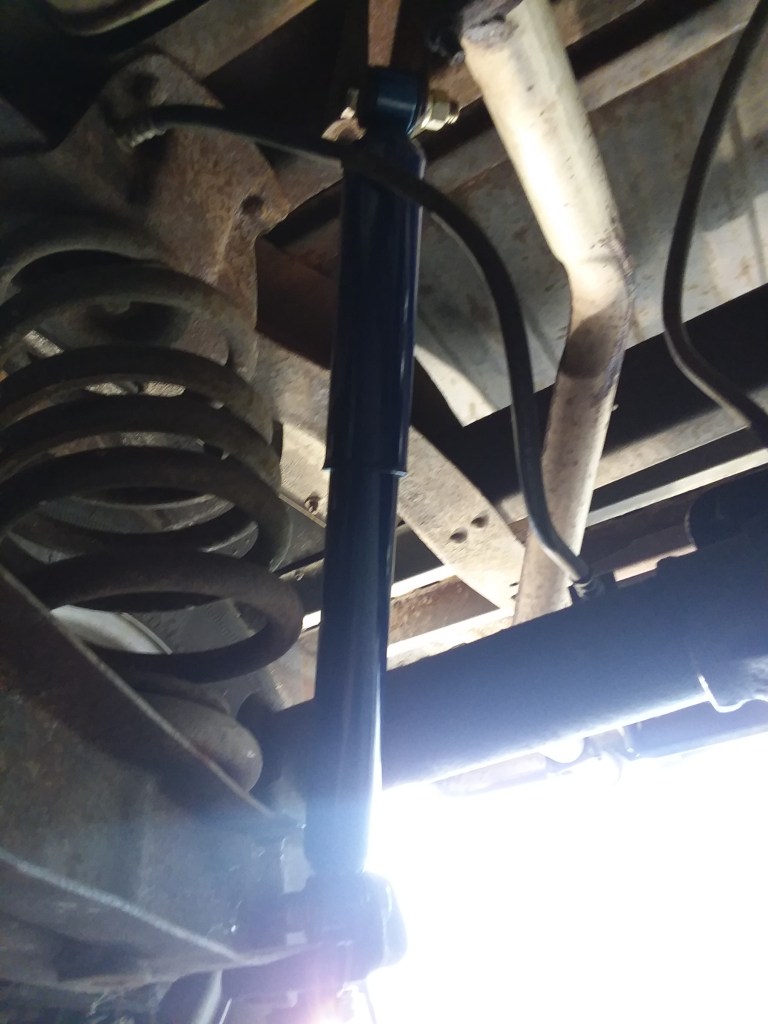
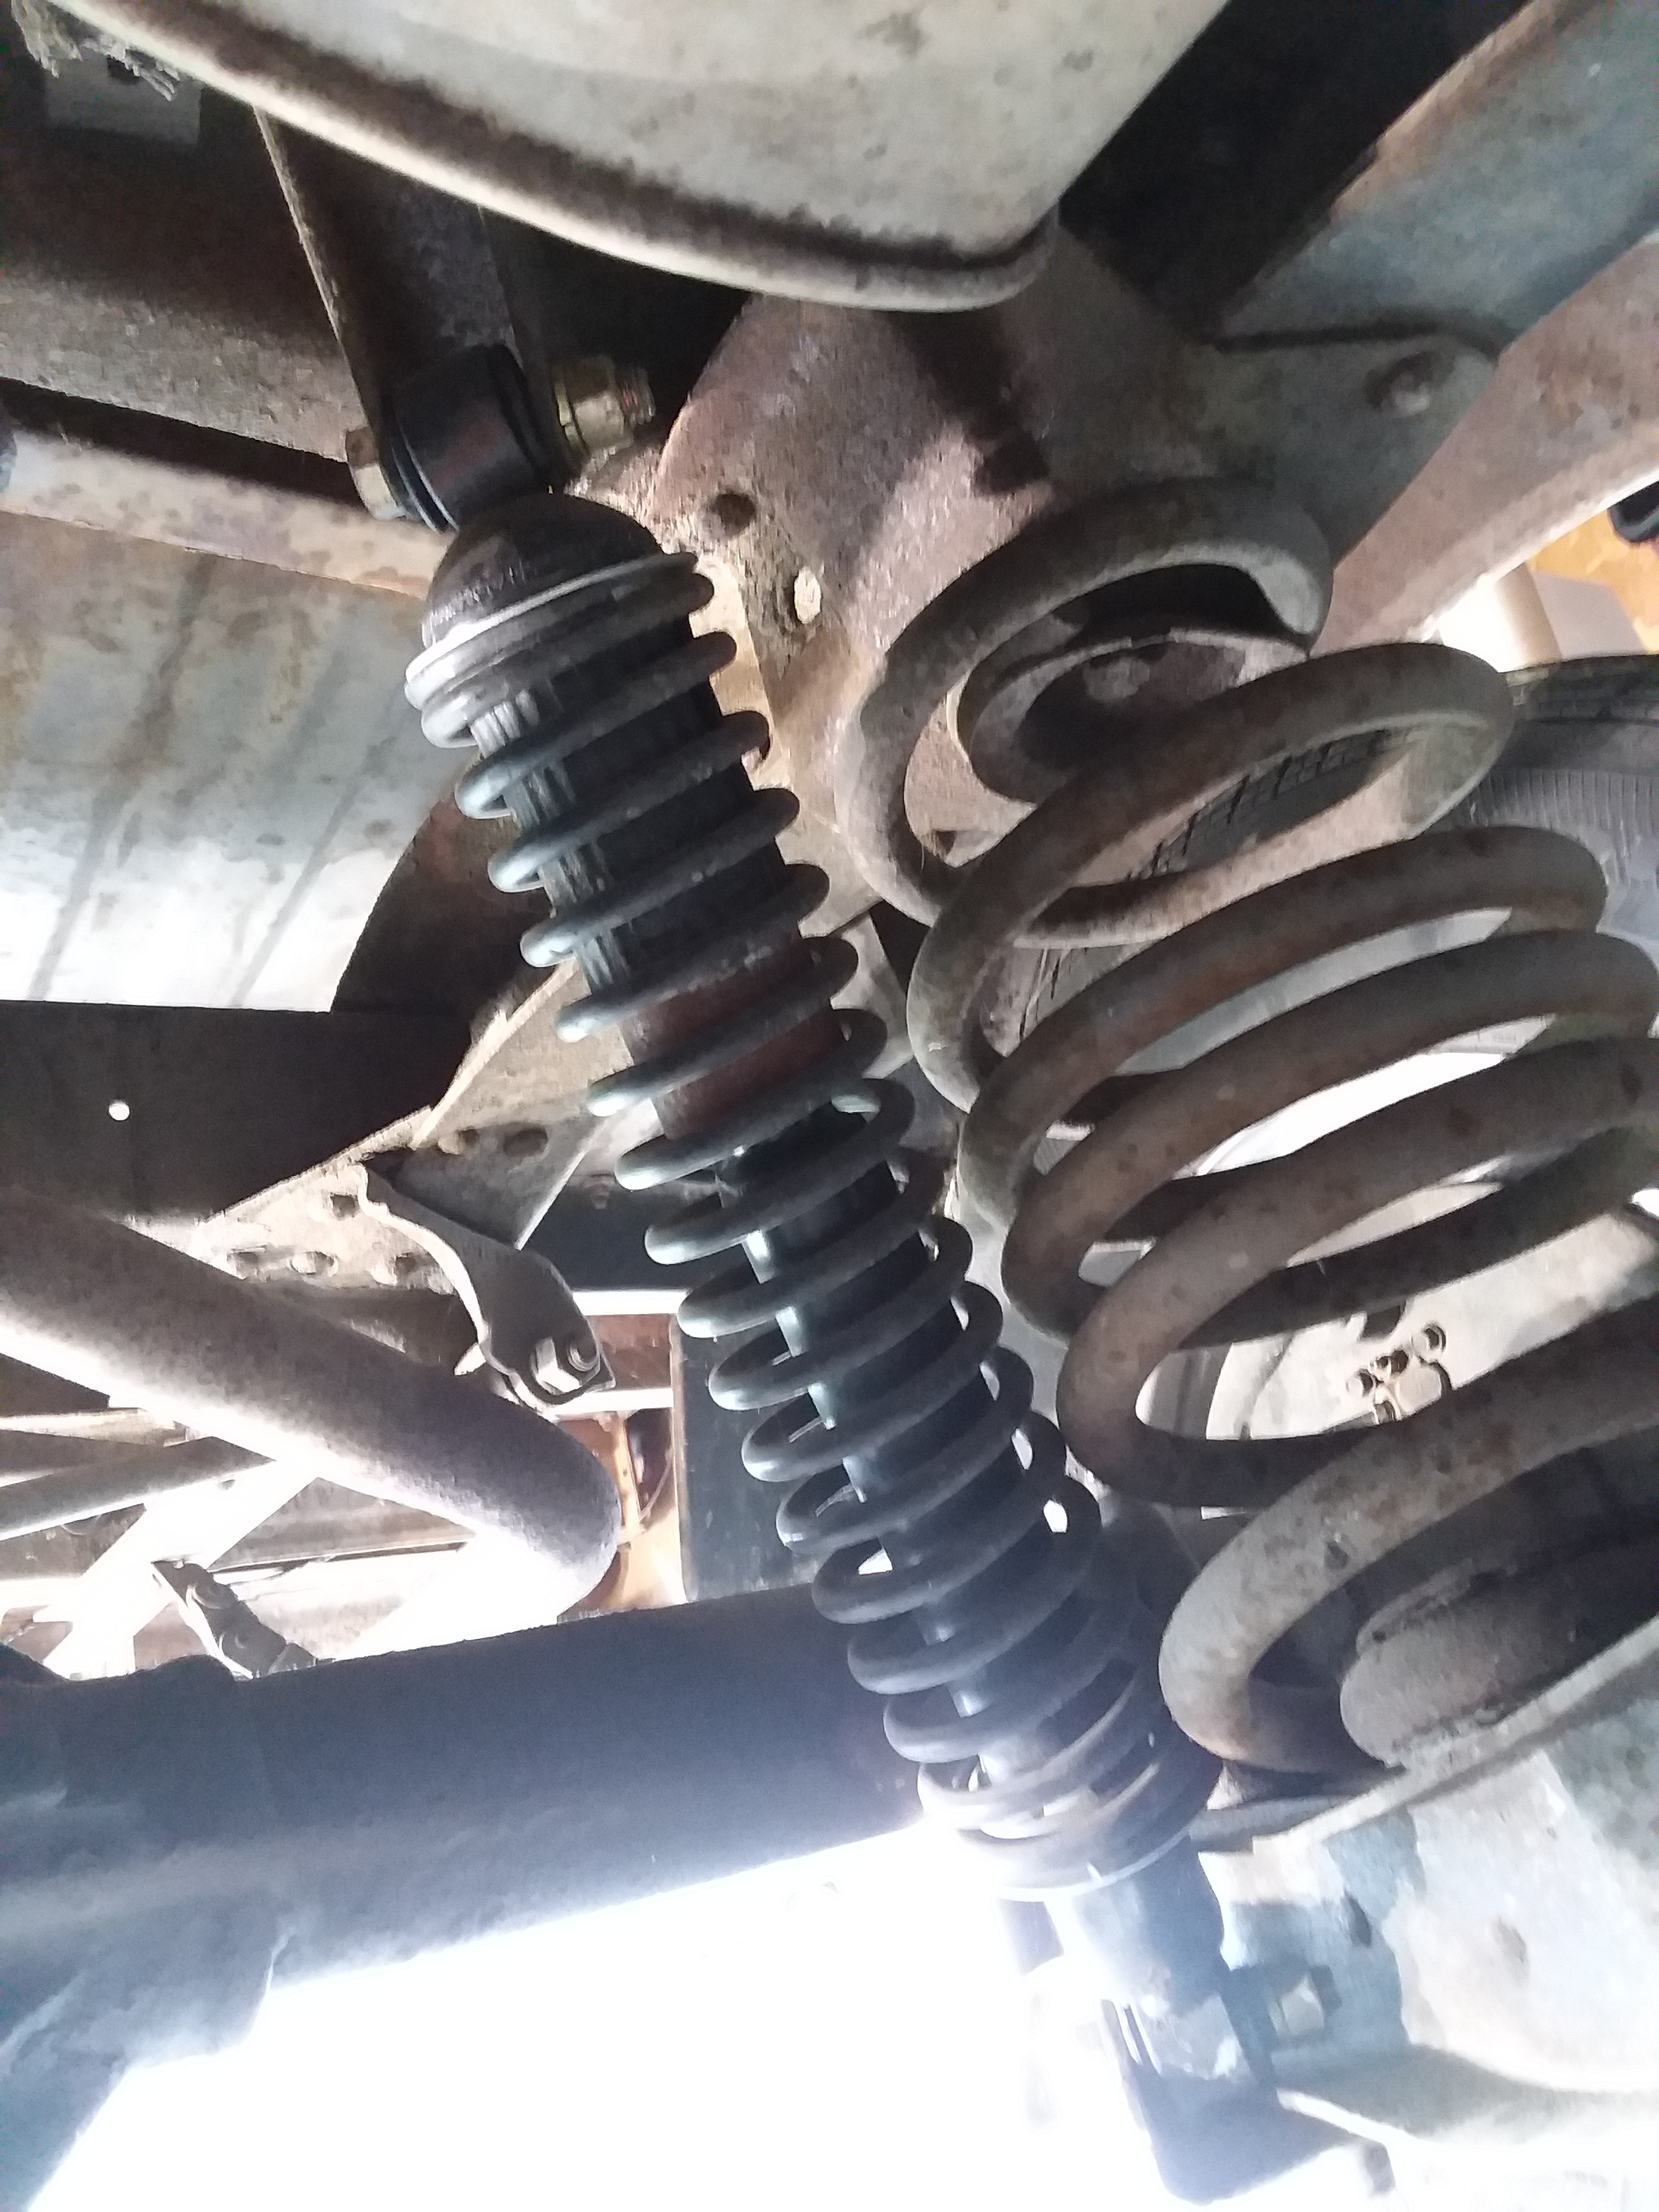
While I was under the truck also noticed that the rear shocks that someone put on were rubbing the coil springs. Ok….coil springs absorb the bumps on the road for cars and trucks. Shocks absorb sudden bumps and keep your car or truck from bouncing endlessly. But, someone put on overload shocks that are supposed to increase what a truck can carry in the back. They work….but not a good thing if they rub the coil springs. So I replaced them with stock shocks. Went though one pair that would not fit…..but after some research got the right ones ( I hope) and installed.
Here is the before and after.
New Stock Shock
Old Overload
Sorry about the glare. Bottom Pic is the offending shock, that is rubbing the coil spring at the bottom. The Top pic one is the new one. As you can see it will not be rubbing.
Actually after getting the right part this job was easy and I was done in about 30 minutes. It’s been the only job so far that has been easy.
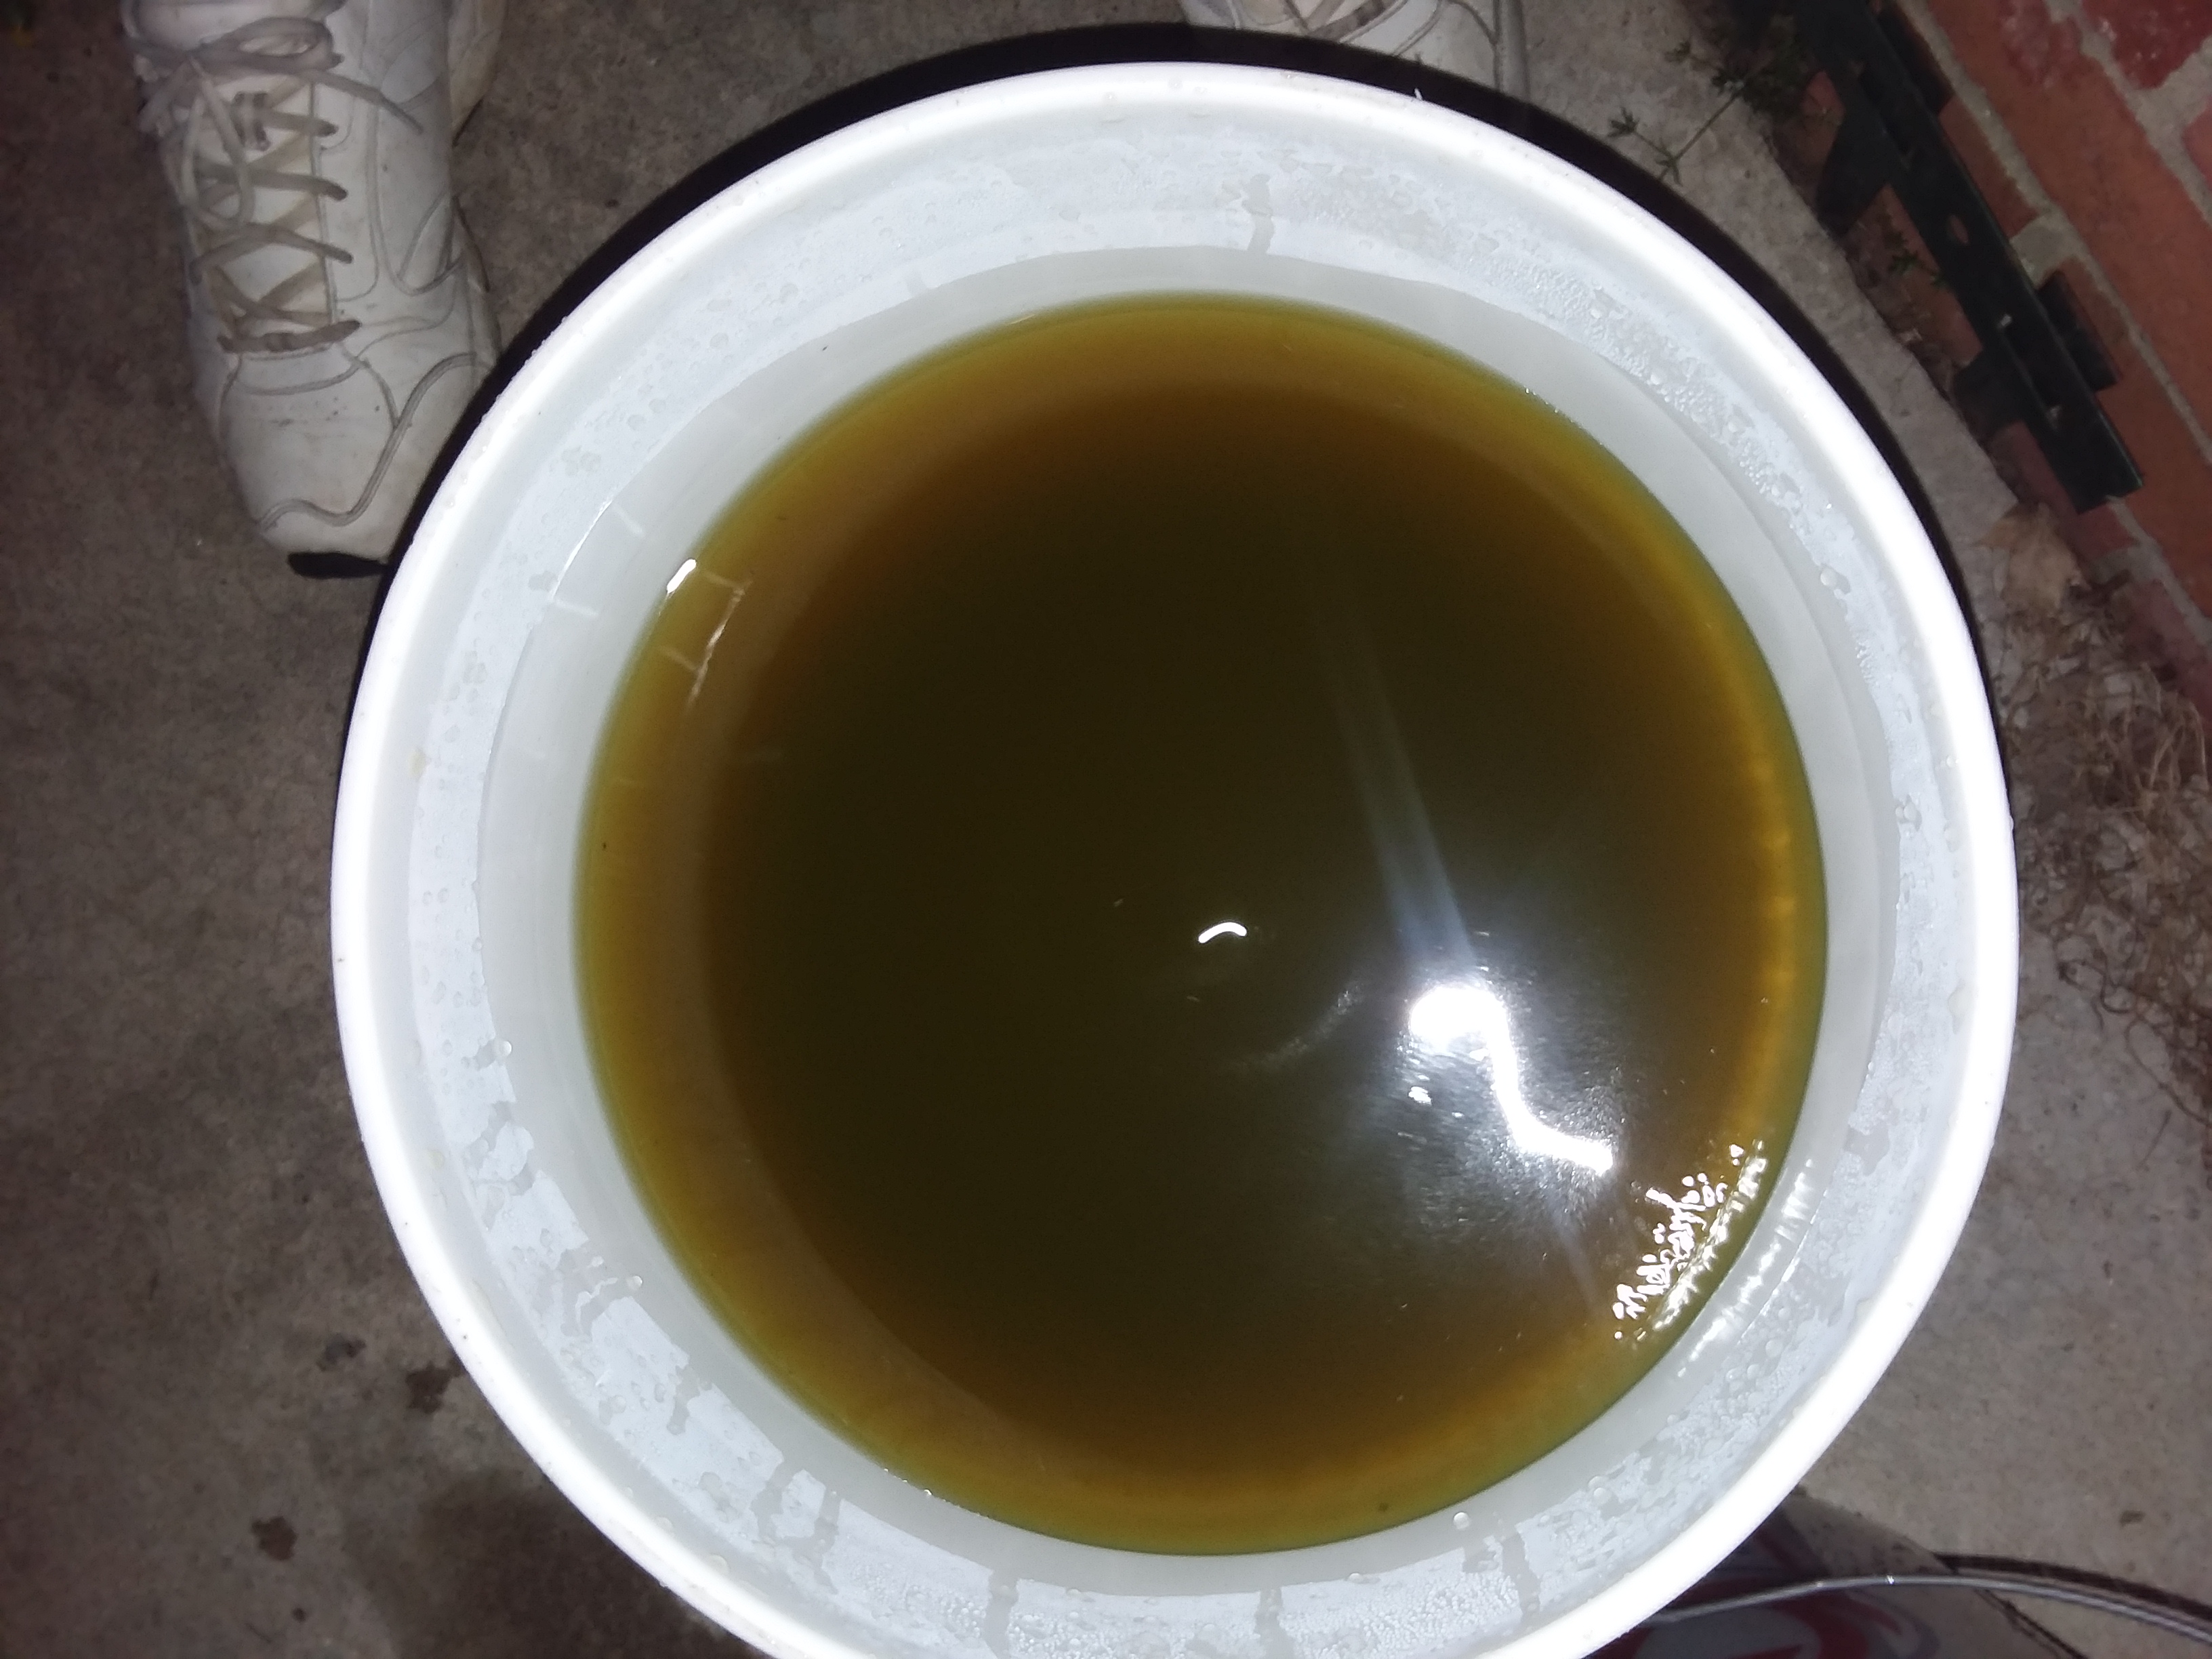
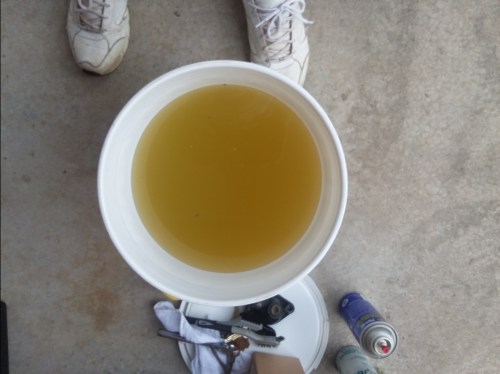
Well…I have started the coolant system flush. I will post some more pictures tomorrow. I am only about half way done. But wanted you to see what came out. This result is only after just draining and running water though the system. I have not added the chemical flush yet. I have to get as much of the old anti-freeze out.
Result: Initial drain and 1 water flush. This looked green in the radiator….but as you drain a brown tint begins. There were some little specs in the coolant, but not bad. Took picture at night so it does look darker, but it is brownish.
Result: 2nd and 3rd Water Flush.
As you can see there is progress. Its less green and more brown, coming out, so there is definitely less antifreeze in it. . I also figured out that the heater core…..(where heat inside comes from) must be somewhat plugged. Common with one this old. So I by-passed it. After that I was able to get better flow and the water coming out was a better color.
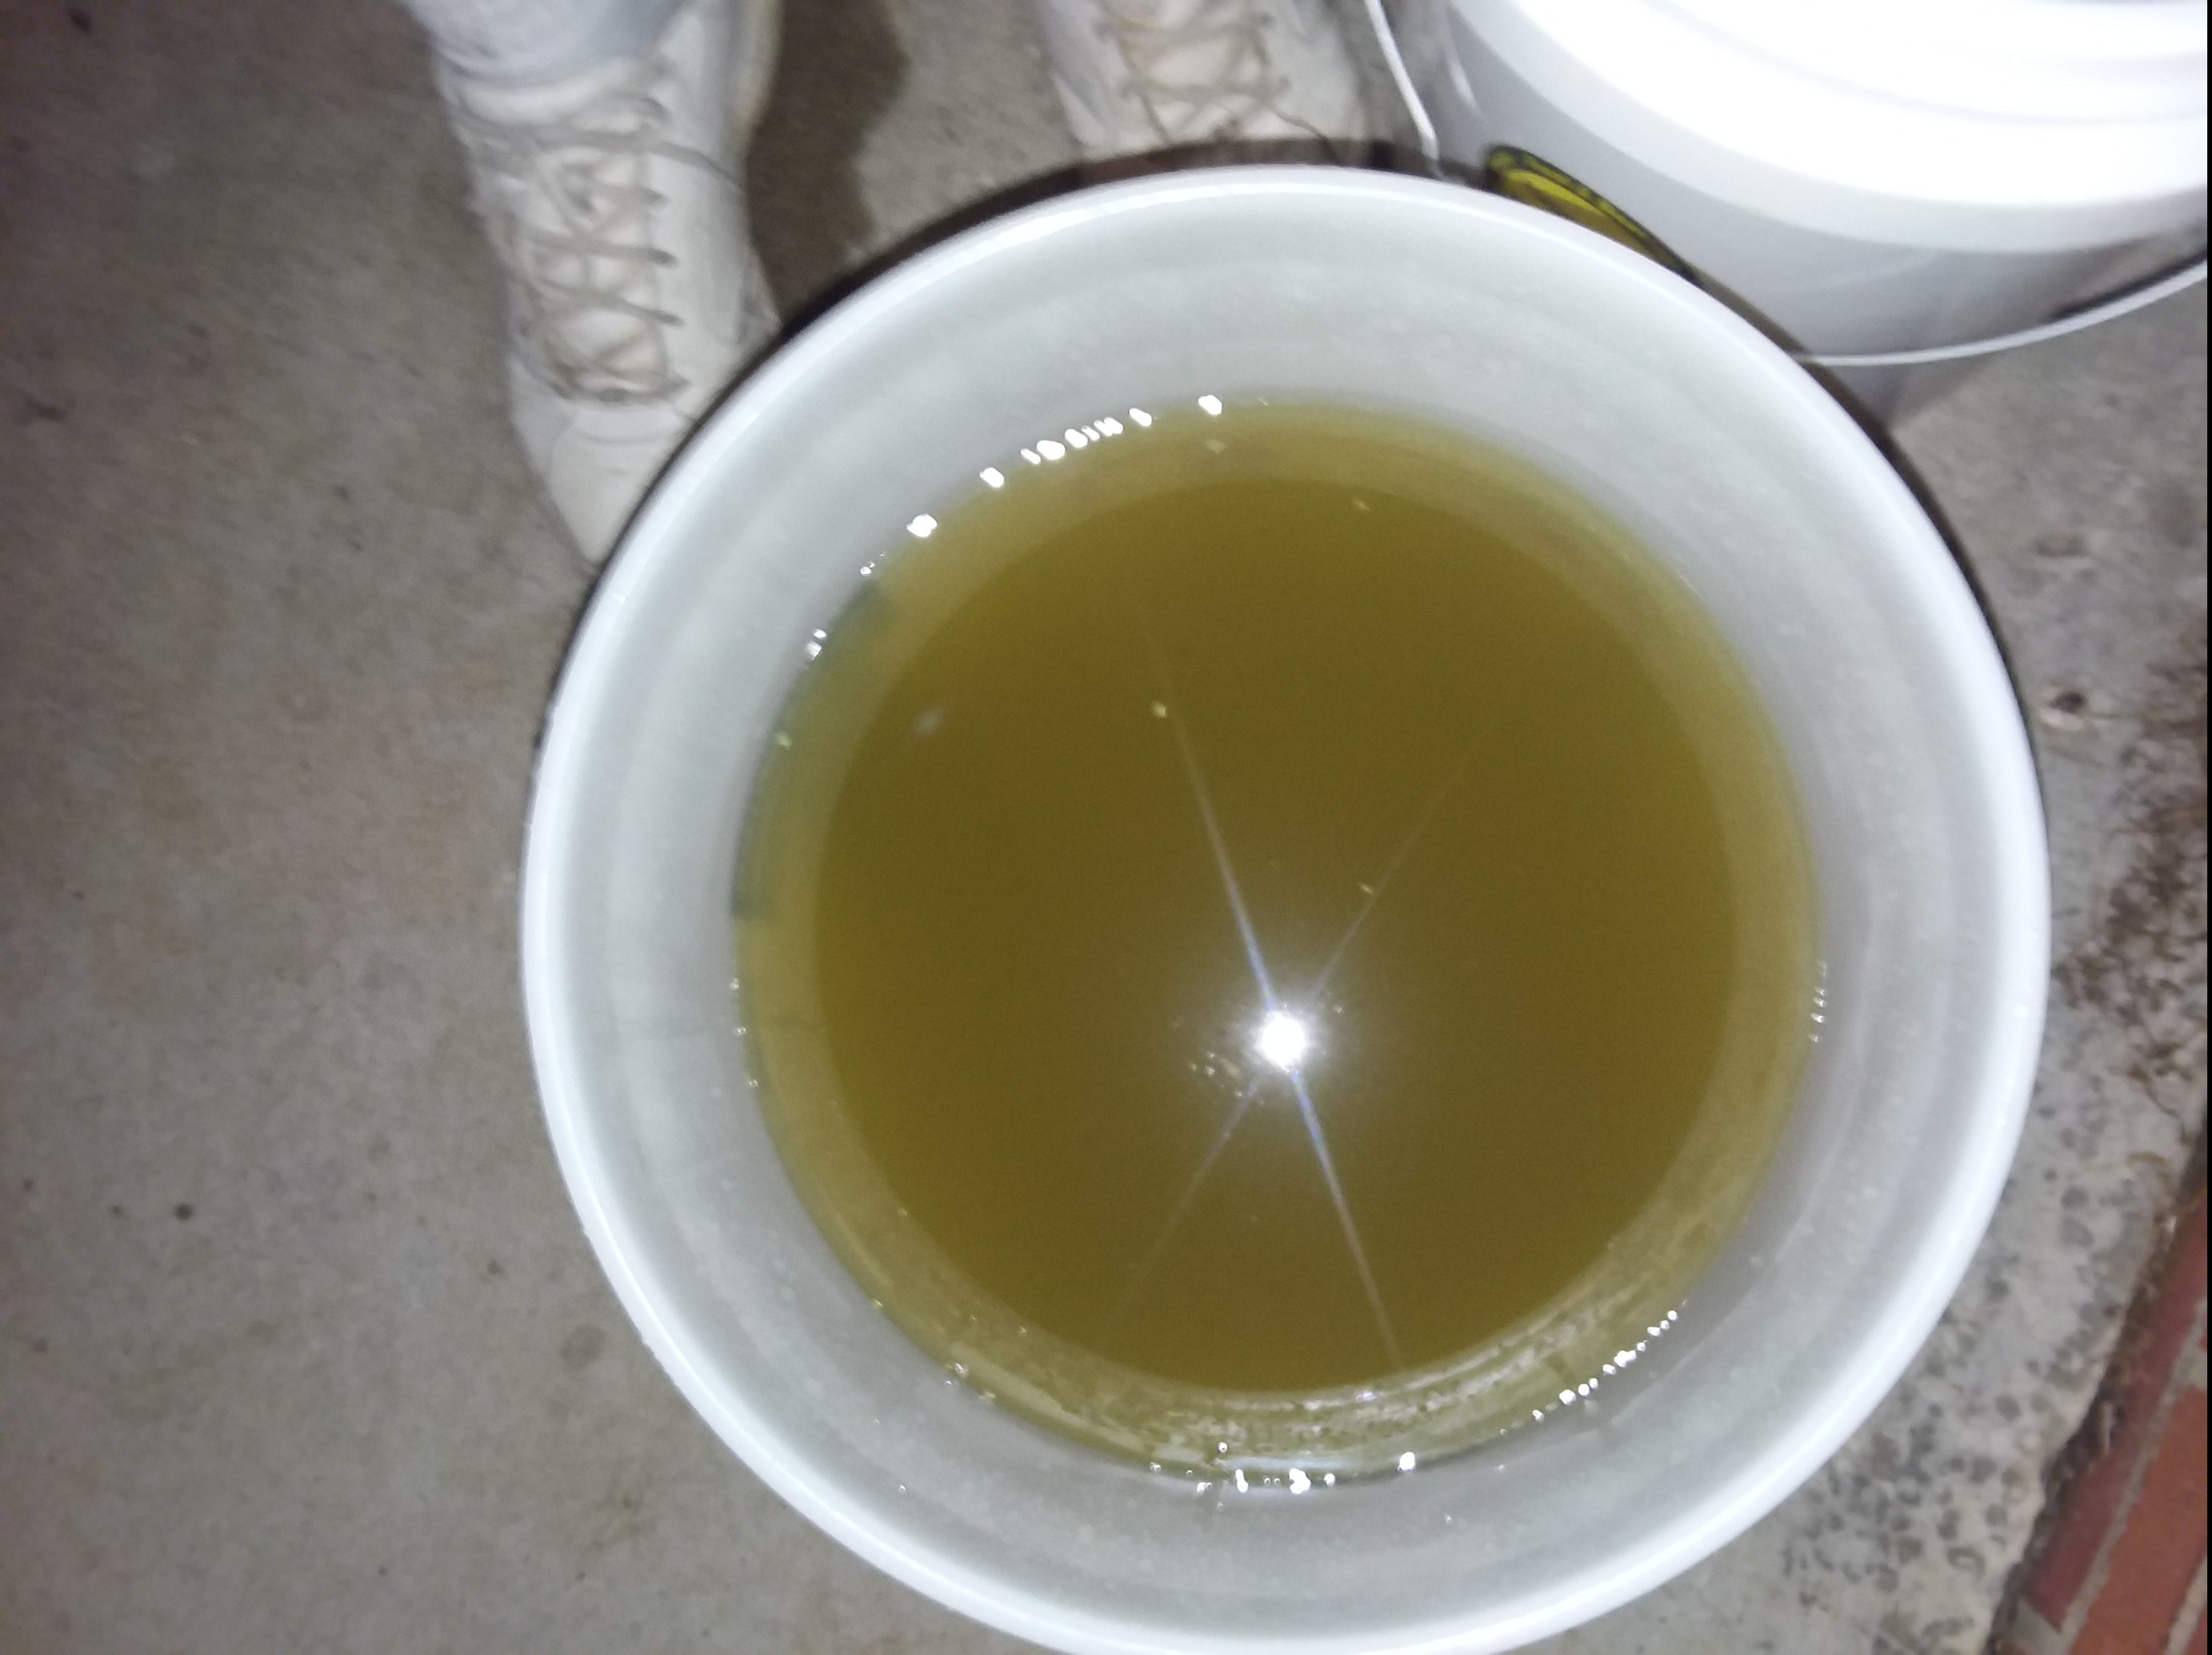
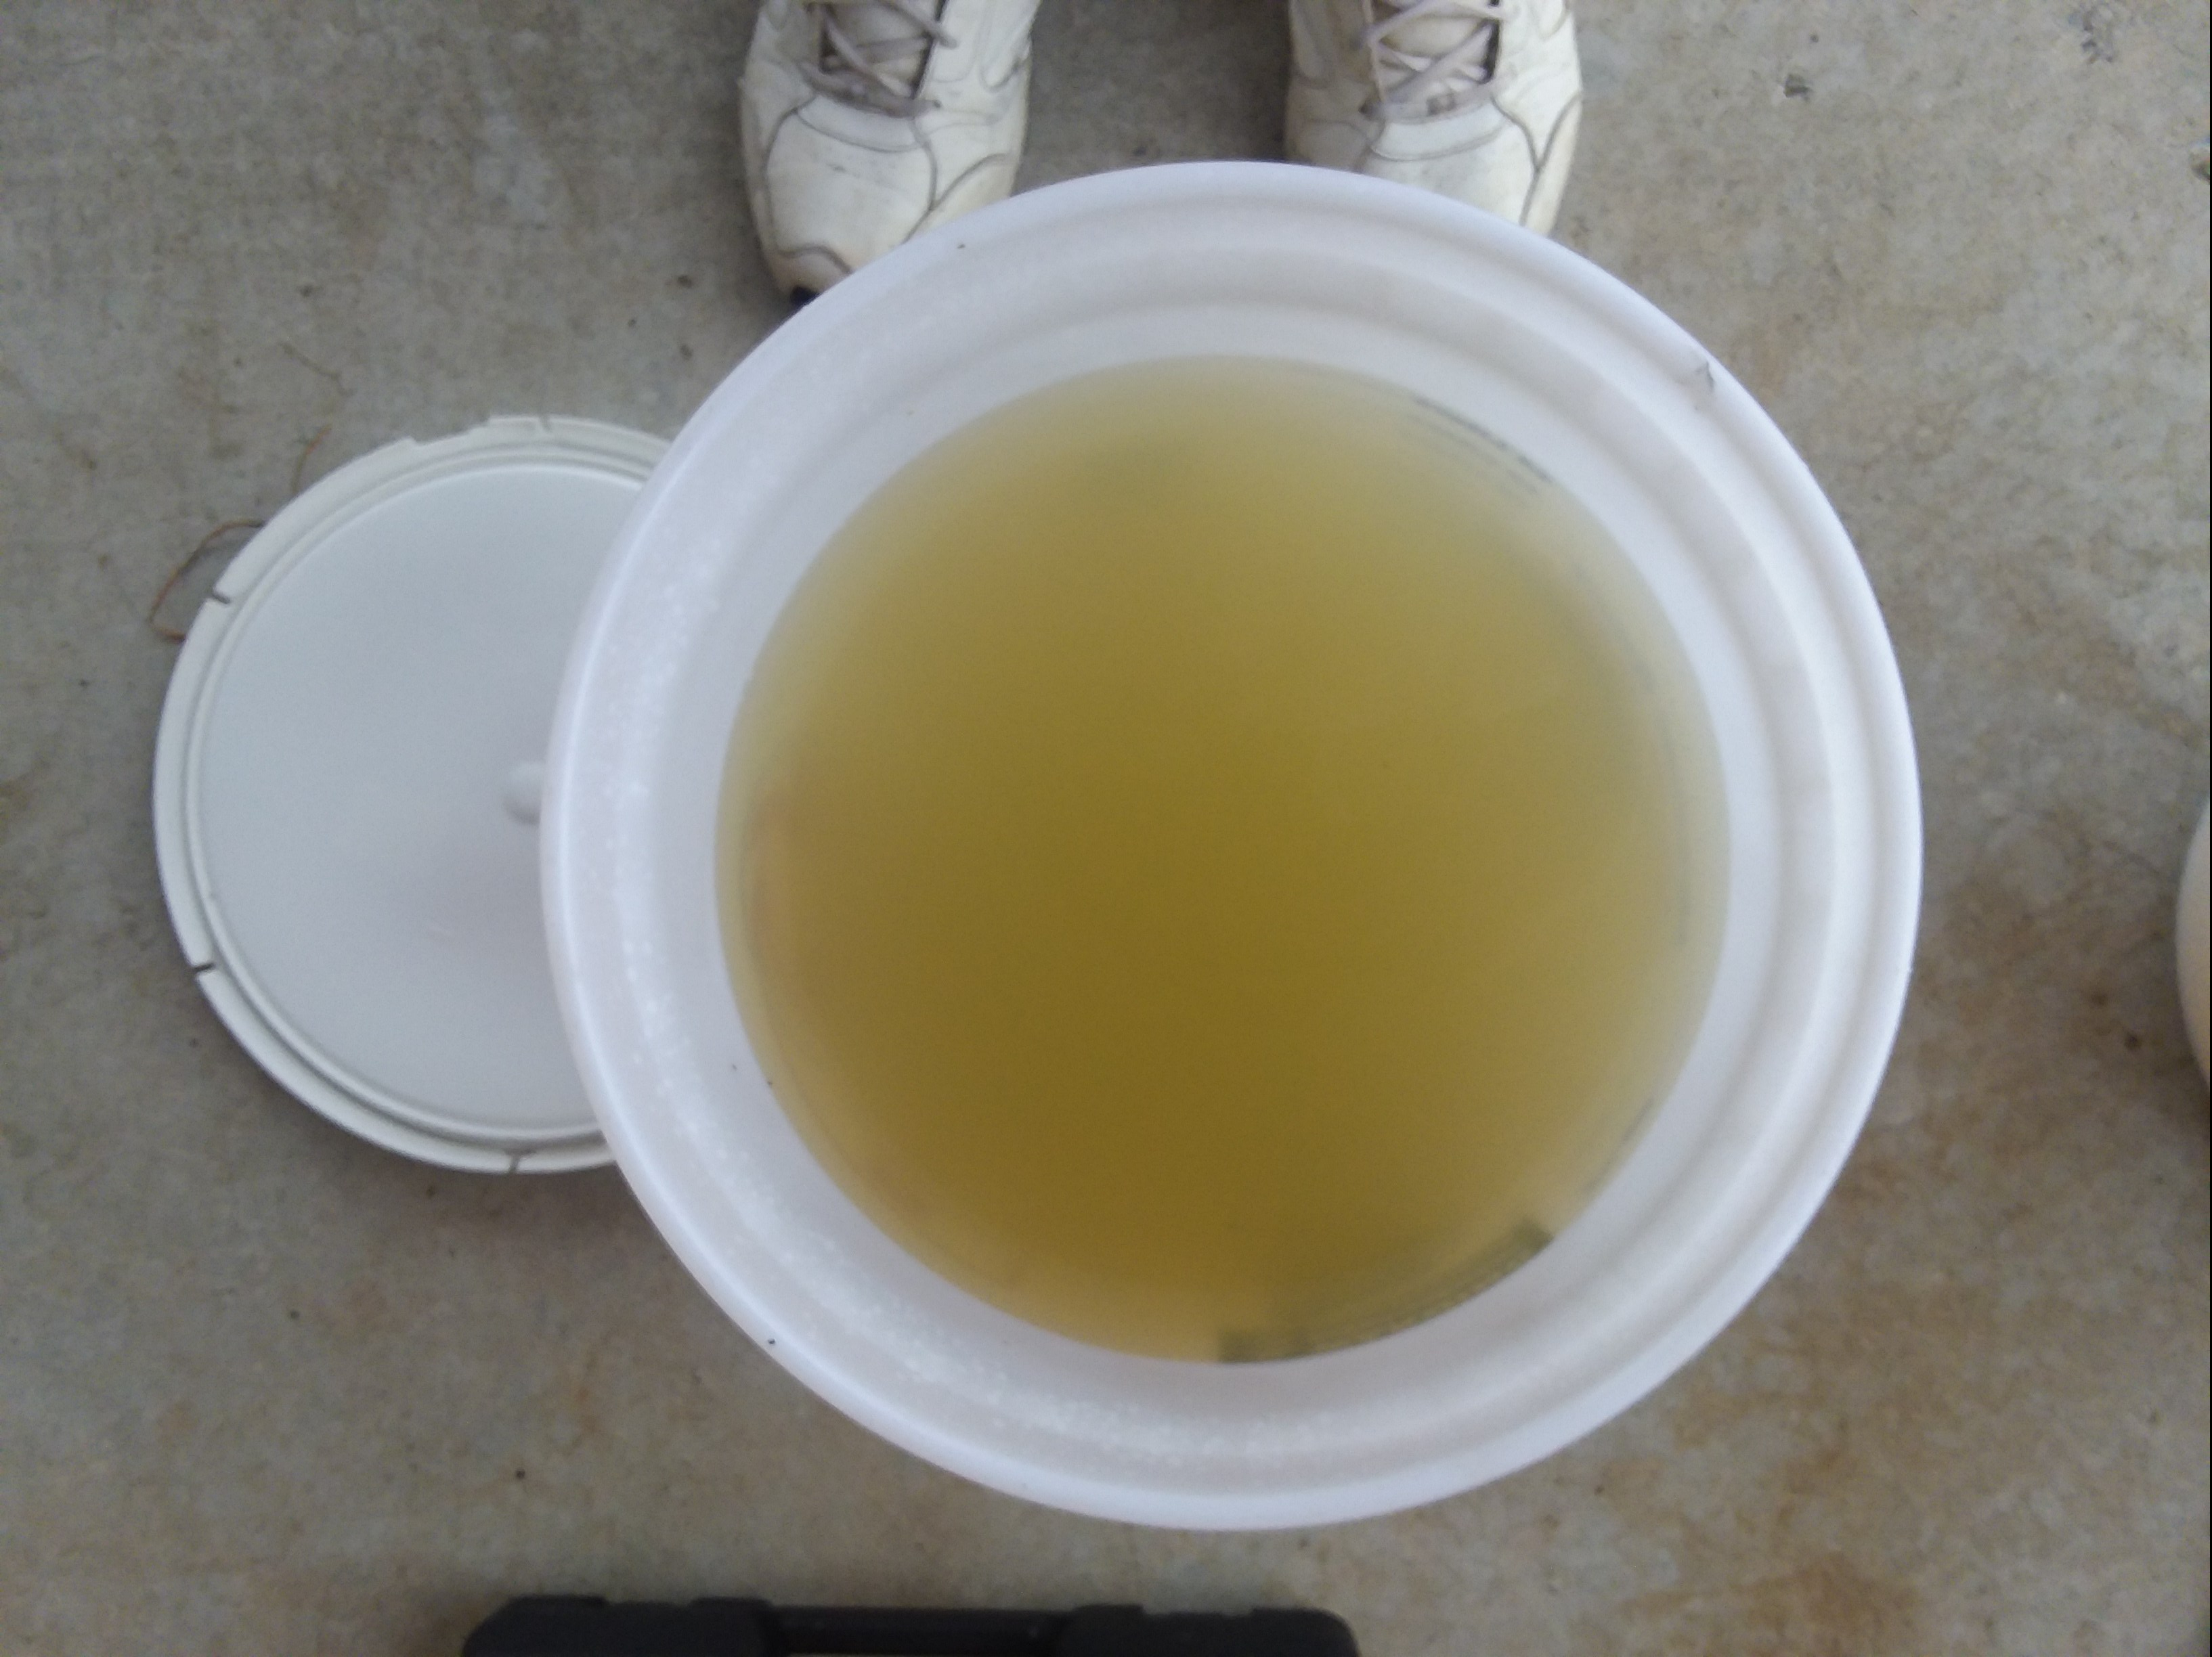
Result: 4th and 5th Water Flush
Getting better This was shot in the daytime so it more to the actual color of the water.
Result: 6th and 7th Water Flush
Ok….I think its now as best it can be with just water. These last two pics are in the daytime with no flash, so the water coming out looks pretty good. I have the chemical flush in now. I have ran the truck for about 1 hour on three days. I will be draining the chemical flush out tomorrow. If it gets out more junk and looks bad I bought two chemical bottles and will do another. If it does not take much out I will be done.
Just some notes on what I did. To get to this point.
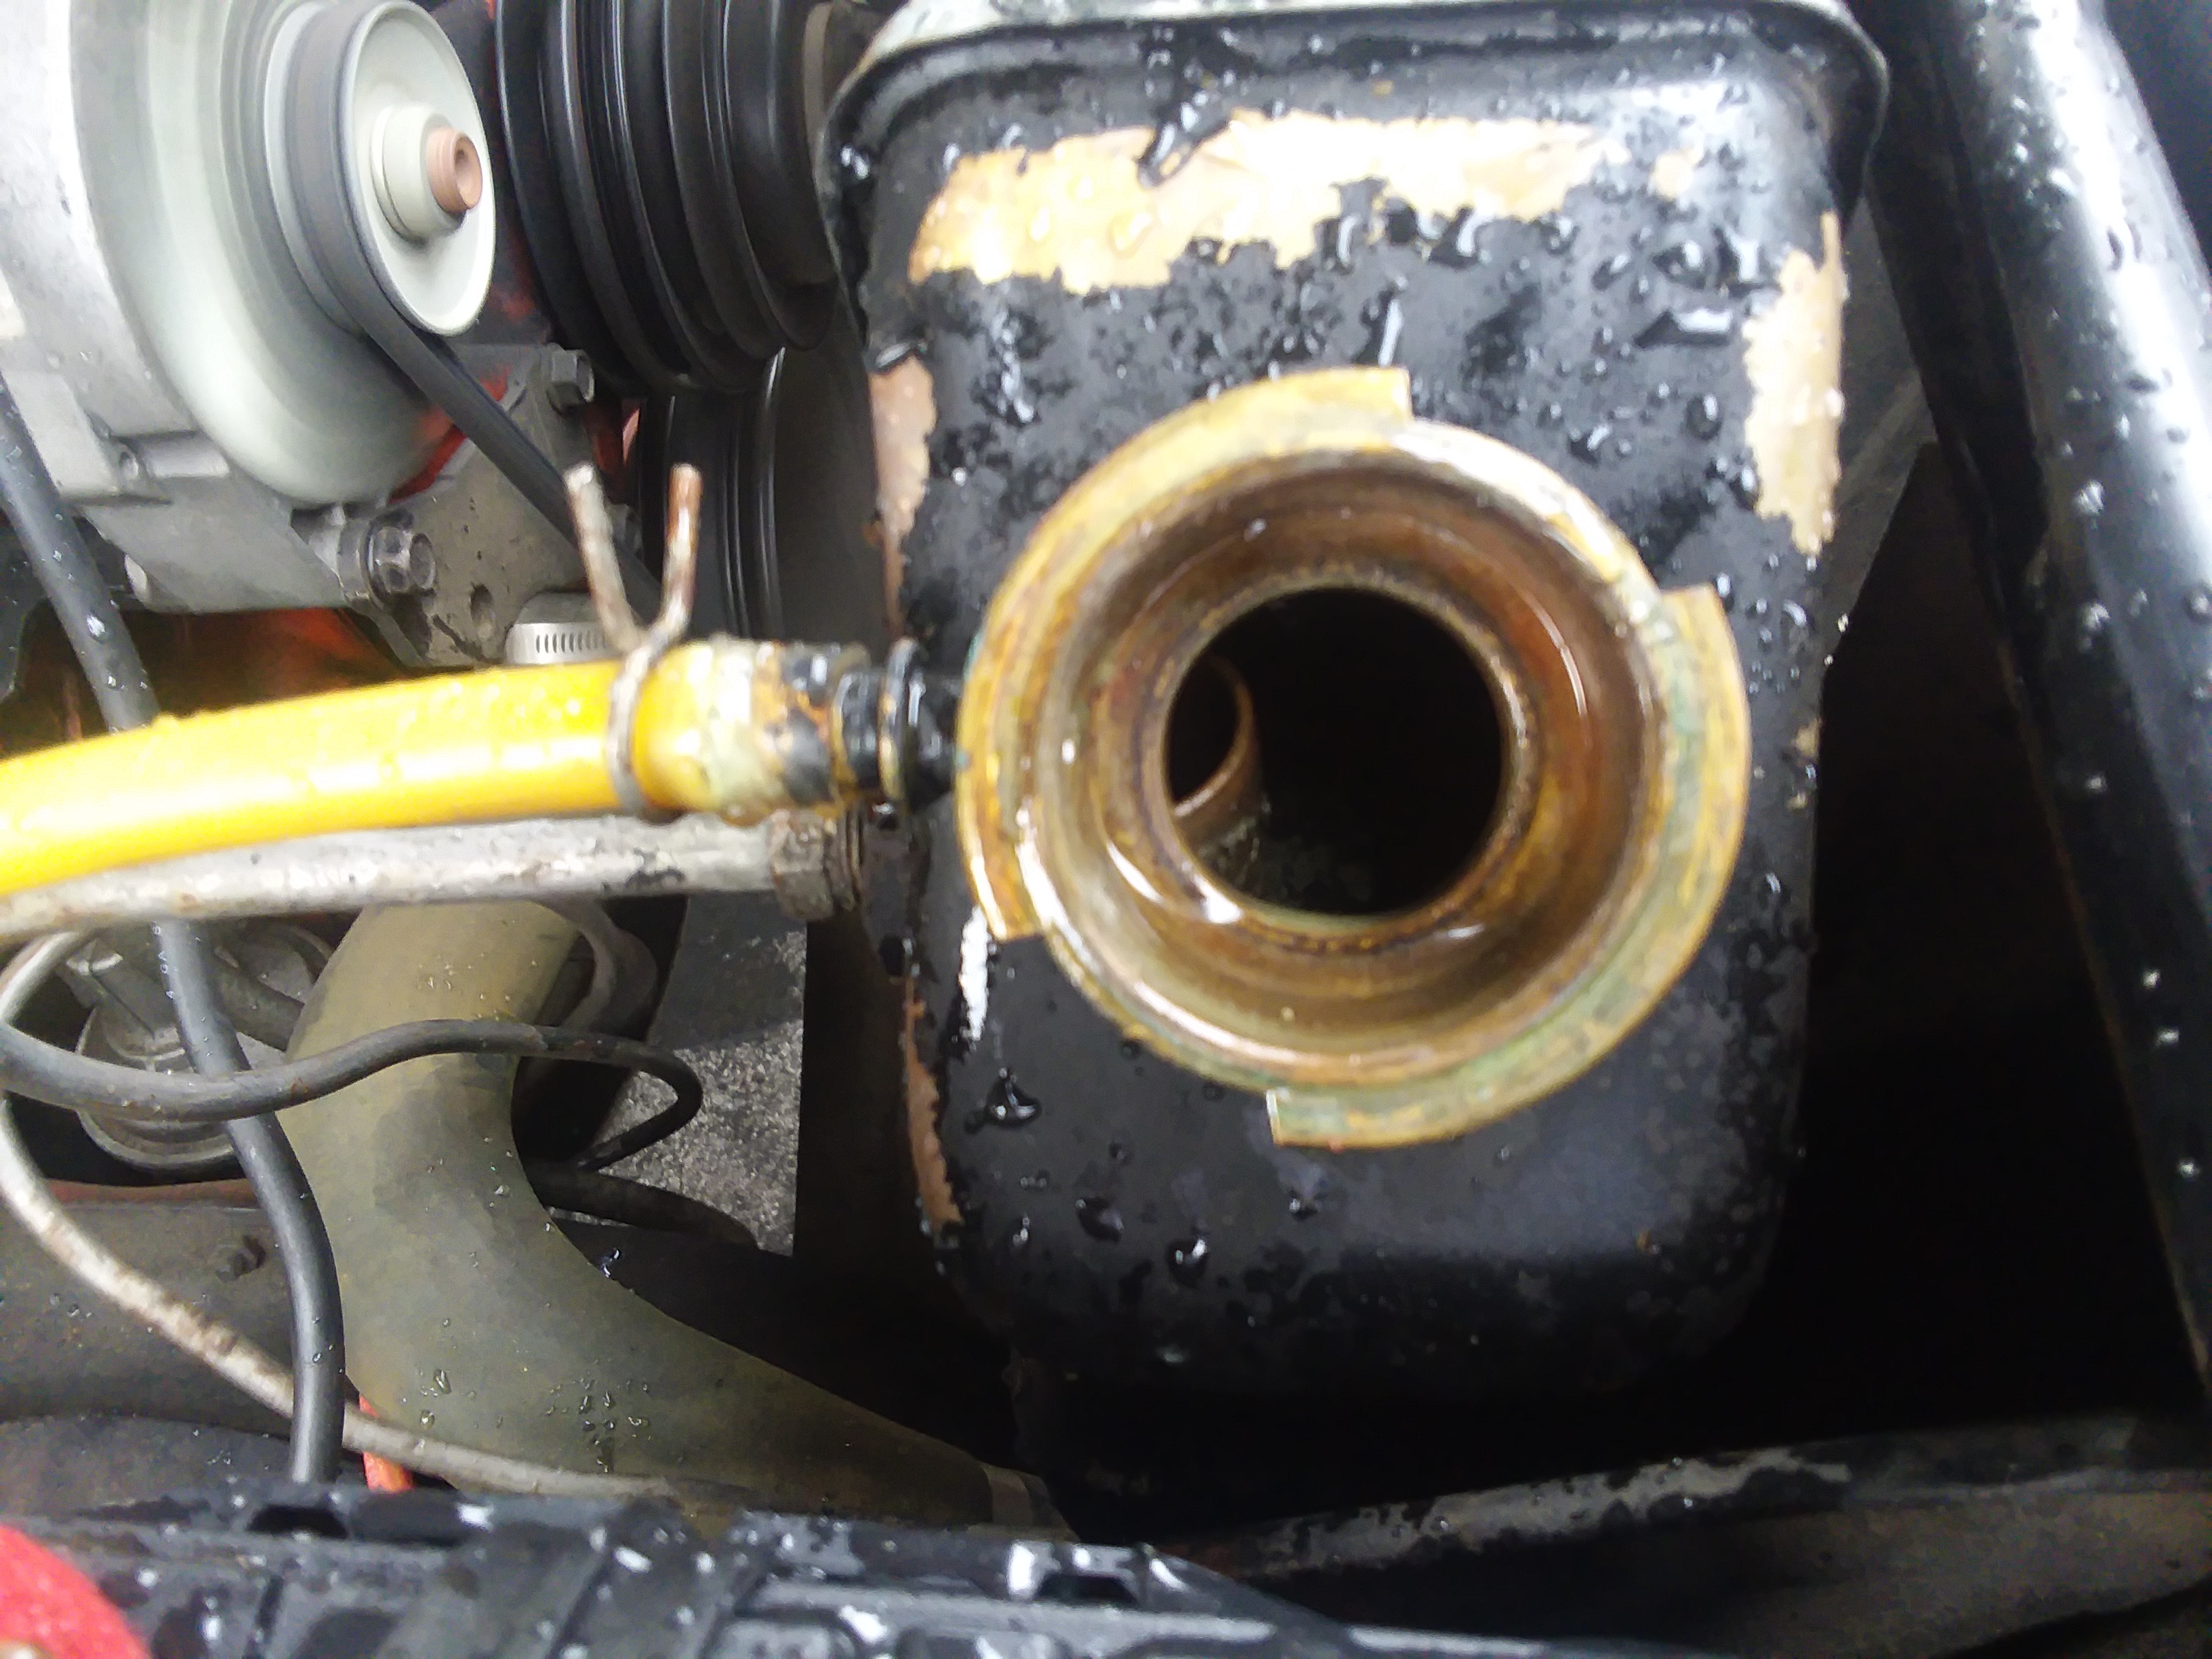
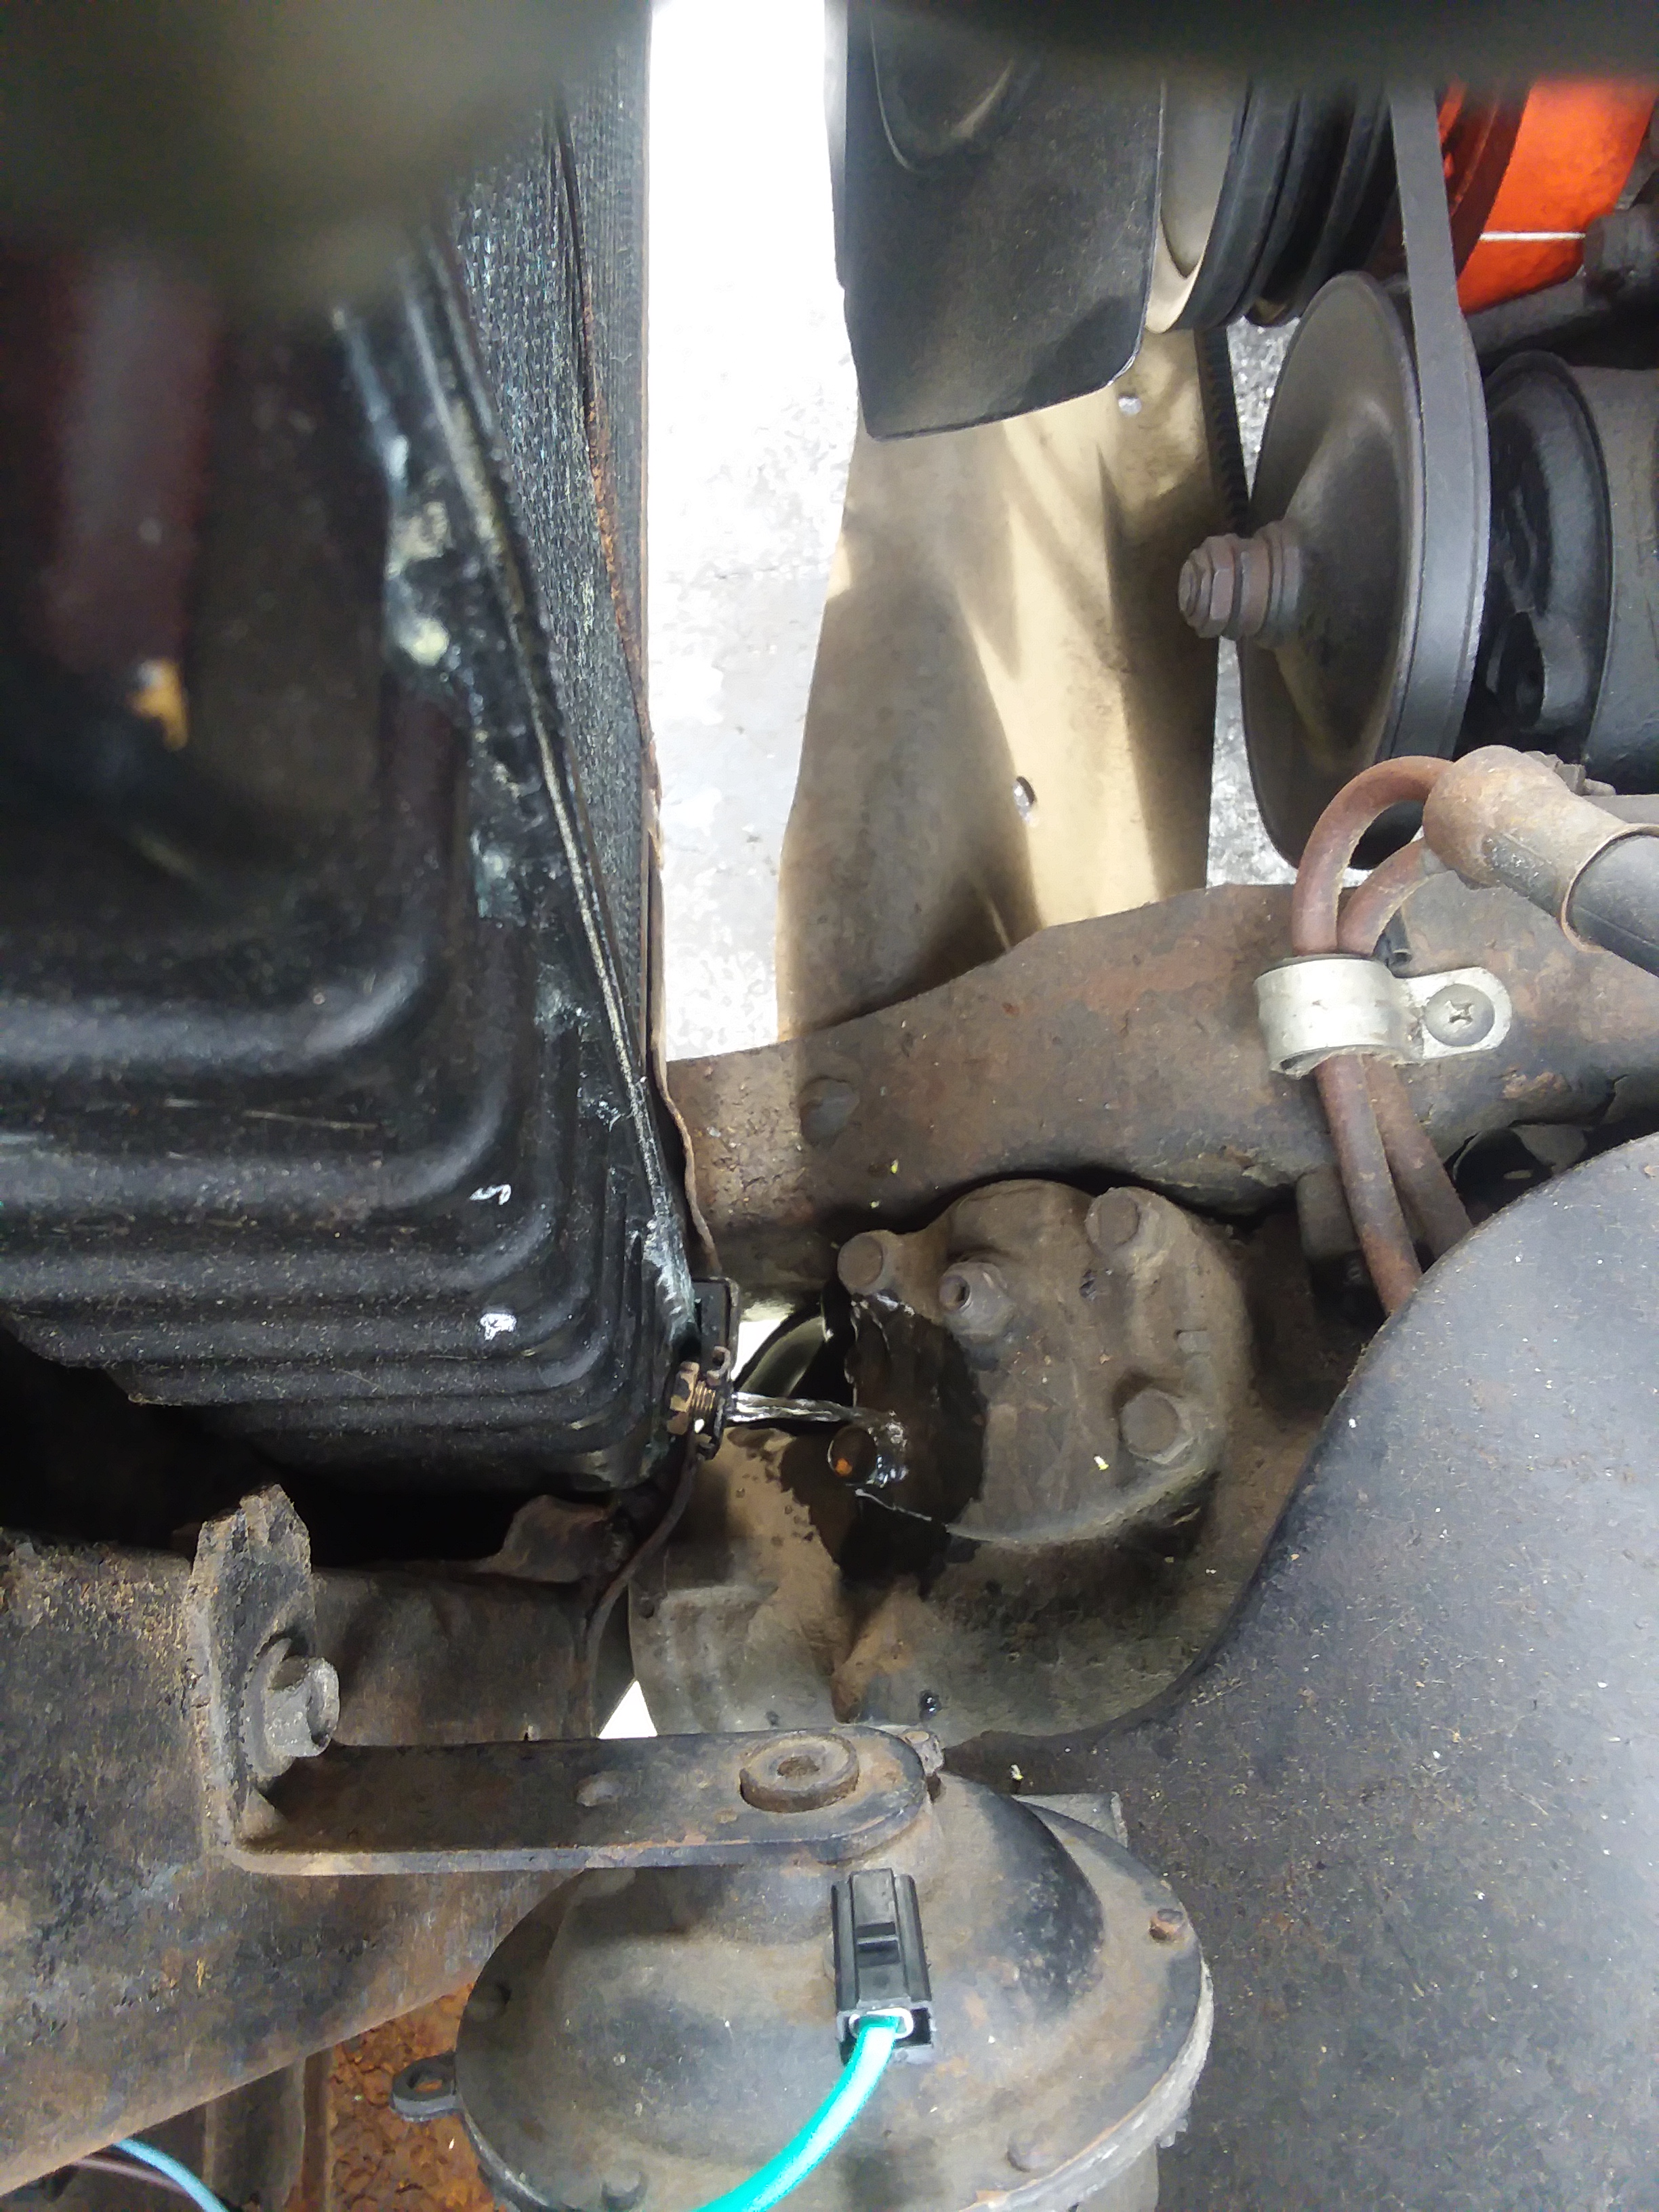
Draining…Below, is the water coming out of the radiator into the bucket. Slow process it takes about 45 minutes to drain the radiator. Then I have to let it cool.
The whole system holds 4.3 gallons. I was only able to get out about 2.5 gallons on each flush, due to the slope of my driveway. So there is always some left in the engine. A dealer or professional will do a flush under pressure to get it all out.
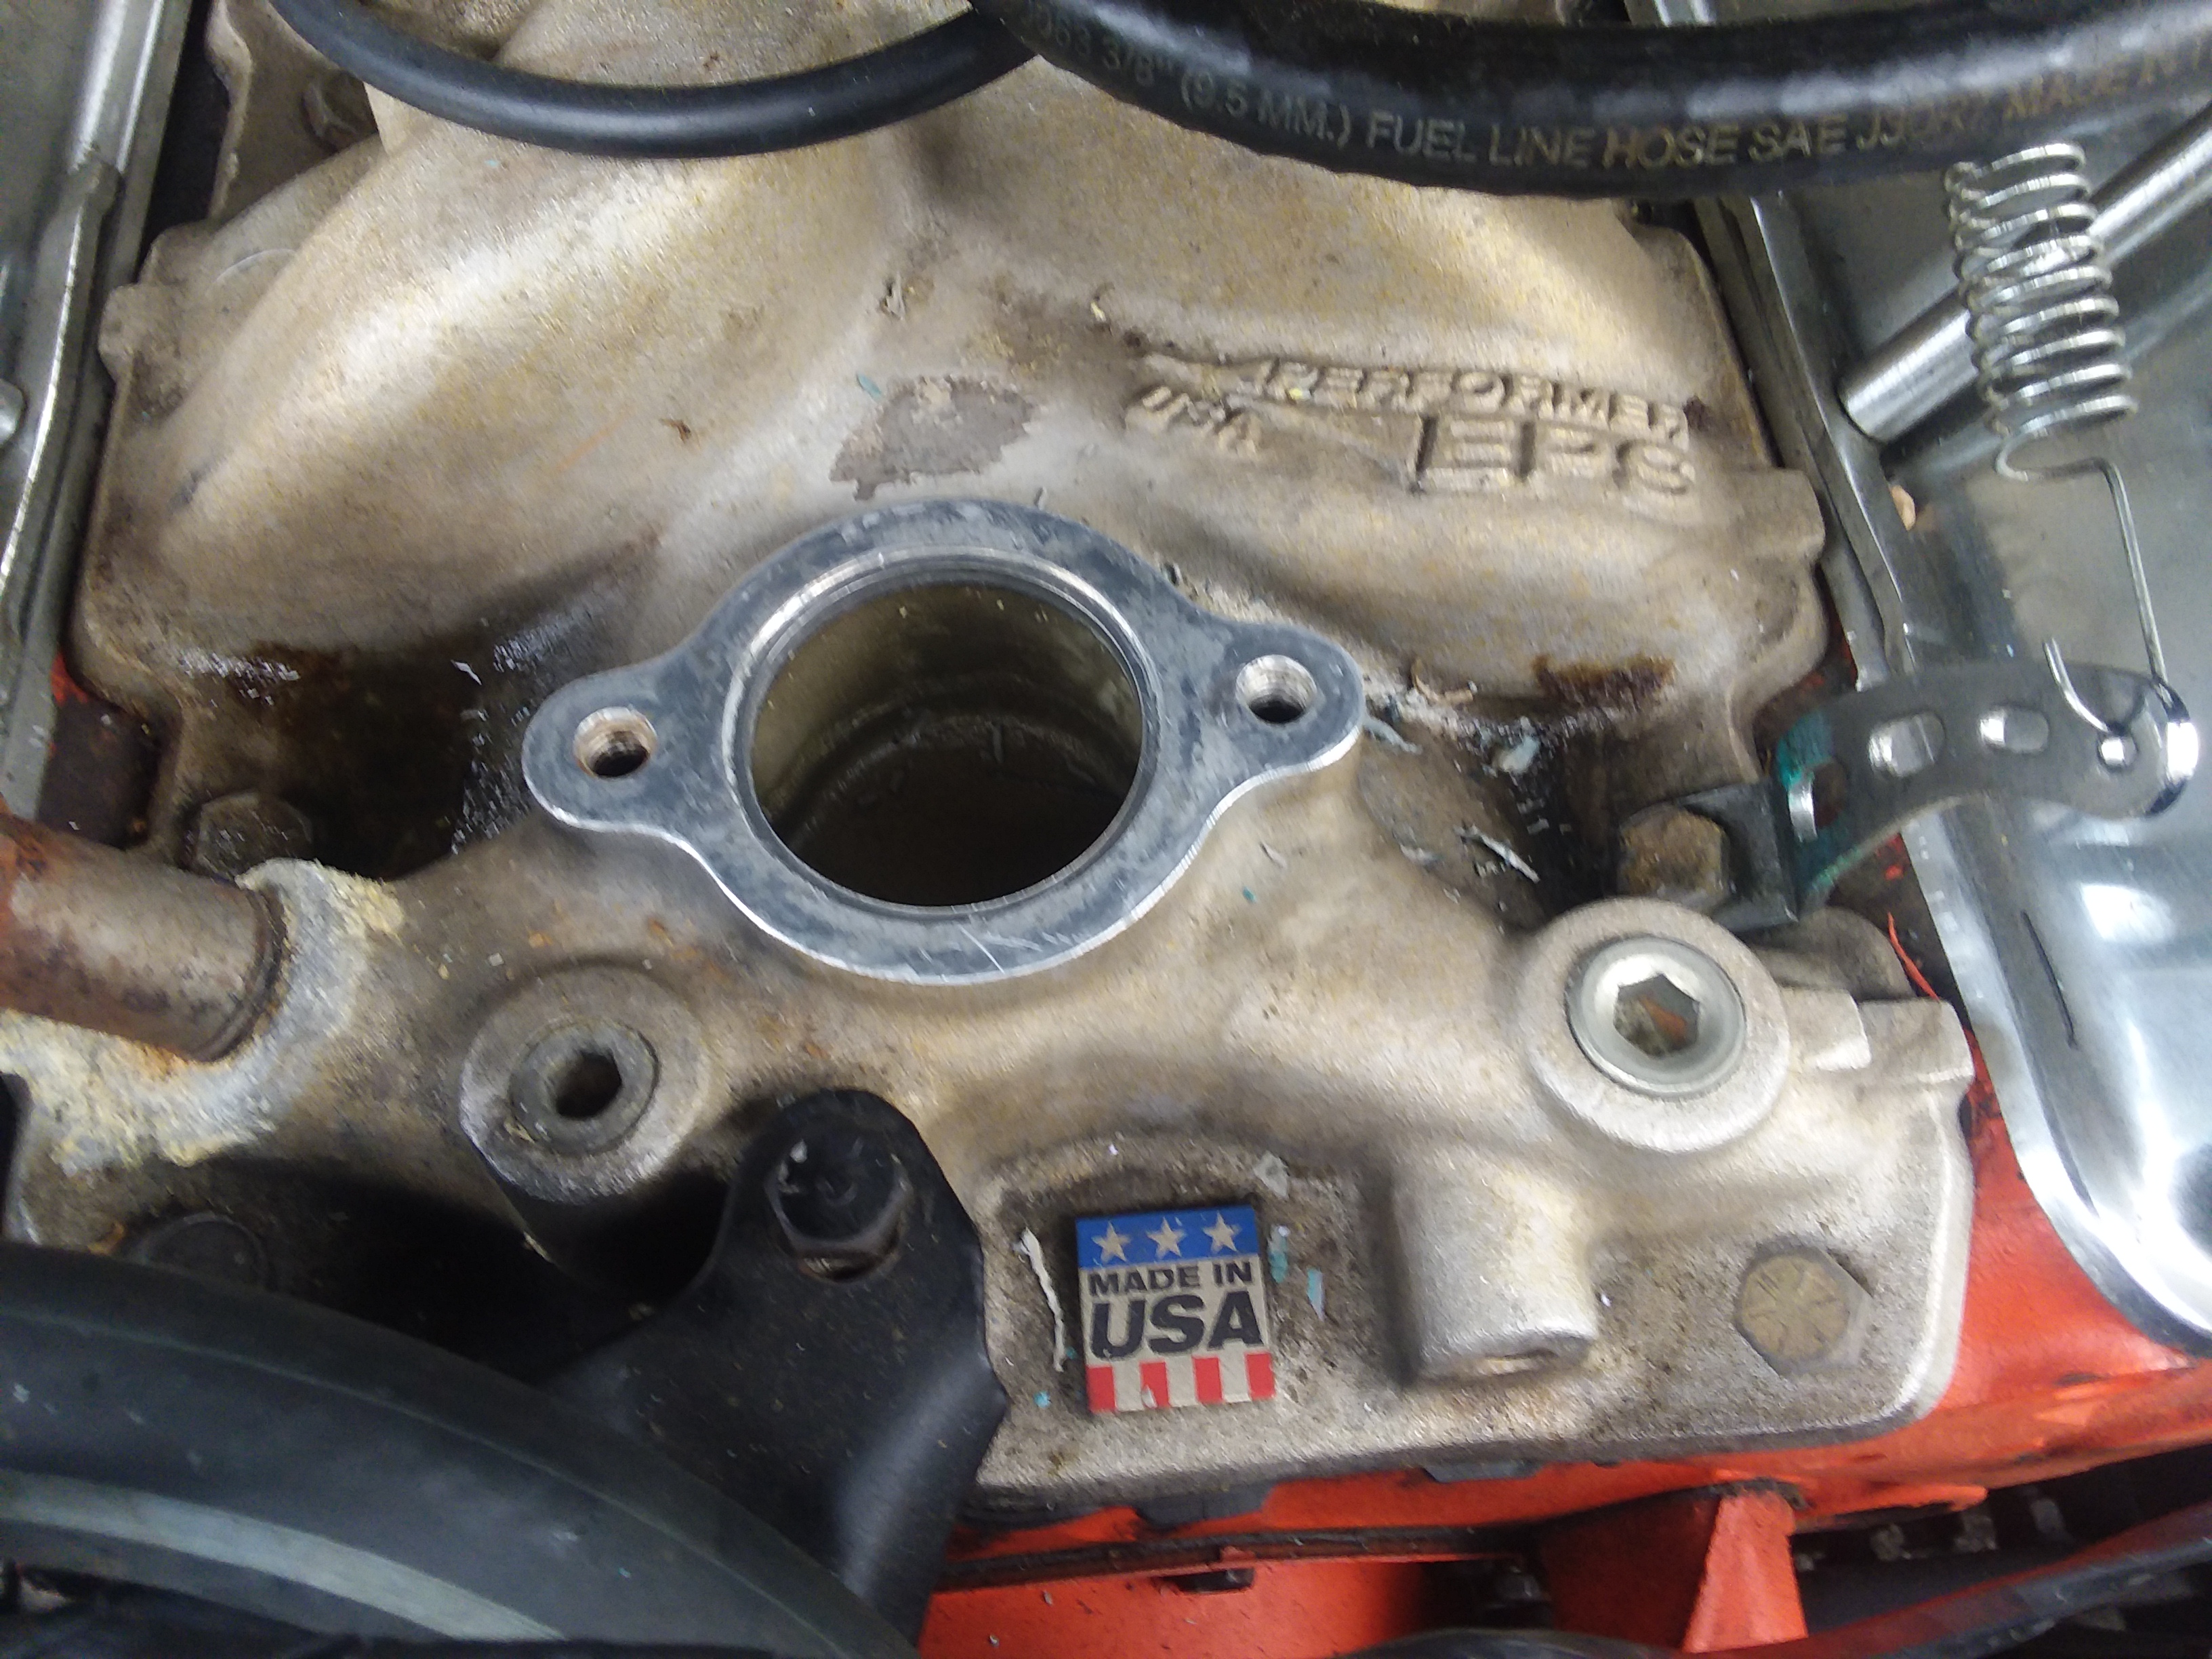
After noticing that I was not getting a lot of flow at the radiator after the 2nd flush, I assumed the Heater core was clogged. So I bypassed it. I also took out the old thermostat…..cleaned up the manifold and put a new housing on WITHOUT the thermostat. This will increase the flow inside the engine to full without waiting.
(Note) The thermostat does not keep your car from over heating if operating properly, the radiator does that. It actually does two things. Gets you car up to operating temp faster, and is supposed to keep the temp there. My engine in my truck has a operating temp of 195 degrees. So, I have a 195 degree thermostat in it. Right now with the thermostat out….I am running about 165. Of course if the thermostat is stuck and never opens….yes you will overheat due to the minimal amount of coolant flowing though the engine.
Here is a pic of the new one going back in my truck when I have completed the flushes and new radiator and heater core are installed. Notice, it says on it….195 Fahrenheit. So, always get the correct temp thermostat for your application. Leaving it out….getting a lower temp one is not wise and myths abound out there that doing these things in beneficial. They are not.
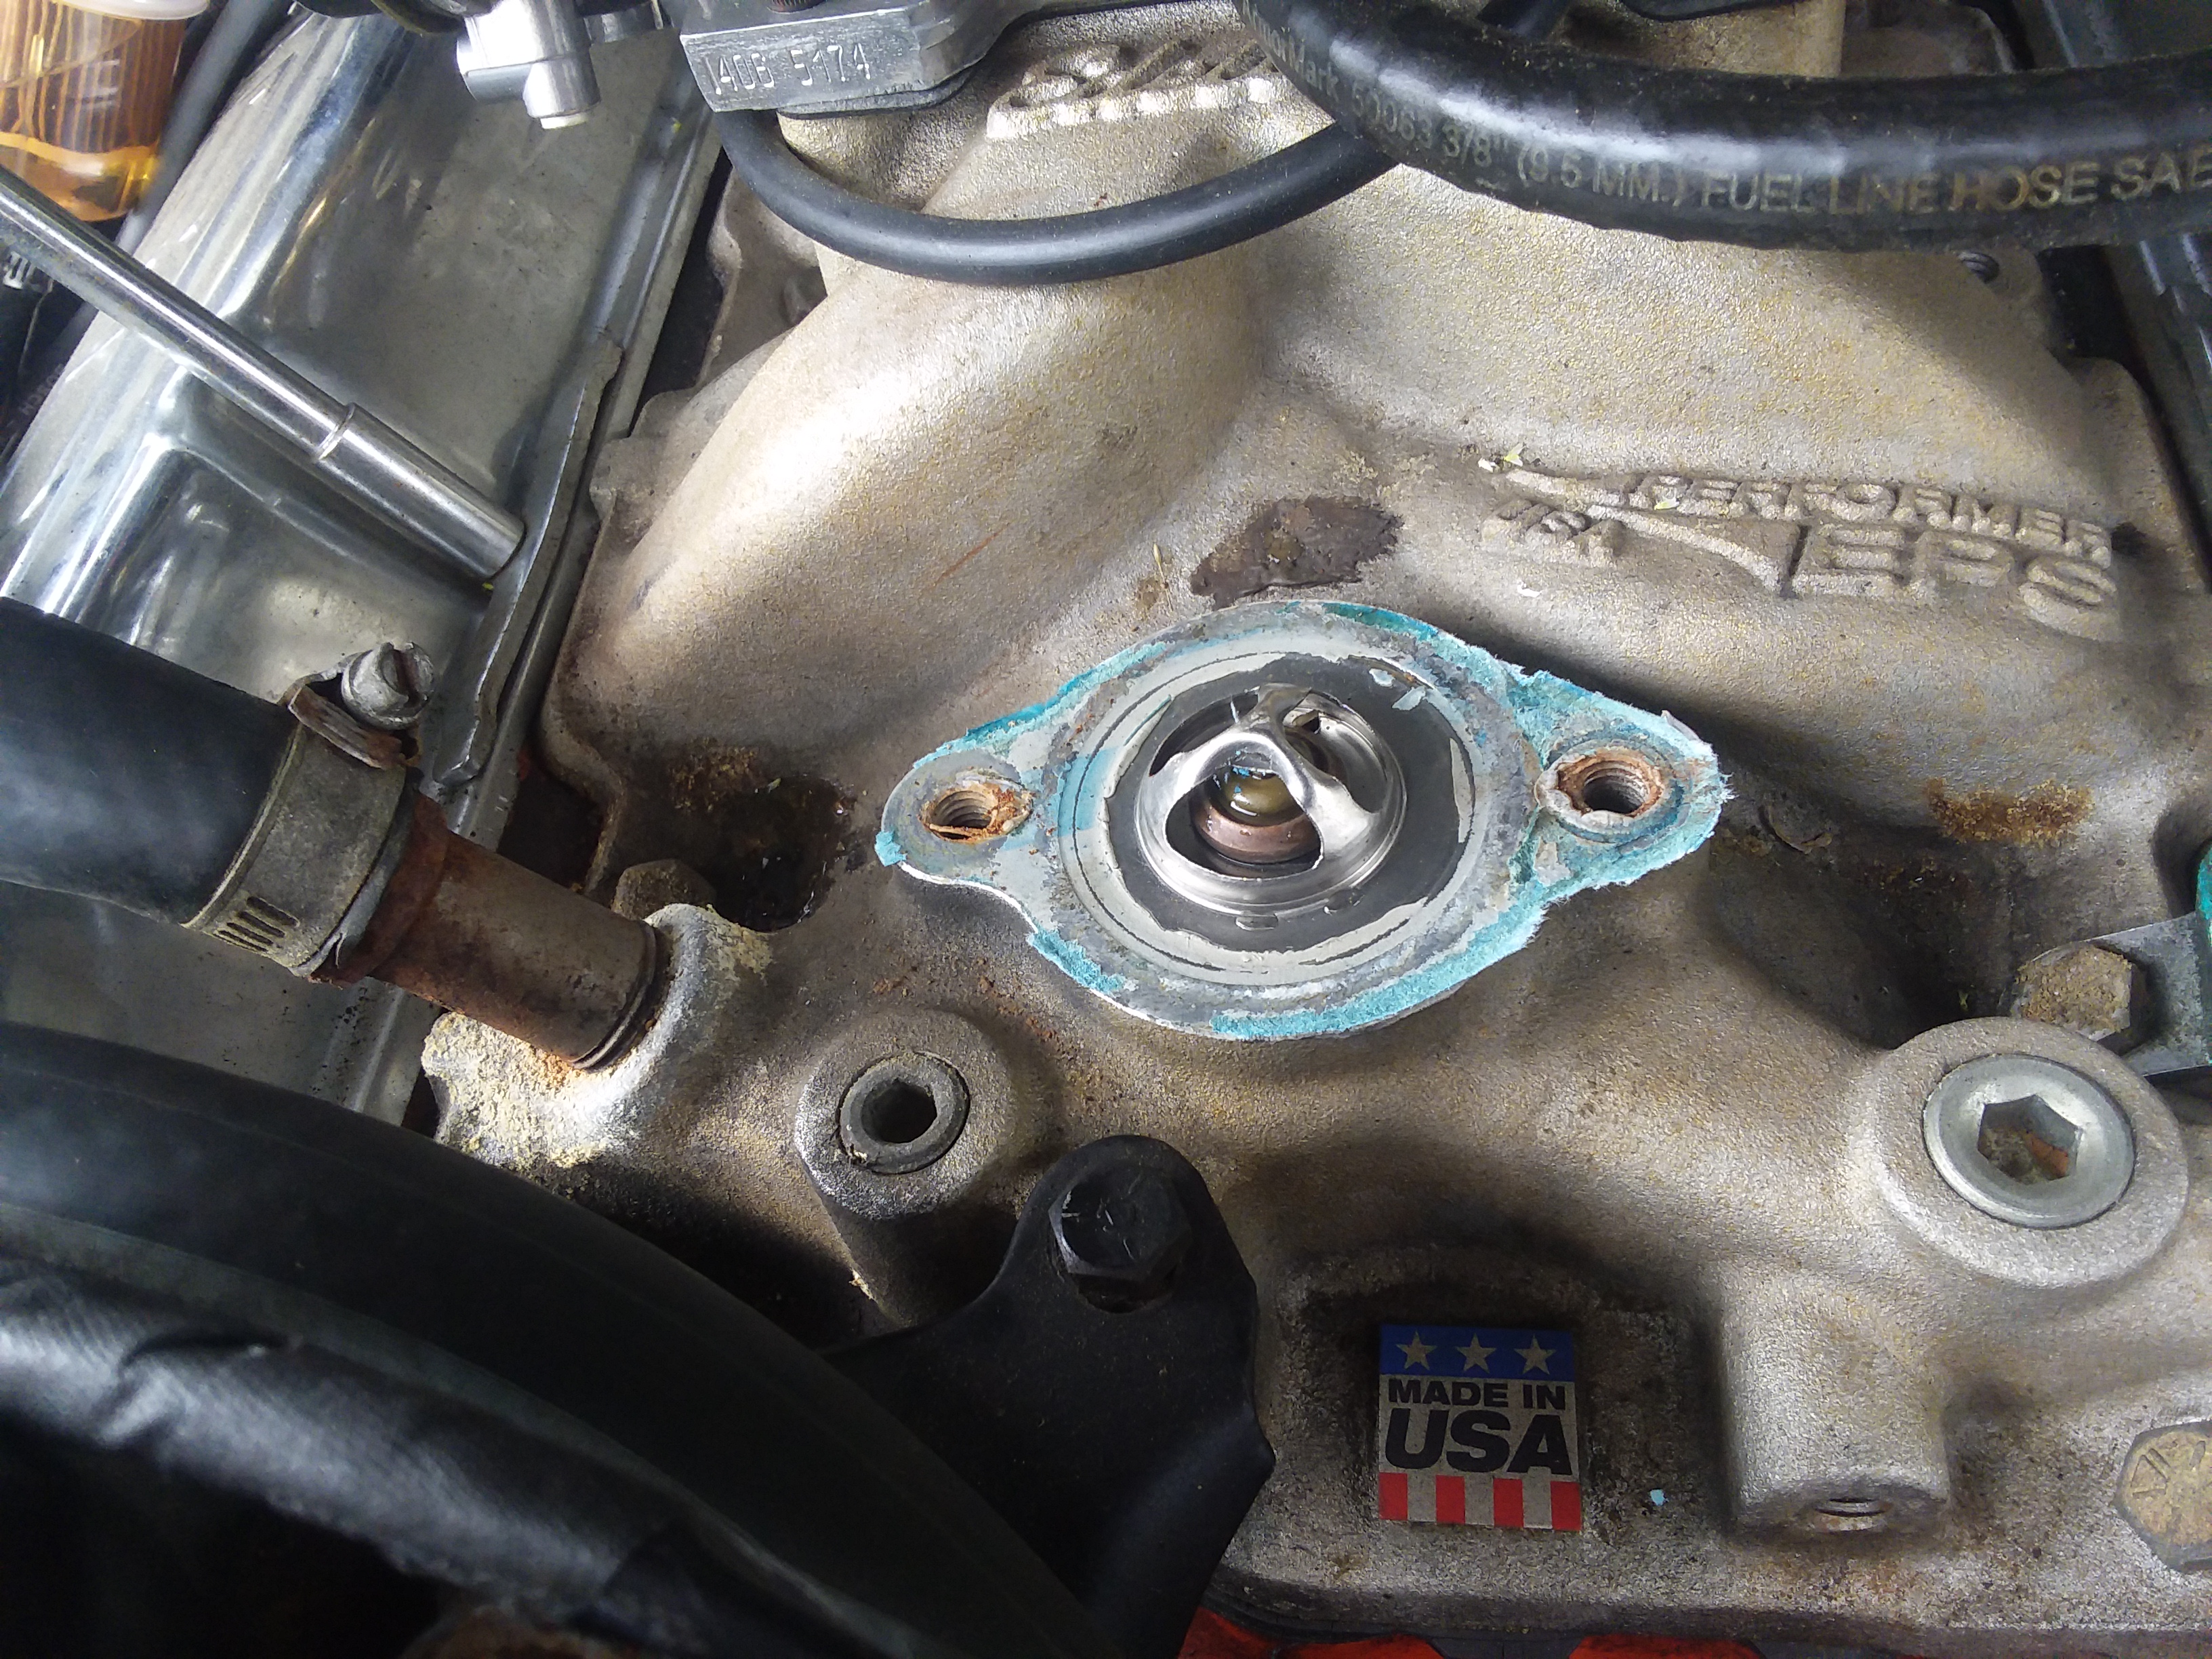
Below is where the thermostat’s home is. The old one is shown before I took it out. Someone had used gasket material around it so it would not leak. Common practice and there is nothing wrong with it, until you have to clean it off. IMO….use a gasket. Much easier to clean off. (Will show you that later when I install the new thermo).
This is what the inside of the radiator looked l like. When doing a flush you want to see flow in the radiator. It should flow down from the top. Tried to get it in the shot, but camera won’t pick it up, its too dark in there.
This radiator will be replaced. But flushing the engine is the real goal of all this.
Flushing complete. Here are the final steps of the flush.
After Chemical Flush (Below)
The one on the left is the chemical flush. This went in the same color as anti-freeze does, so it looks green again. Then I ran two more water flushes, the right bucket.It did get some more brown stuff out, so the chemical flush did work and get some more junk out. It said it would be able to remove oil residue and leftovers from having antifreeze in it. But, it smelled a lot better, more like water.
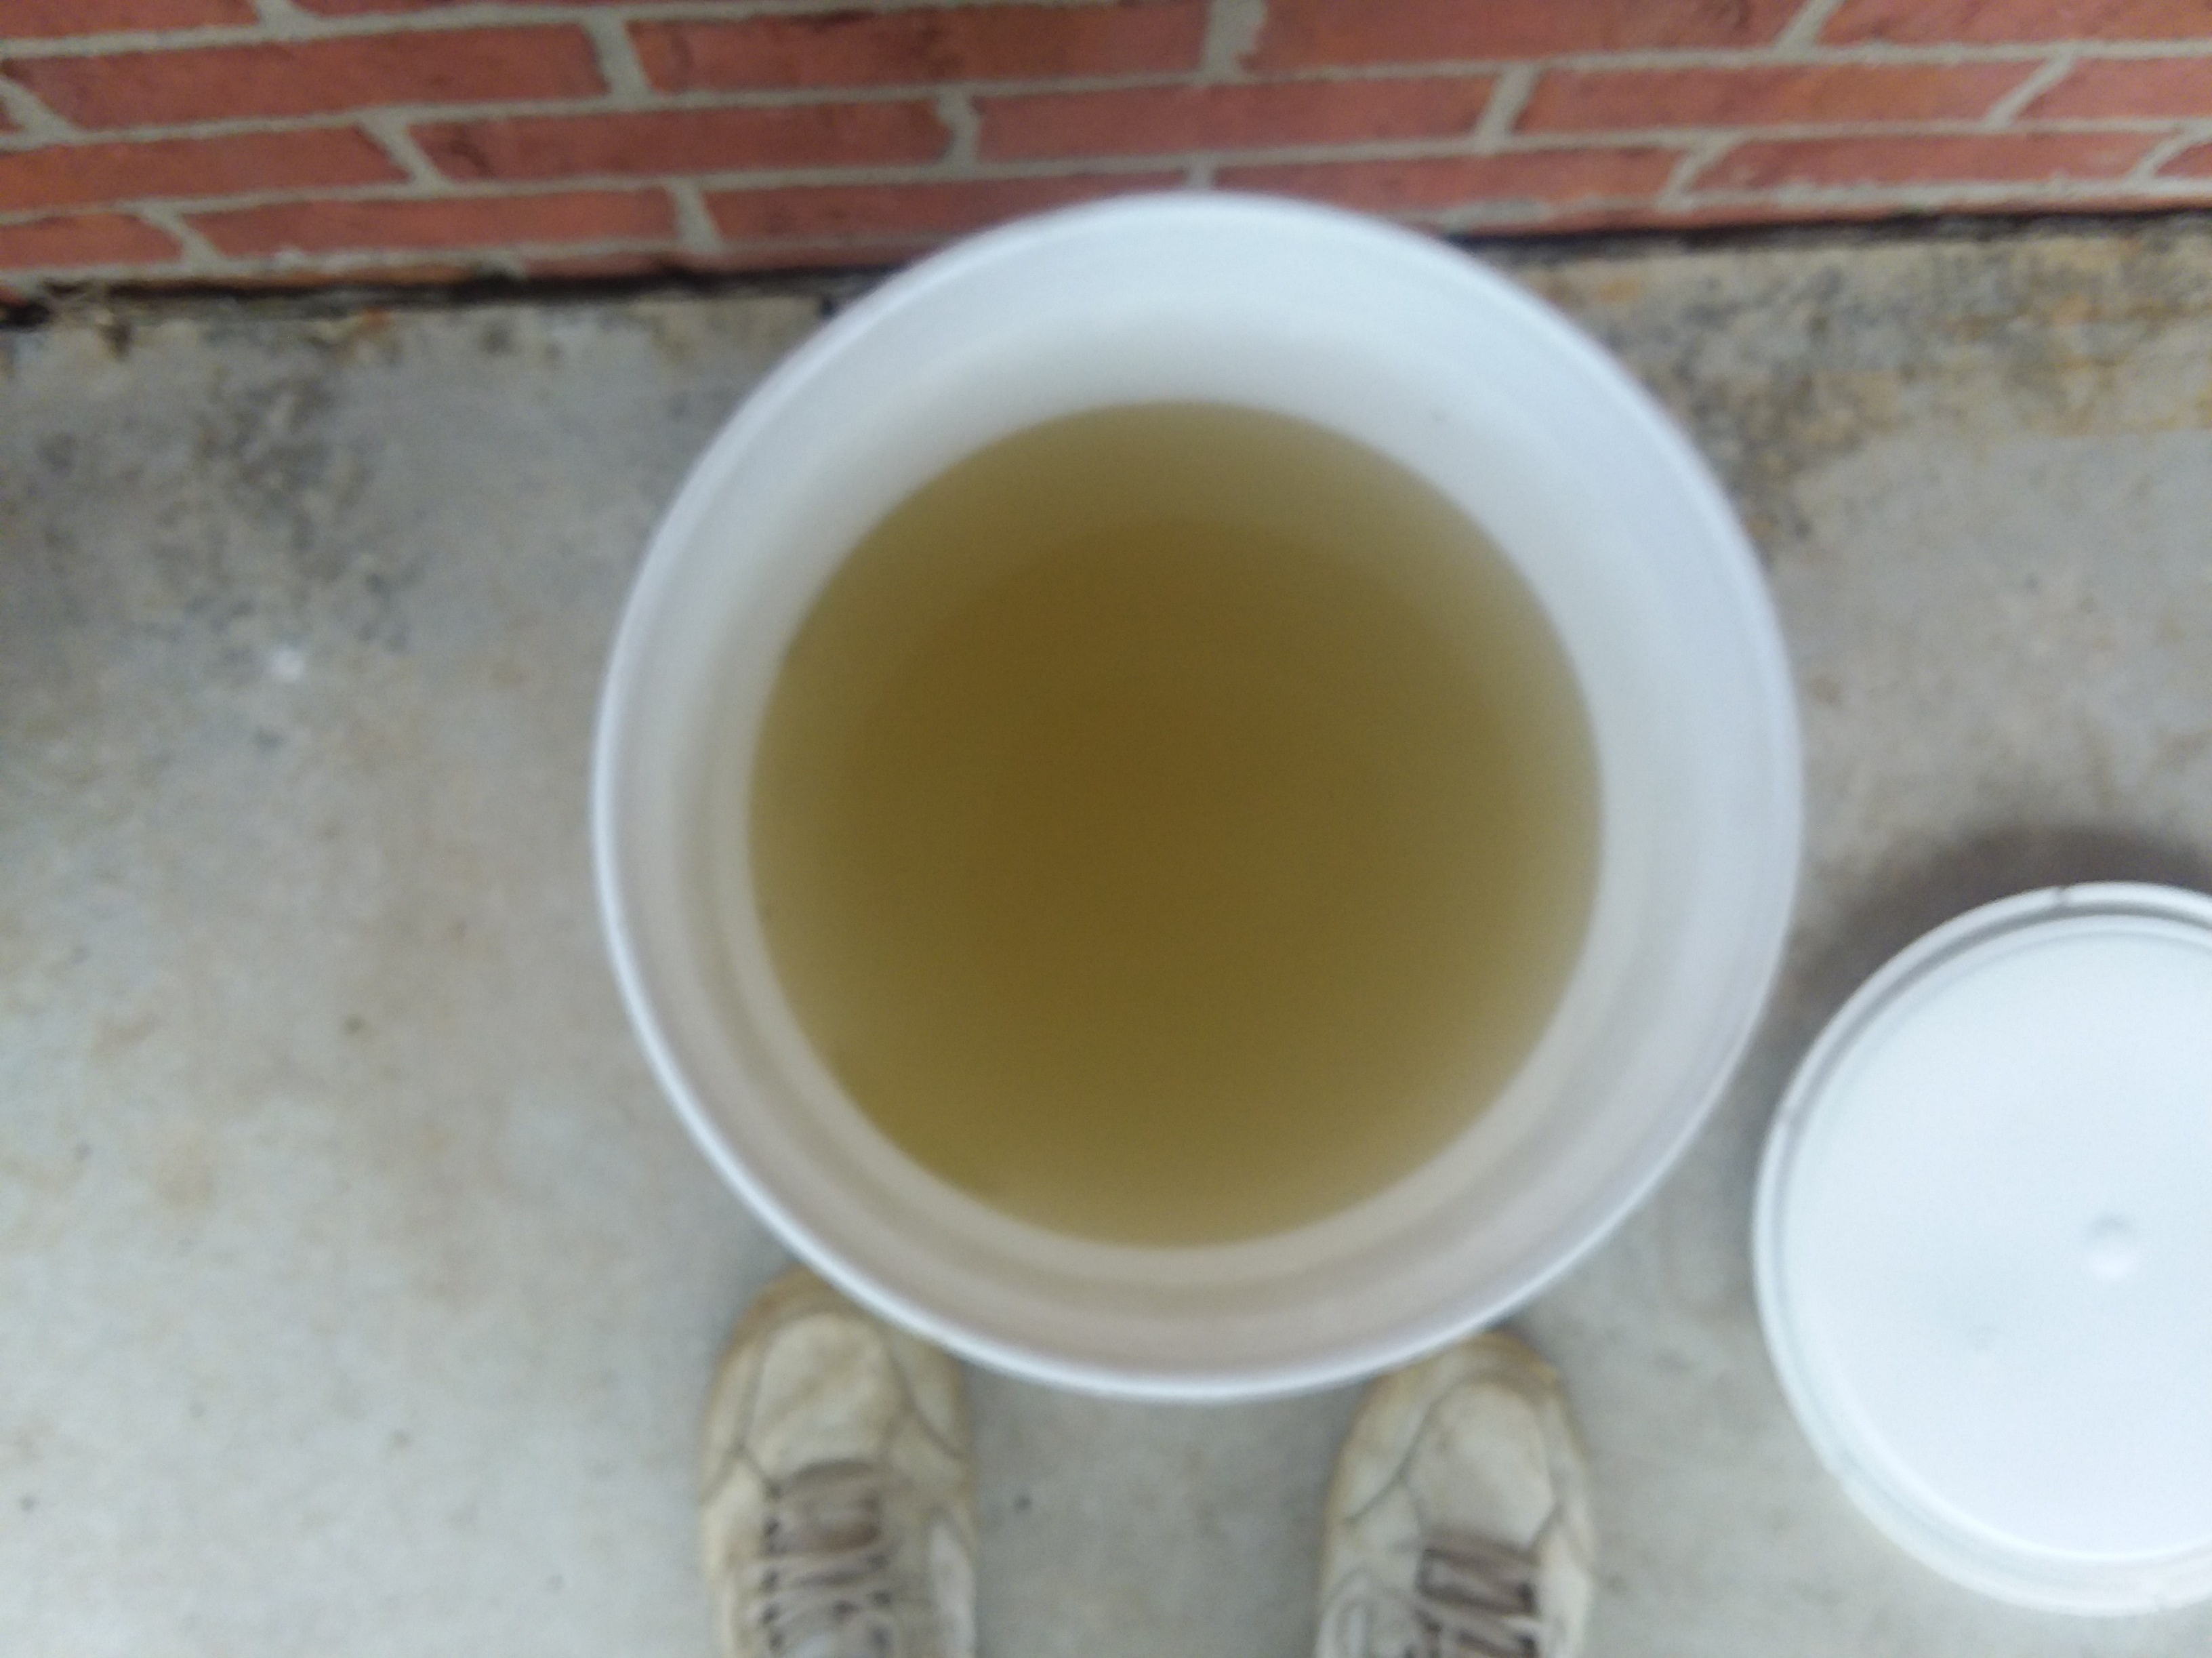
This is the last water flush. (Above)
It still looks a little brown, but in a clear cup it looks a lot cleaner. Plus it smells just like water with no antifreeze or chemical smell at all, just smelled like warm water. I am not sure I can get it any better, this water is going though a 39 year old radiator and engine. I also don’t think another chemical flush will do any more good.
Some more stuff……
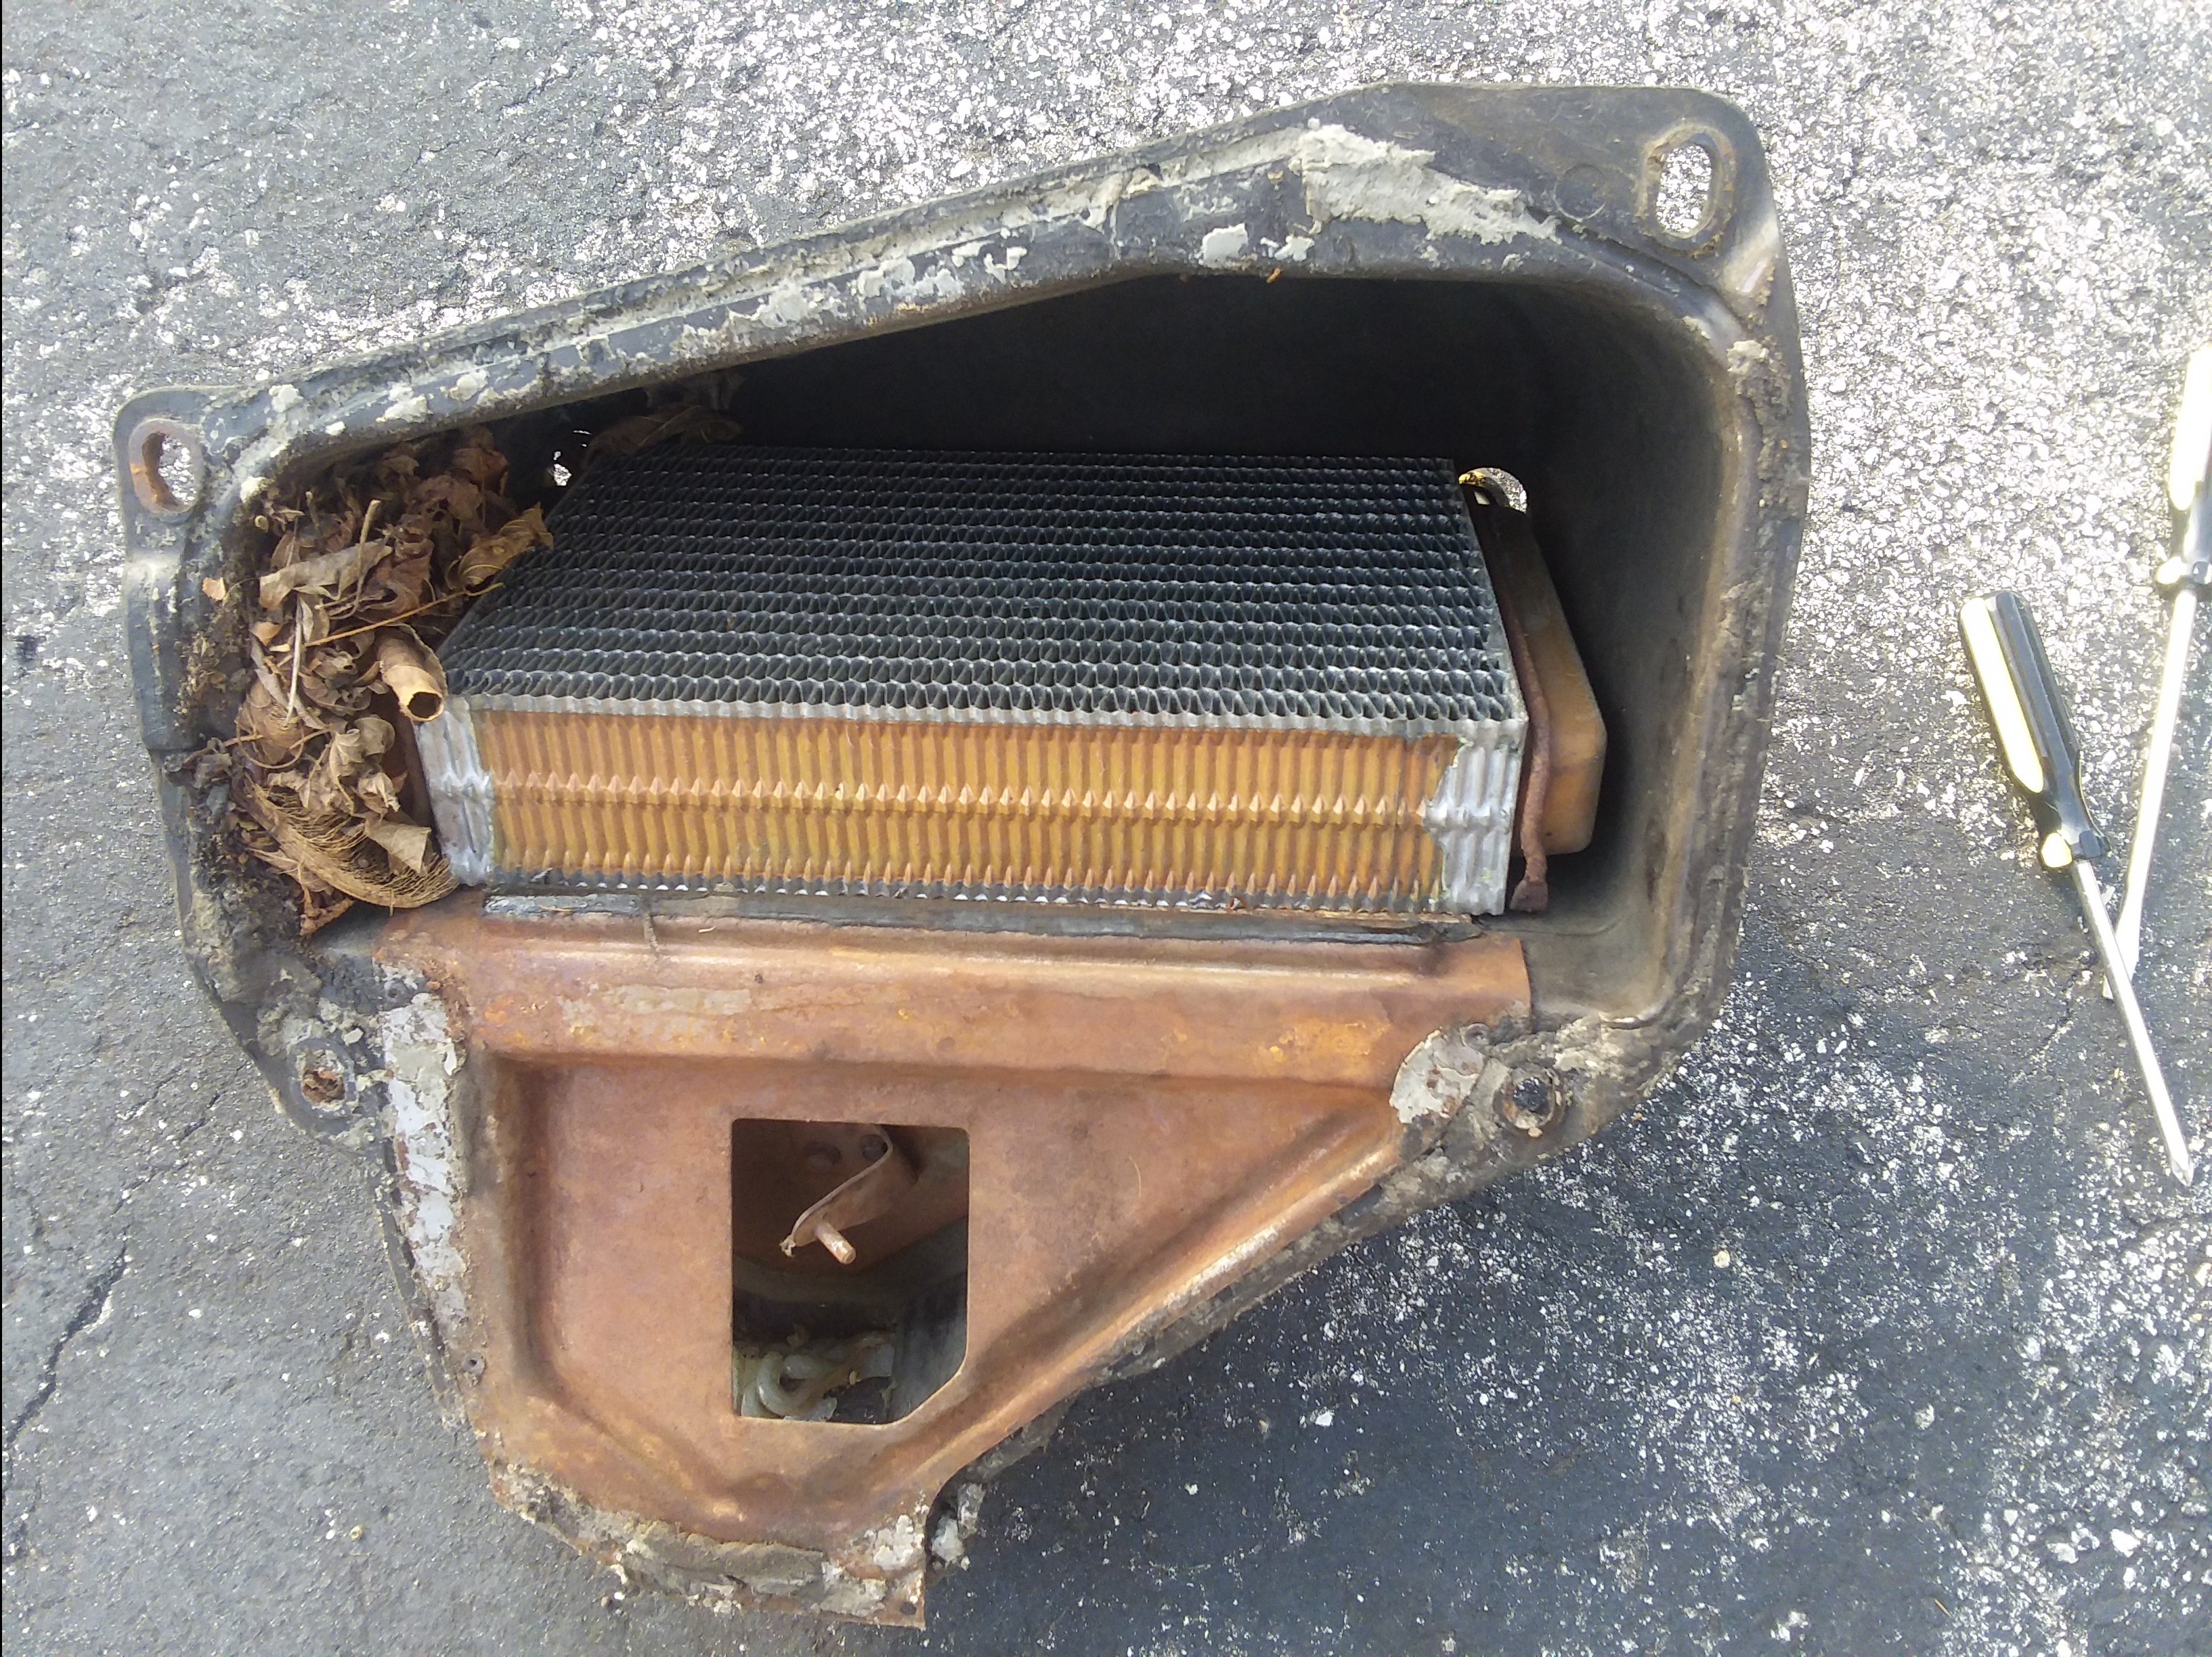
This is the old heater core which I think is semi-clogged up inside…..but Check the leaves out. This will all get replaced. I will post later when I get the other piece of this contraption out. Someone cut it in two.
This is how it works. When you turn the heat on inside the cabin, a fan will blow air though this little radiator so you get heat inside the car. The lever at the bottom is what opens a small flap to let the heat in and to regulate it if you just want warm air. The new one should look a lot better.
Sourcing parts for the new radiator and mounts. Having a little trouble finding a radiator. Got one and it did not fit, so I am sending it back. I have another one ordered and hopefully it will fit. This one is made in America not China.


 New circuit “board” installed with the bulbs put in. They insert with a turn to hold down the Circuit “board”.
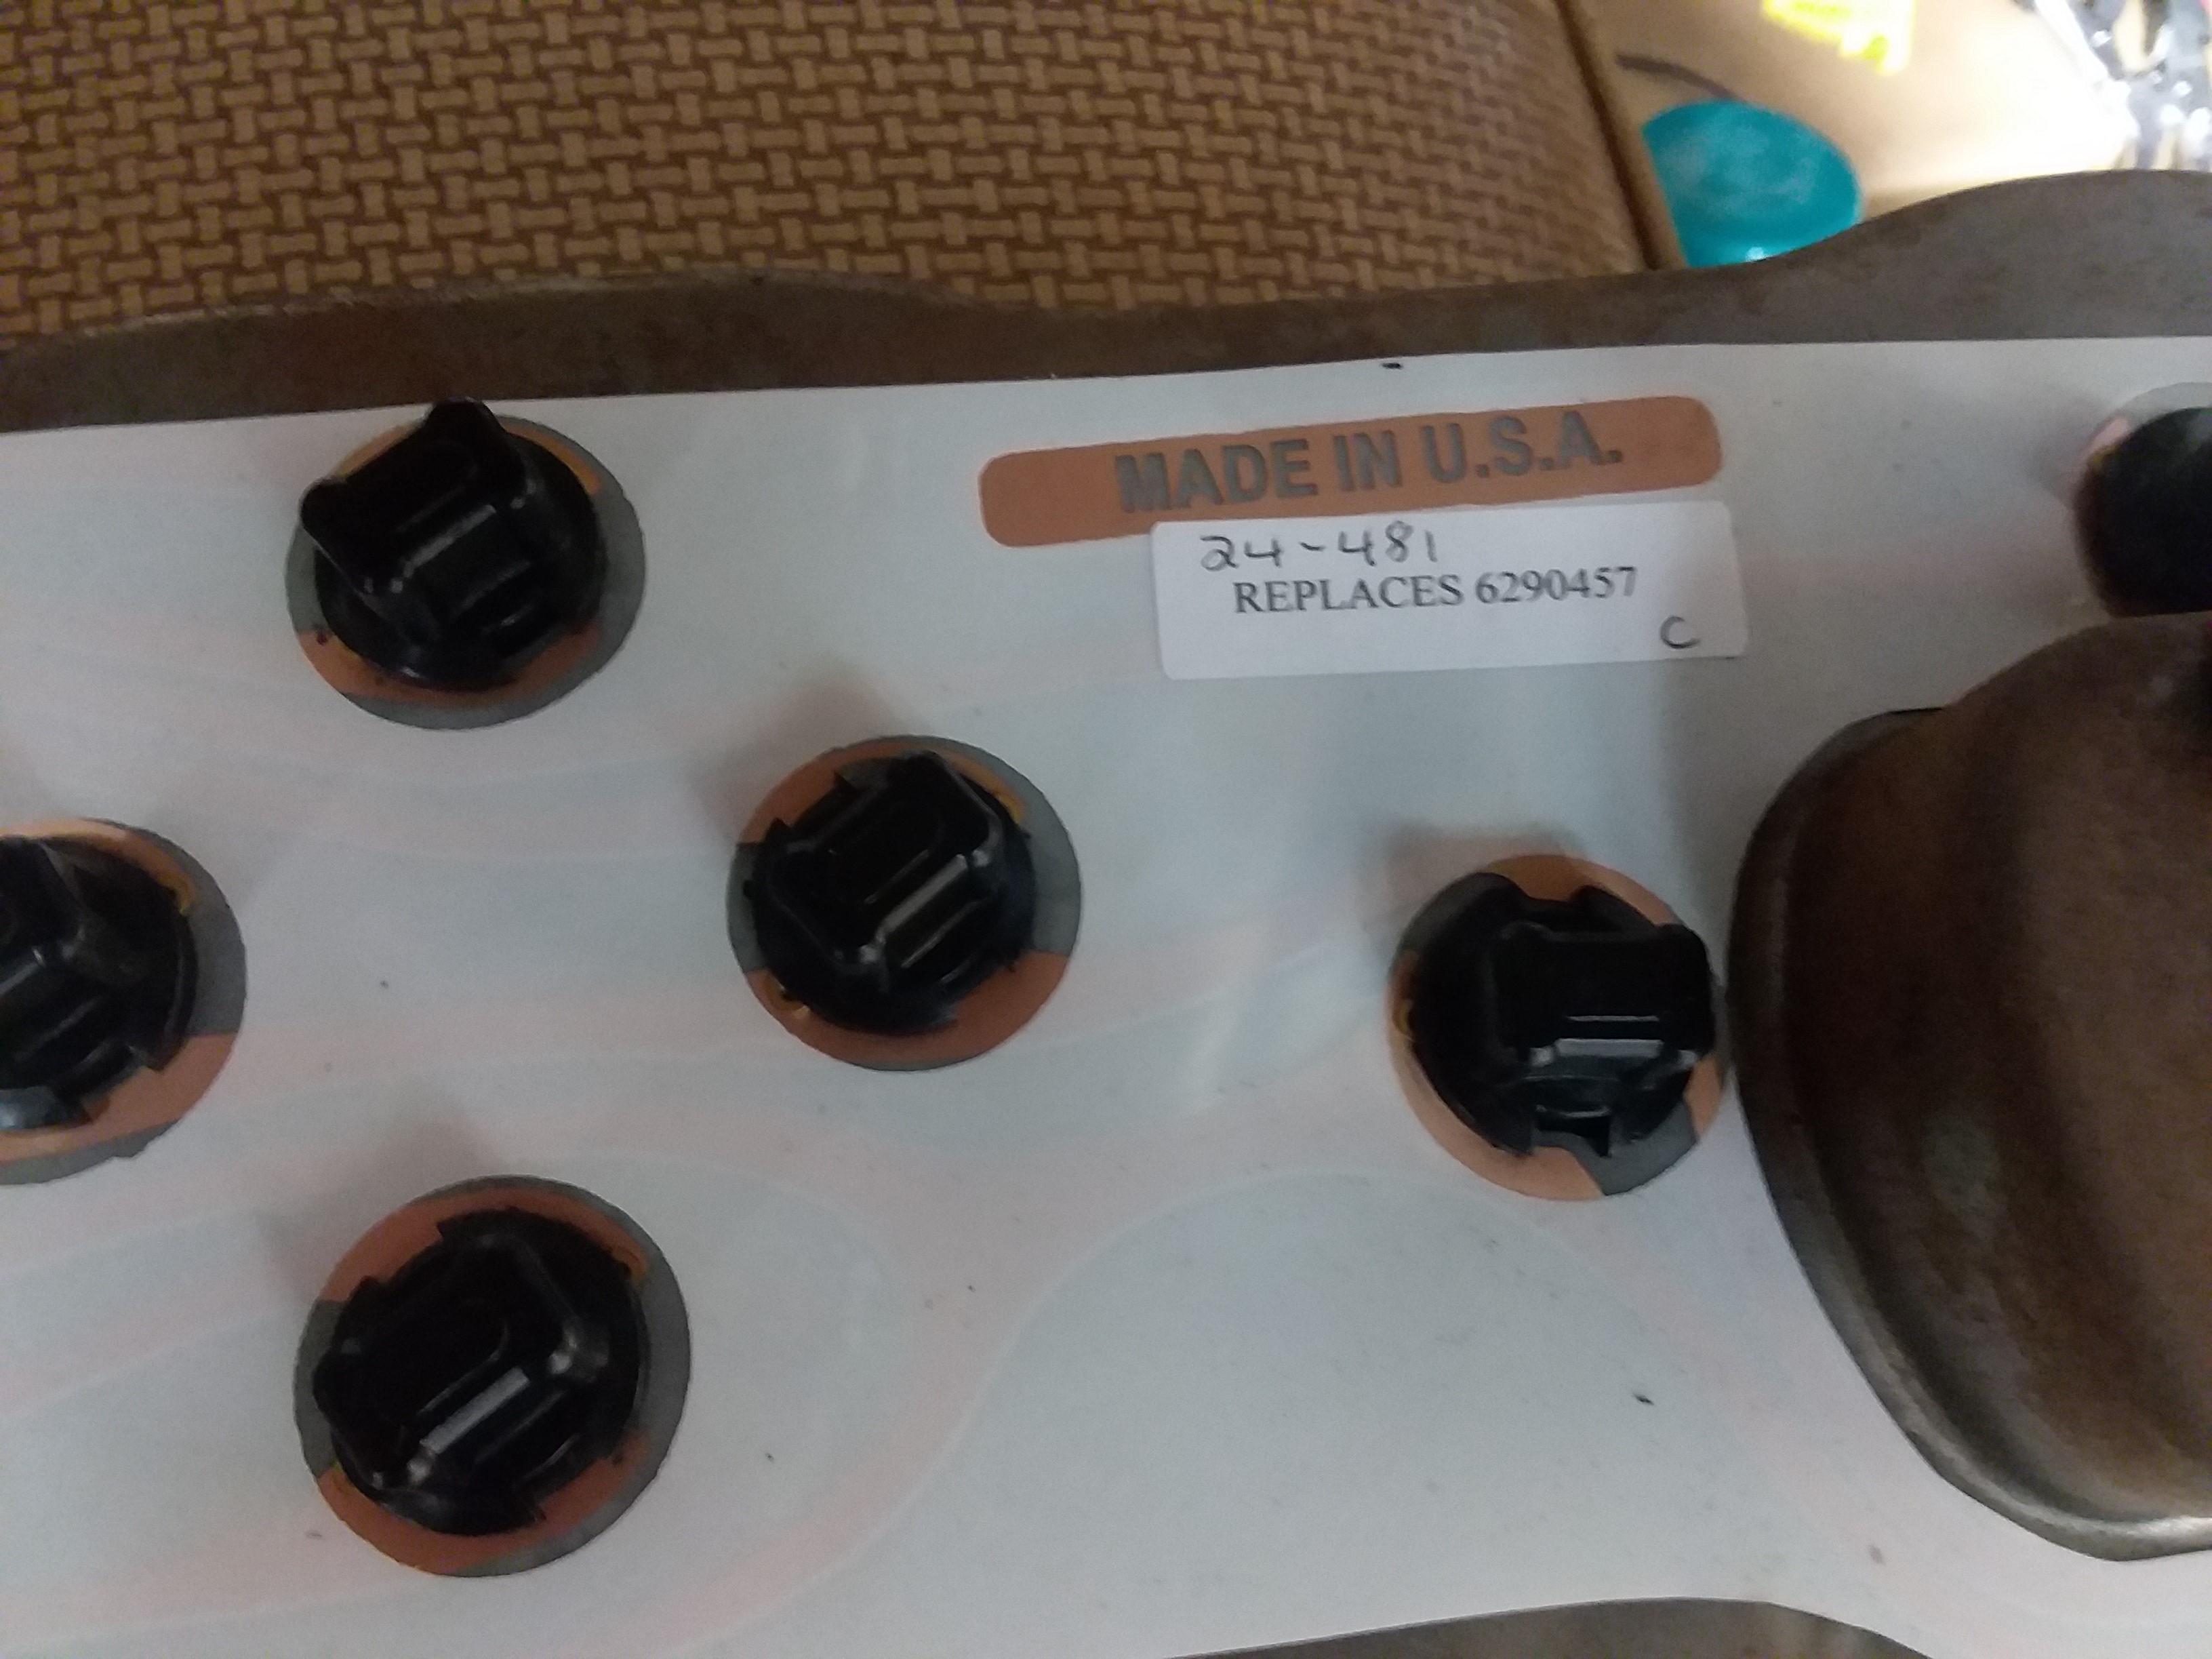 Actually made in the USA. WOW…..
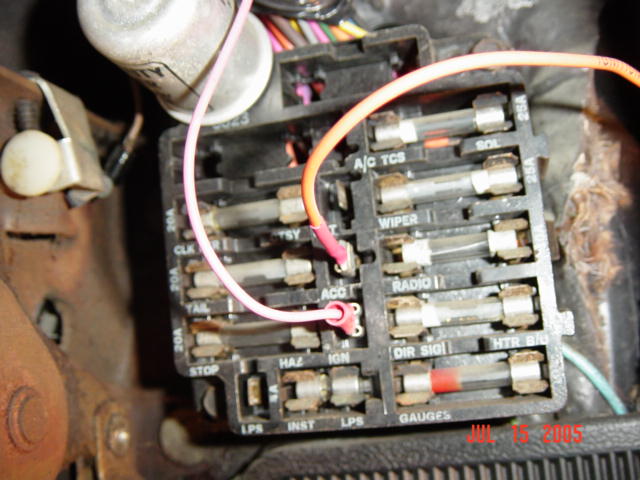


![20180529_225016[1]](https://my1969chevytruckproject.com/wp-content/uploads/2018/05/20180529_2250161.jpg)