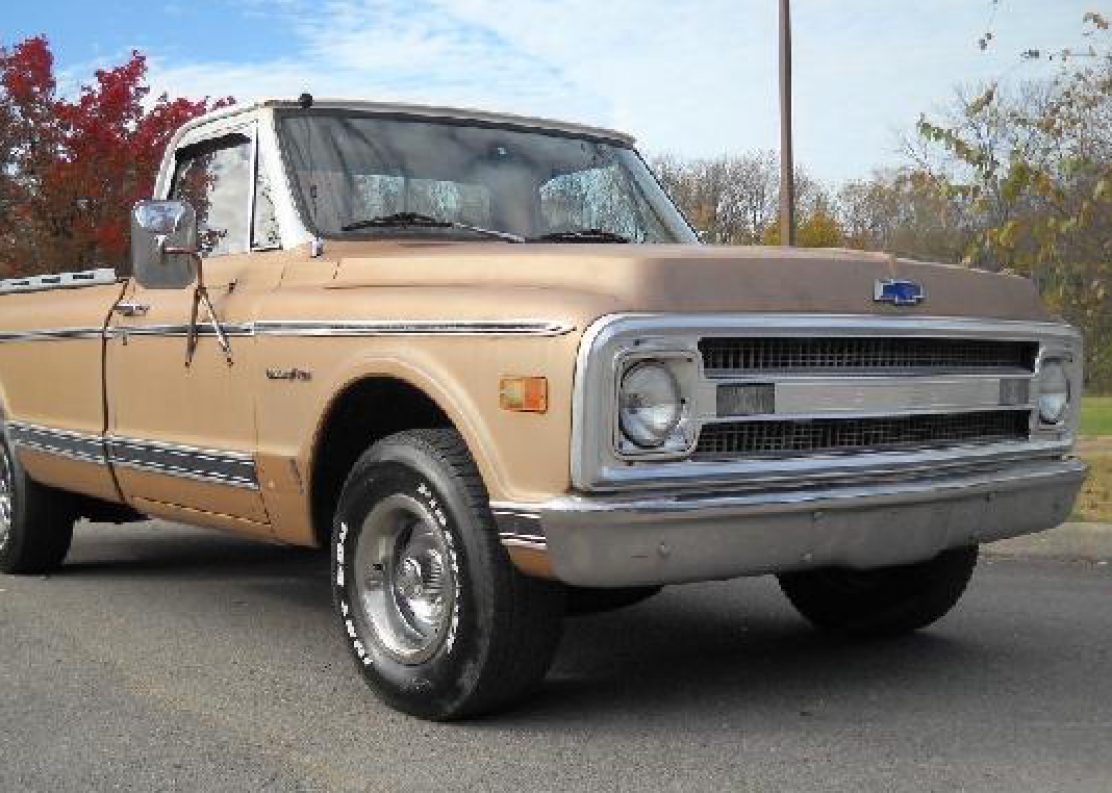

Ok…..this is to document my work on the brakes of this truck. At first I was going to redo the original drum brake setup. But, then decided to go to a modern disc brakes setup.
Part One: I have also started the process of overhauling the brakes. This truck has drums all the way around. They work and are safe…..but even on a good day they are not Disc brakes as modern cars and trucks have are better. I will be switching to discs all the way around at a later date.
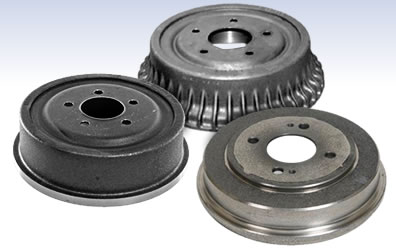
I found some damage on the rear brakes while I was inspecting them to see what size my truck had. Chevy trucks in 1969 had two size brake drums. 11″ x 2″ in and 11 5/32″ X 2 3/4″, the later on heavy duty trucks…..mine is not.
Not a big different but the parts do not interchange. So I found out mine has the smaller size 11″ x 2″. That 11 inches around and 2 inches wide brake shoes.
This is what my truck has:
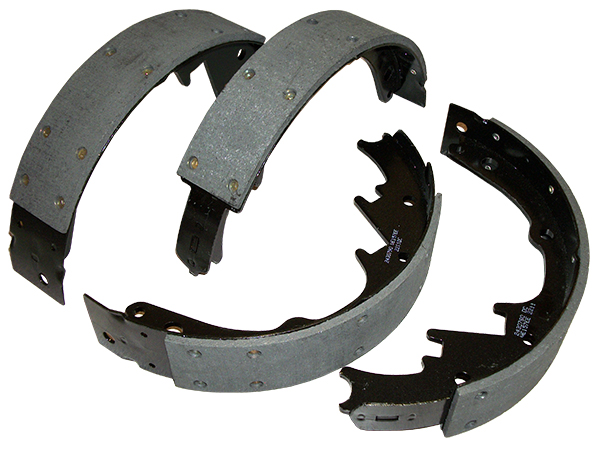

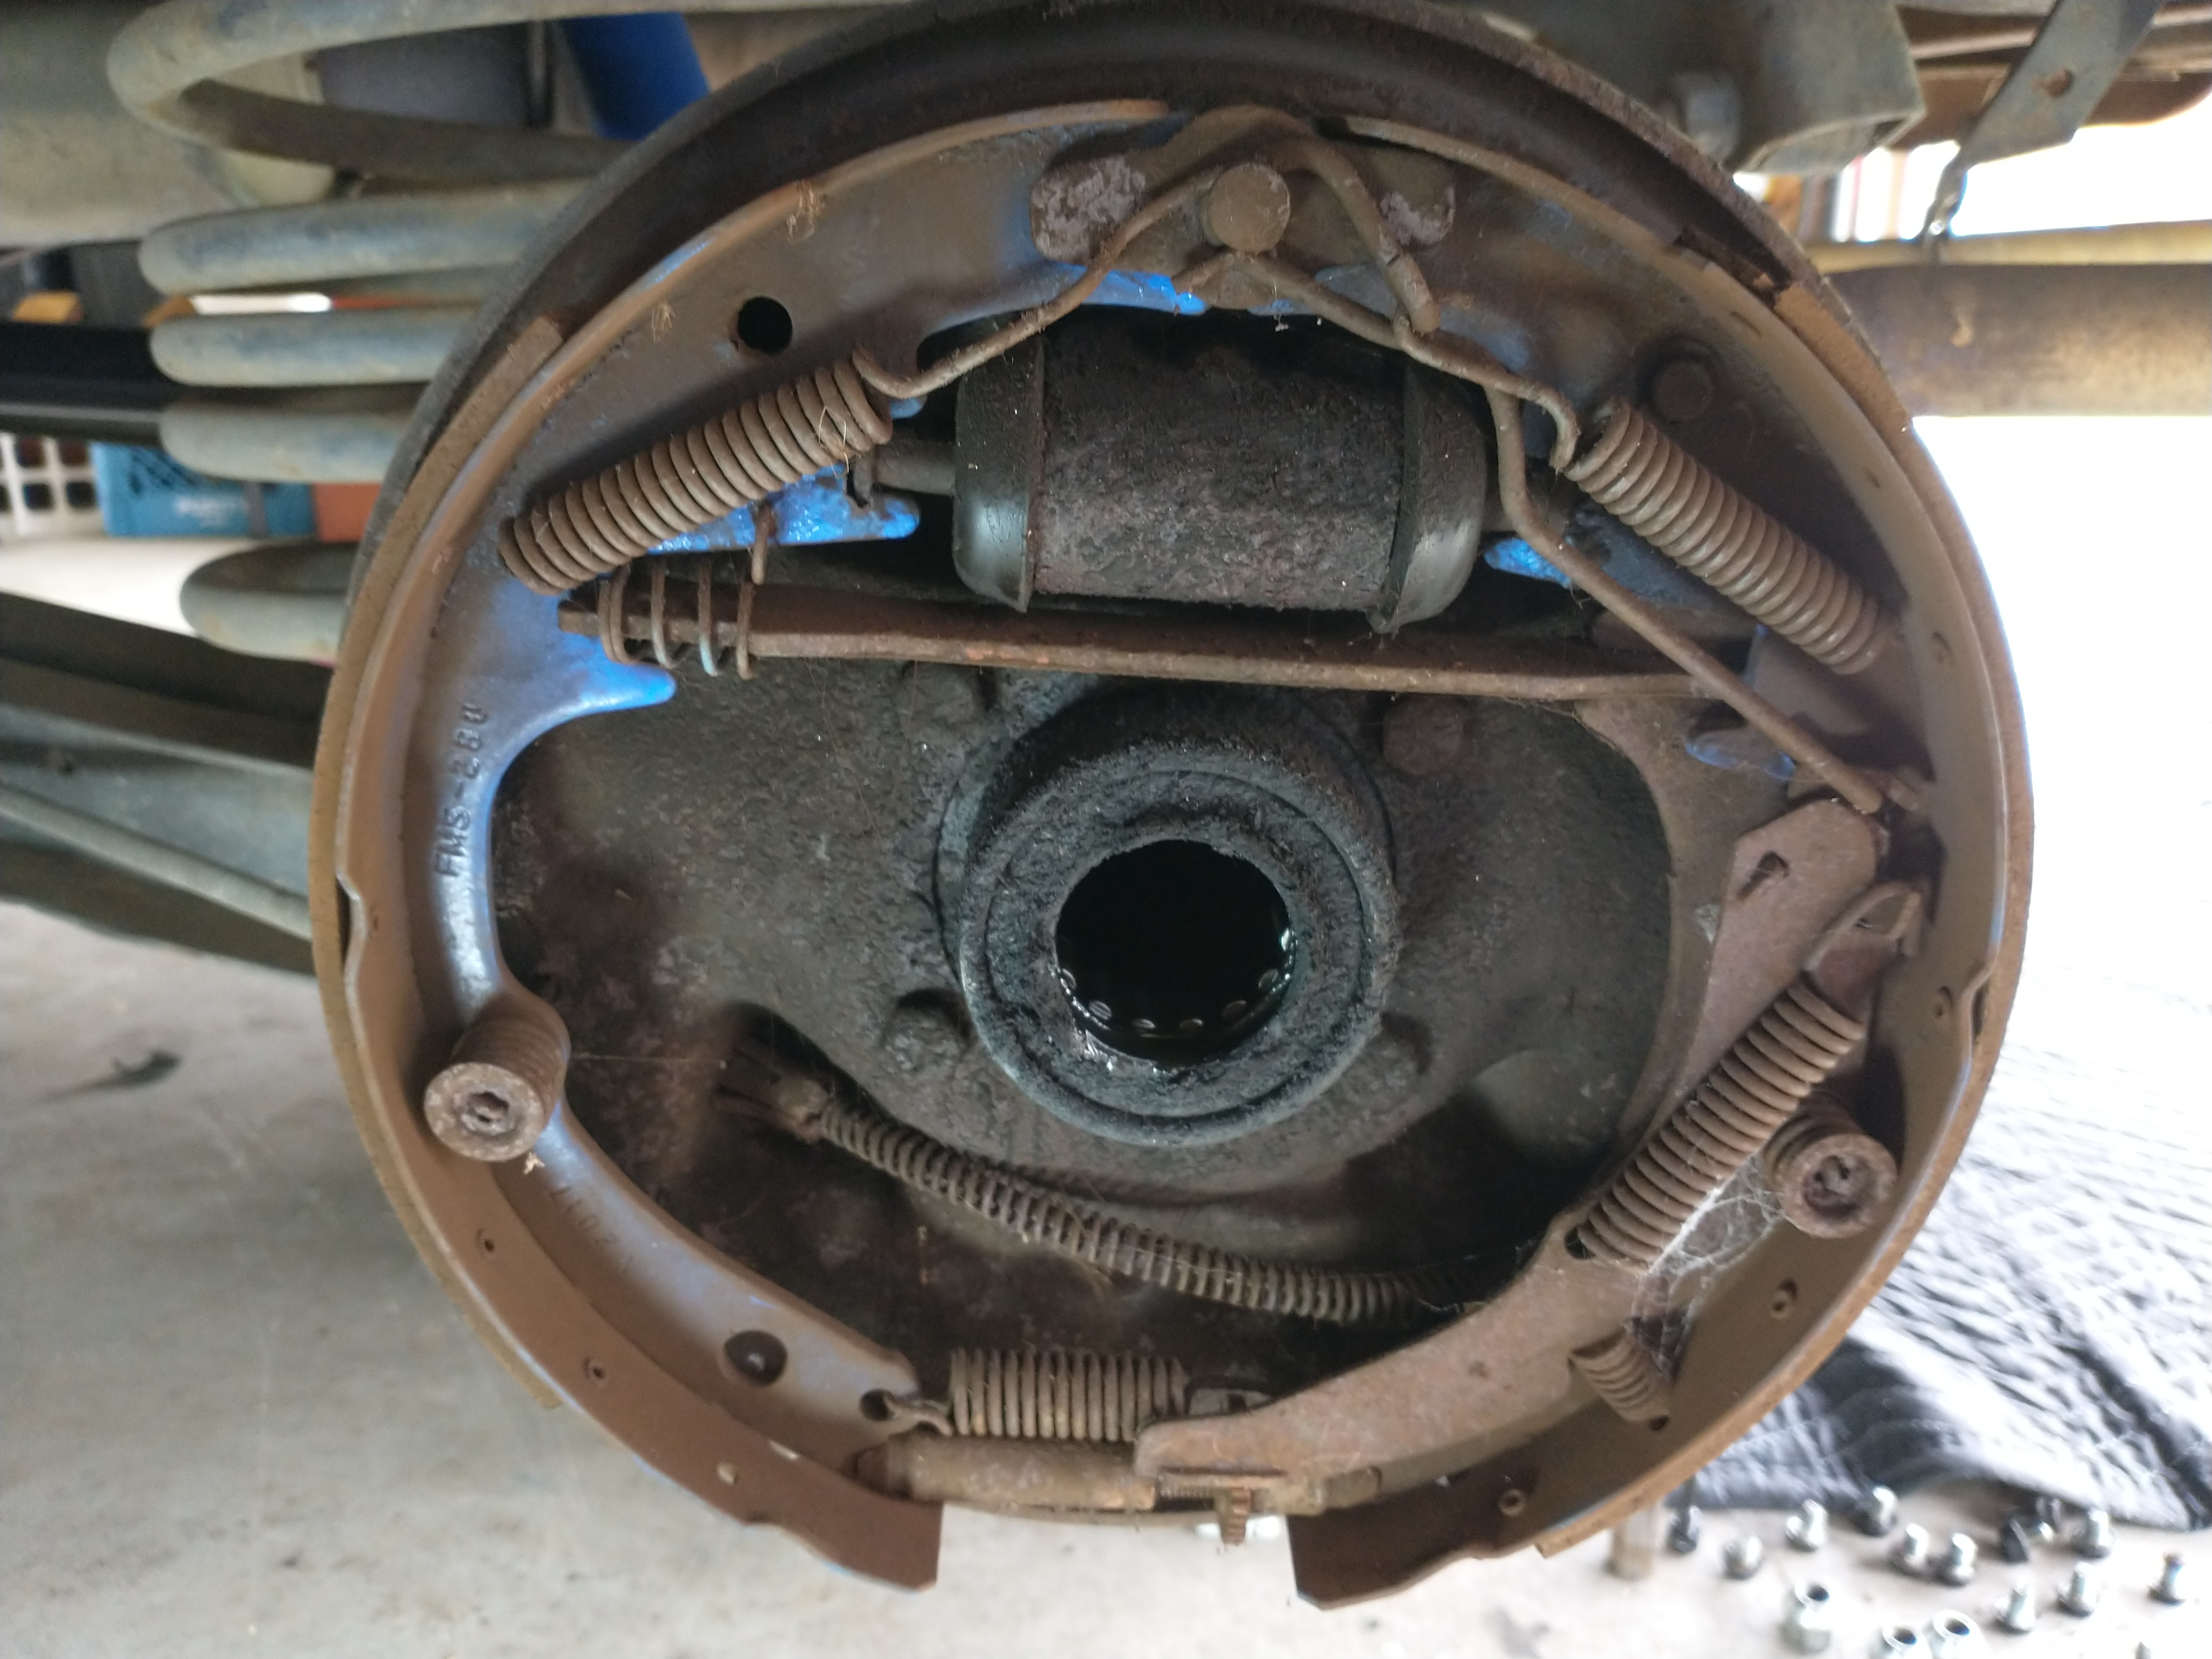
This last picture is all the parts together on the truck.Not mine but this is what it is supposed to look like with the drum off.
Not hard to understand….the little cylinder in the middle pushes the shoes out and they contact the drum. The pressure you apply at the brake pedal makes the shoes push out harder and more and more friction is applied and slows the wheel down. Springs release the pressure as you let off of the brake pedal. Worked for a lot of years.
Right now all of this mechanical stuff is bolted to a backing plate. One of mine is damaged by the previous owner…will post picture tomorrow….and dirt and junk got into all the springs, shoes and well everything. So, I have spent the last month trying to find a new one….oh wait they don’t make them anymore. Well, they do its just difficult to find one. There is no part number on the original and I am not sure what newer car or truck will interchange with mine. But, I found a guy in East Tennessee that had some for a truck and I got them. They are NOT new as you can see below.
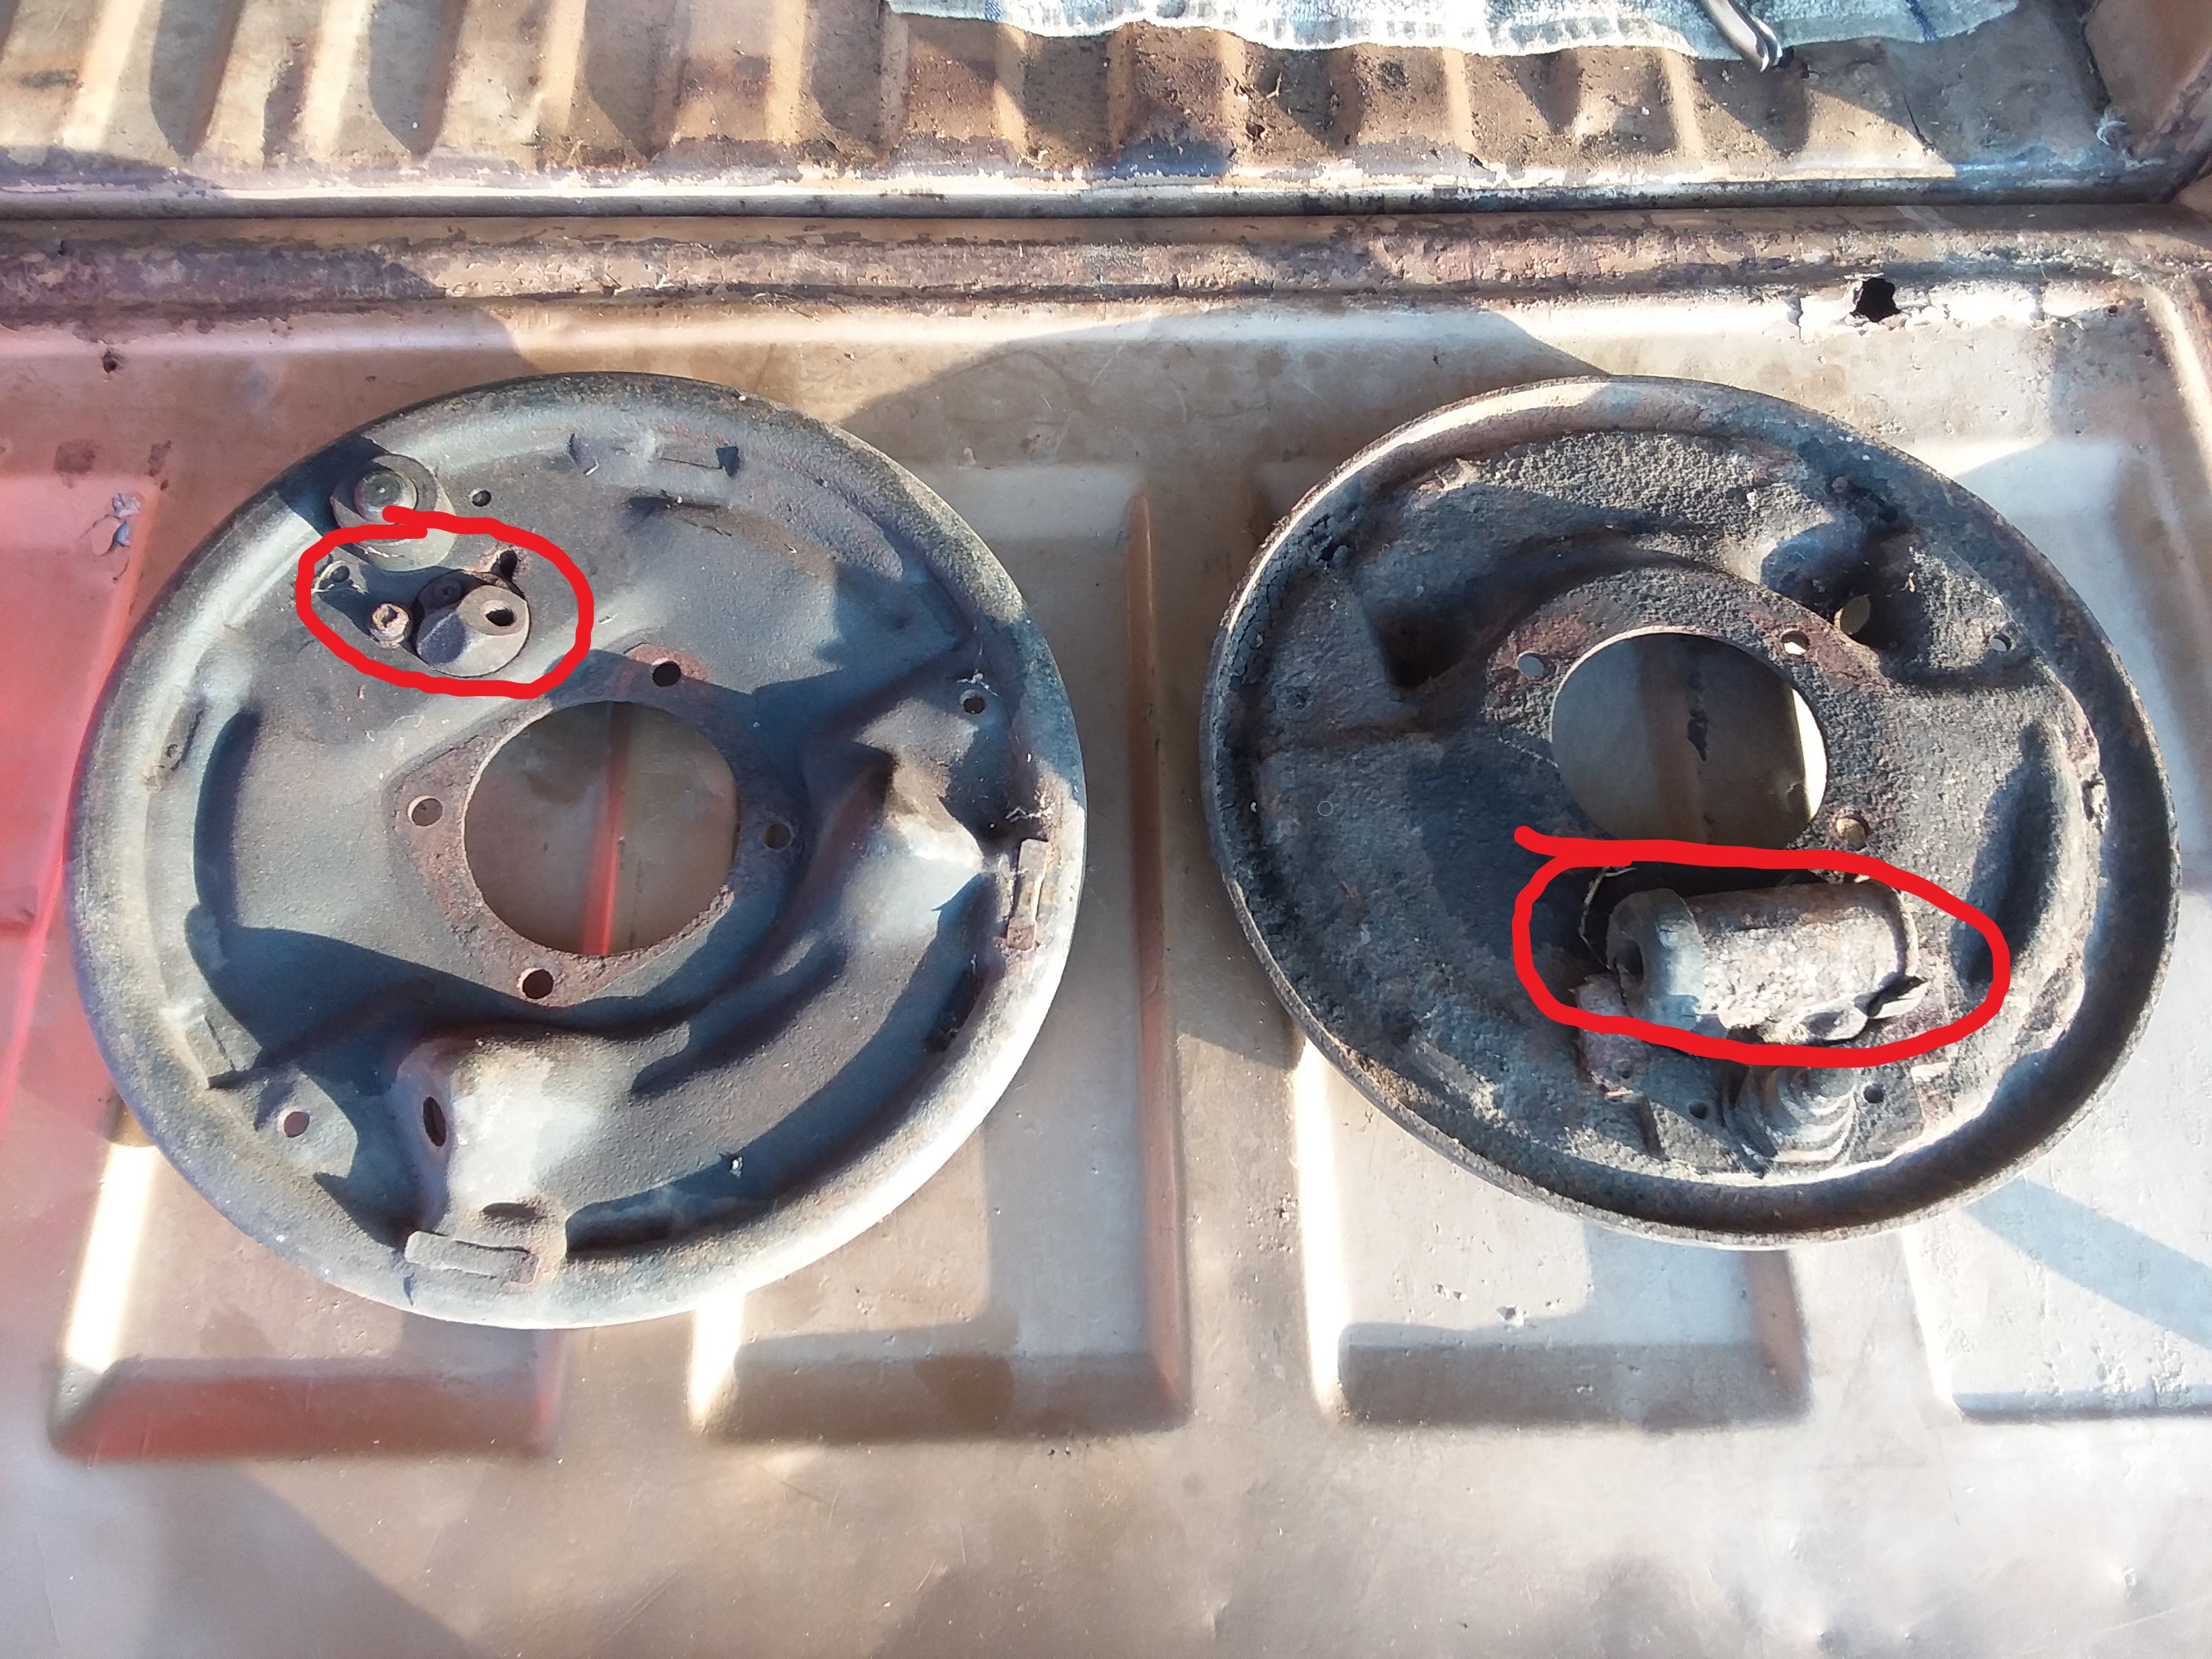
Had to drill out the bolts for the old brake cylinders (circled), to get them removed. But just wait until they get media-blasted and repainted. They will look 100 times better.
Here is my damaged one :
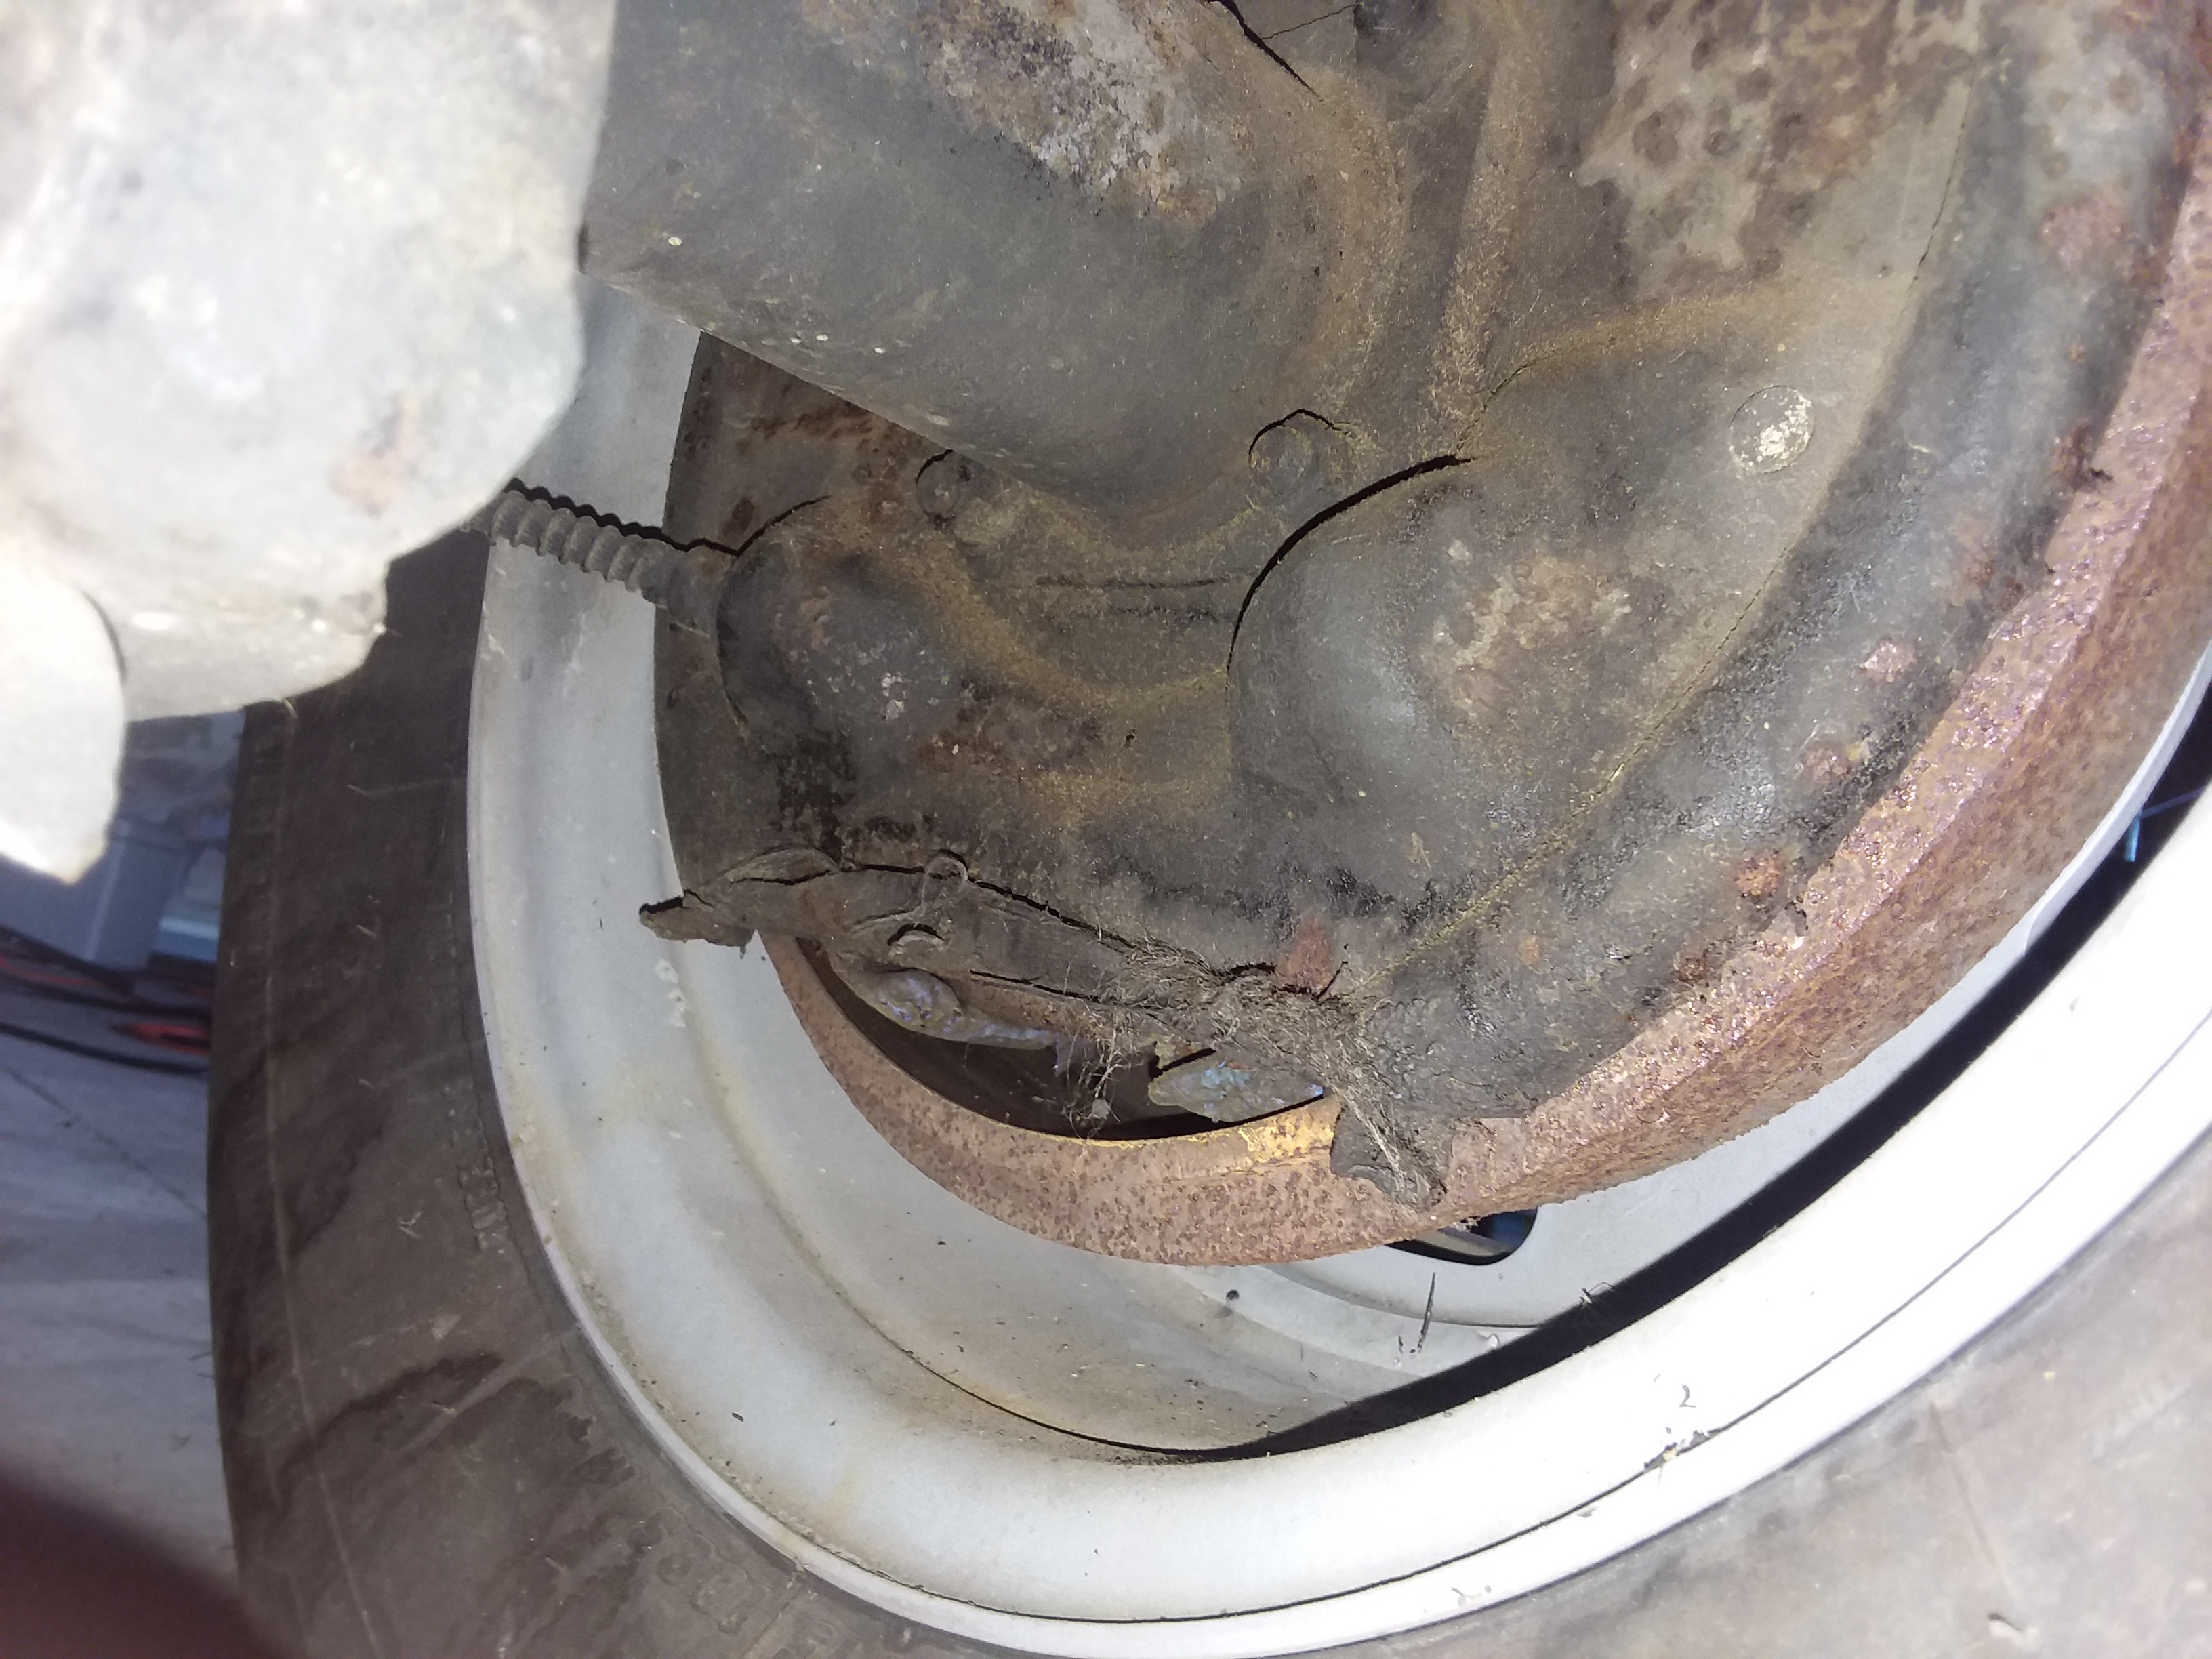
So that is why I needed to replace it. Dirt water and junk is getting in. The brakes on this wheel are shot. I will be able to limp it to the school and they are going to redo the brakes for me. The instructor wants to have to students experience “Old School Stuff”. I will be putting on the new disc brake setup later on when the complete restore starts. It will be a major difference.
I think the previous owner had the truck up on a jack and it fell off, that is how this got bent. But, it could have been anything and it MUST be fixed so the replacements will do that. I will be replacing all the brakes hardware, springs and brake lines. Its all pretty inexpensive to replace for these old trucks. Going down to Napa auto parts and getting all of it. I am sure the brakes will feel a ton better.
I have the new brake backing plates(to replace this damaged one) sand blasted and painted. They look great and will post a pic soon.
Trying to source all new wheel bearing and its taking awhile. Looking for American made….difficult.
After inspecting all the drum brakes at all four corners I found, they were barely working. The rear was not even working at all and the front had dirt, grease and junk packed in. All that is gone and I have decided to scrap redoing the drums.
Part Two:
UPDATE!!!
Well….decided to go a different direction with the brakes. I will be posting some pictures tomorrow. I am changing over to have disc brakes all the way around. I have the rear brakes almost done and just ordered a lot of the parts for the front. Large project but I think will be worth it.
Well…I am still working on the brakes. The worlds environment with Covid has set me back. Work has been extremely busy and I have not had much time. I am working on the brakes and will have an complete update on that soon.
Here is one of the rear brake system that is done, actually it will be a before and after. This is the drivers side as it looks now.
Here is the before (Original Drum Brakes) not working as I could not get brake fluid thru when I tried to bleed the line. I will have to get new brake lines and there is junk probably in it.
I have re-done the passenger side, when I was going to use the drum brakes. All this has been taken off for the disc brake kit. But. here it is.
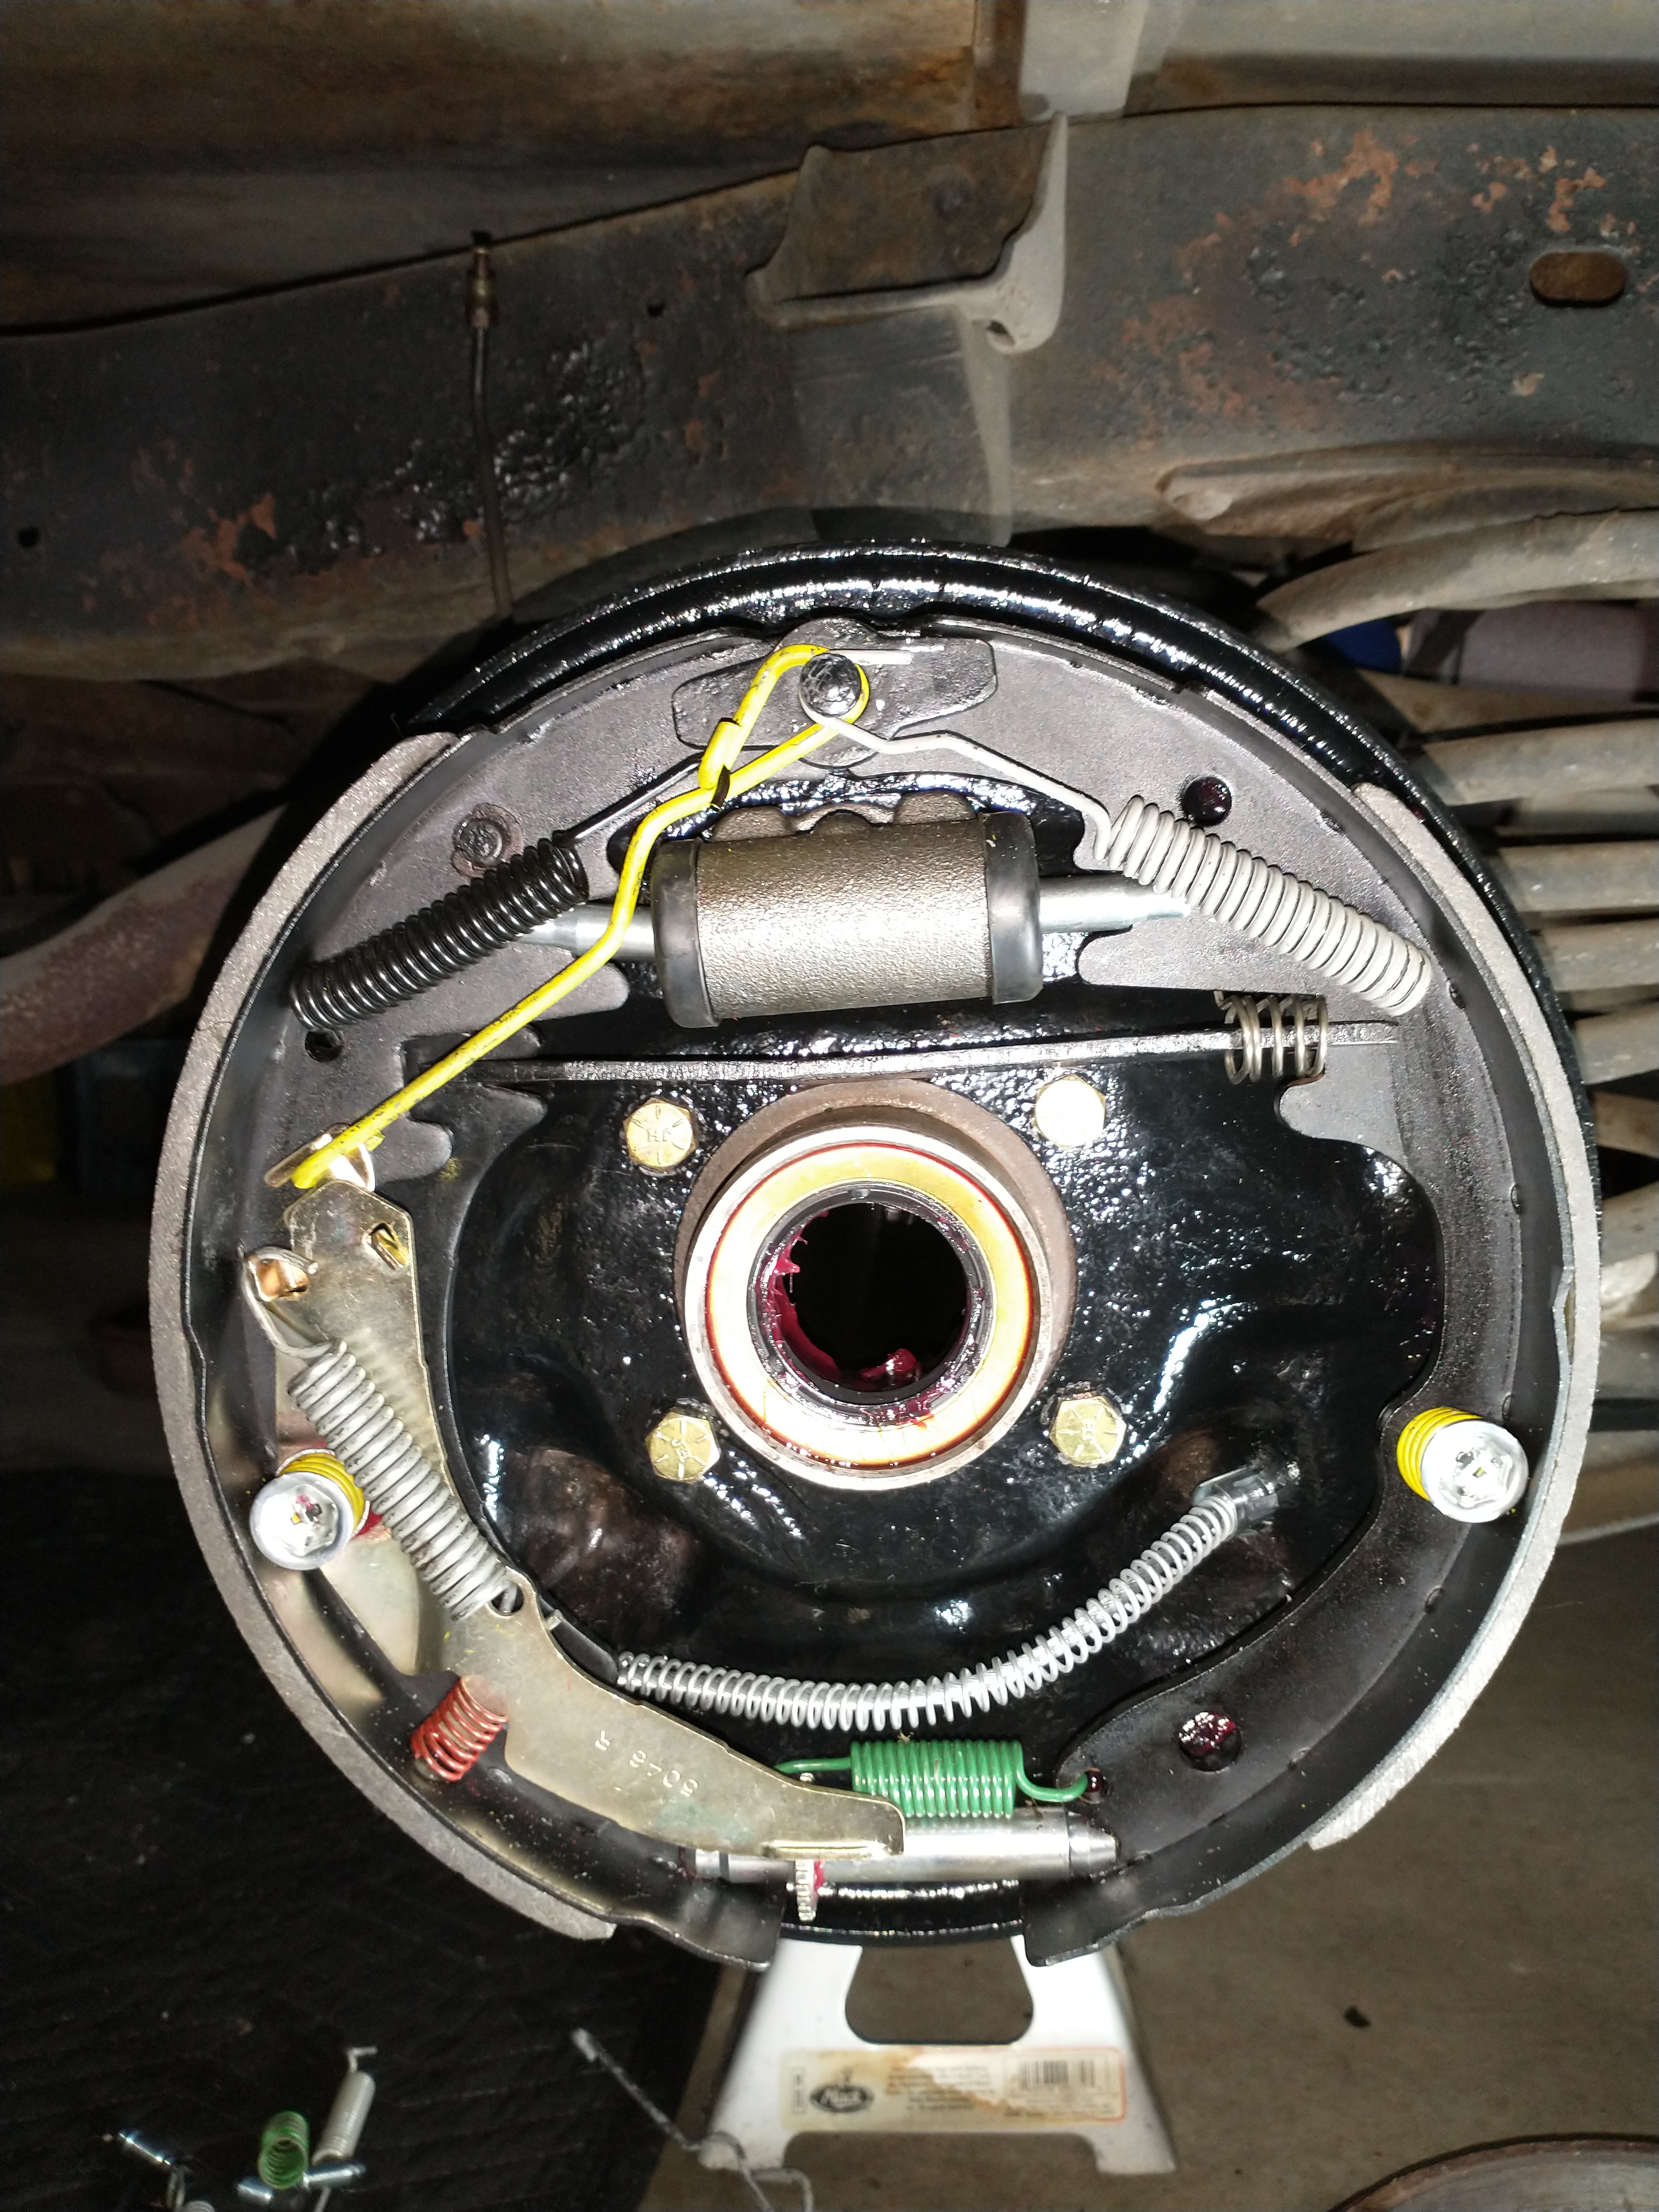
New Shoes-Spring Kit – wheel cylinder – everything is new plus new bearing seal and grease (red stuff). Its not fun but the brake were shot all the way around with these rears being the worst.
As I said…….Change of plans (forget what I did above…lol Disc brakes!
Okay…..as I said I have changed plans, and you will see the difference in the pictures. So I decide to go ahead and change the brakes over to modern disc’s. Same as most modern cars are. Luckily, the aftermarket support has provided disc brakes for the rear (which was not a factory option back in 1969). So there is no provision to install disc brakes. Here are the before and after and the kit I used.
Ok so the pictures above are Drum Brakes original to the truck and what most all cars of the era had. I decided to use a CPP rear disc brake kit, which is using a newer GM caliper used on a Cadillac Seville on the rear.
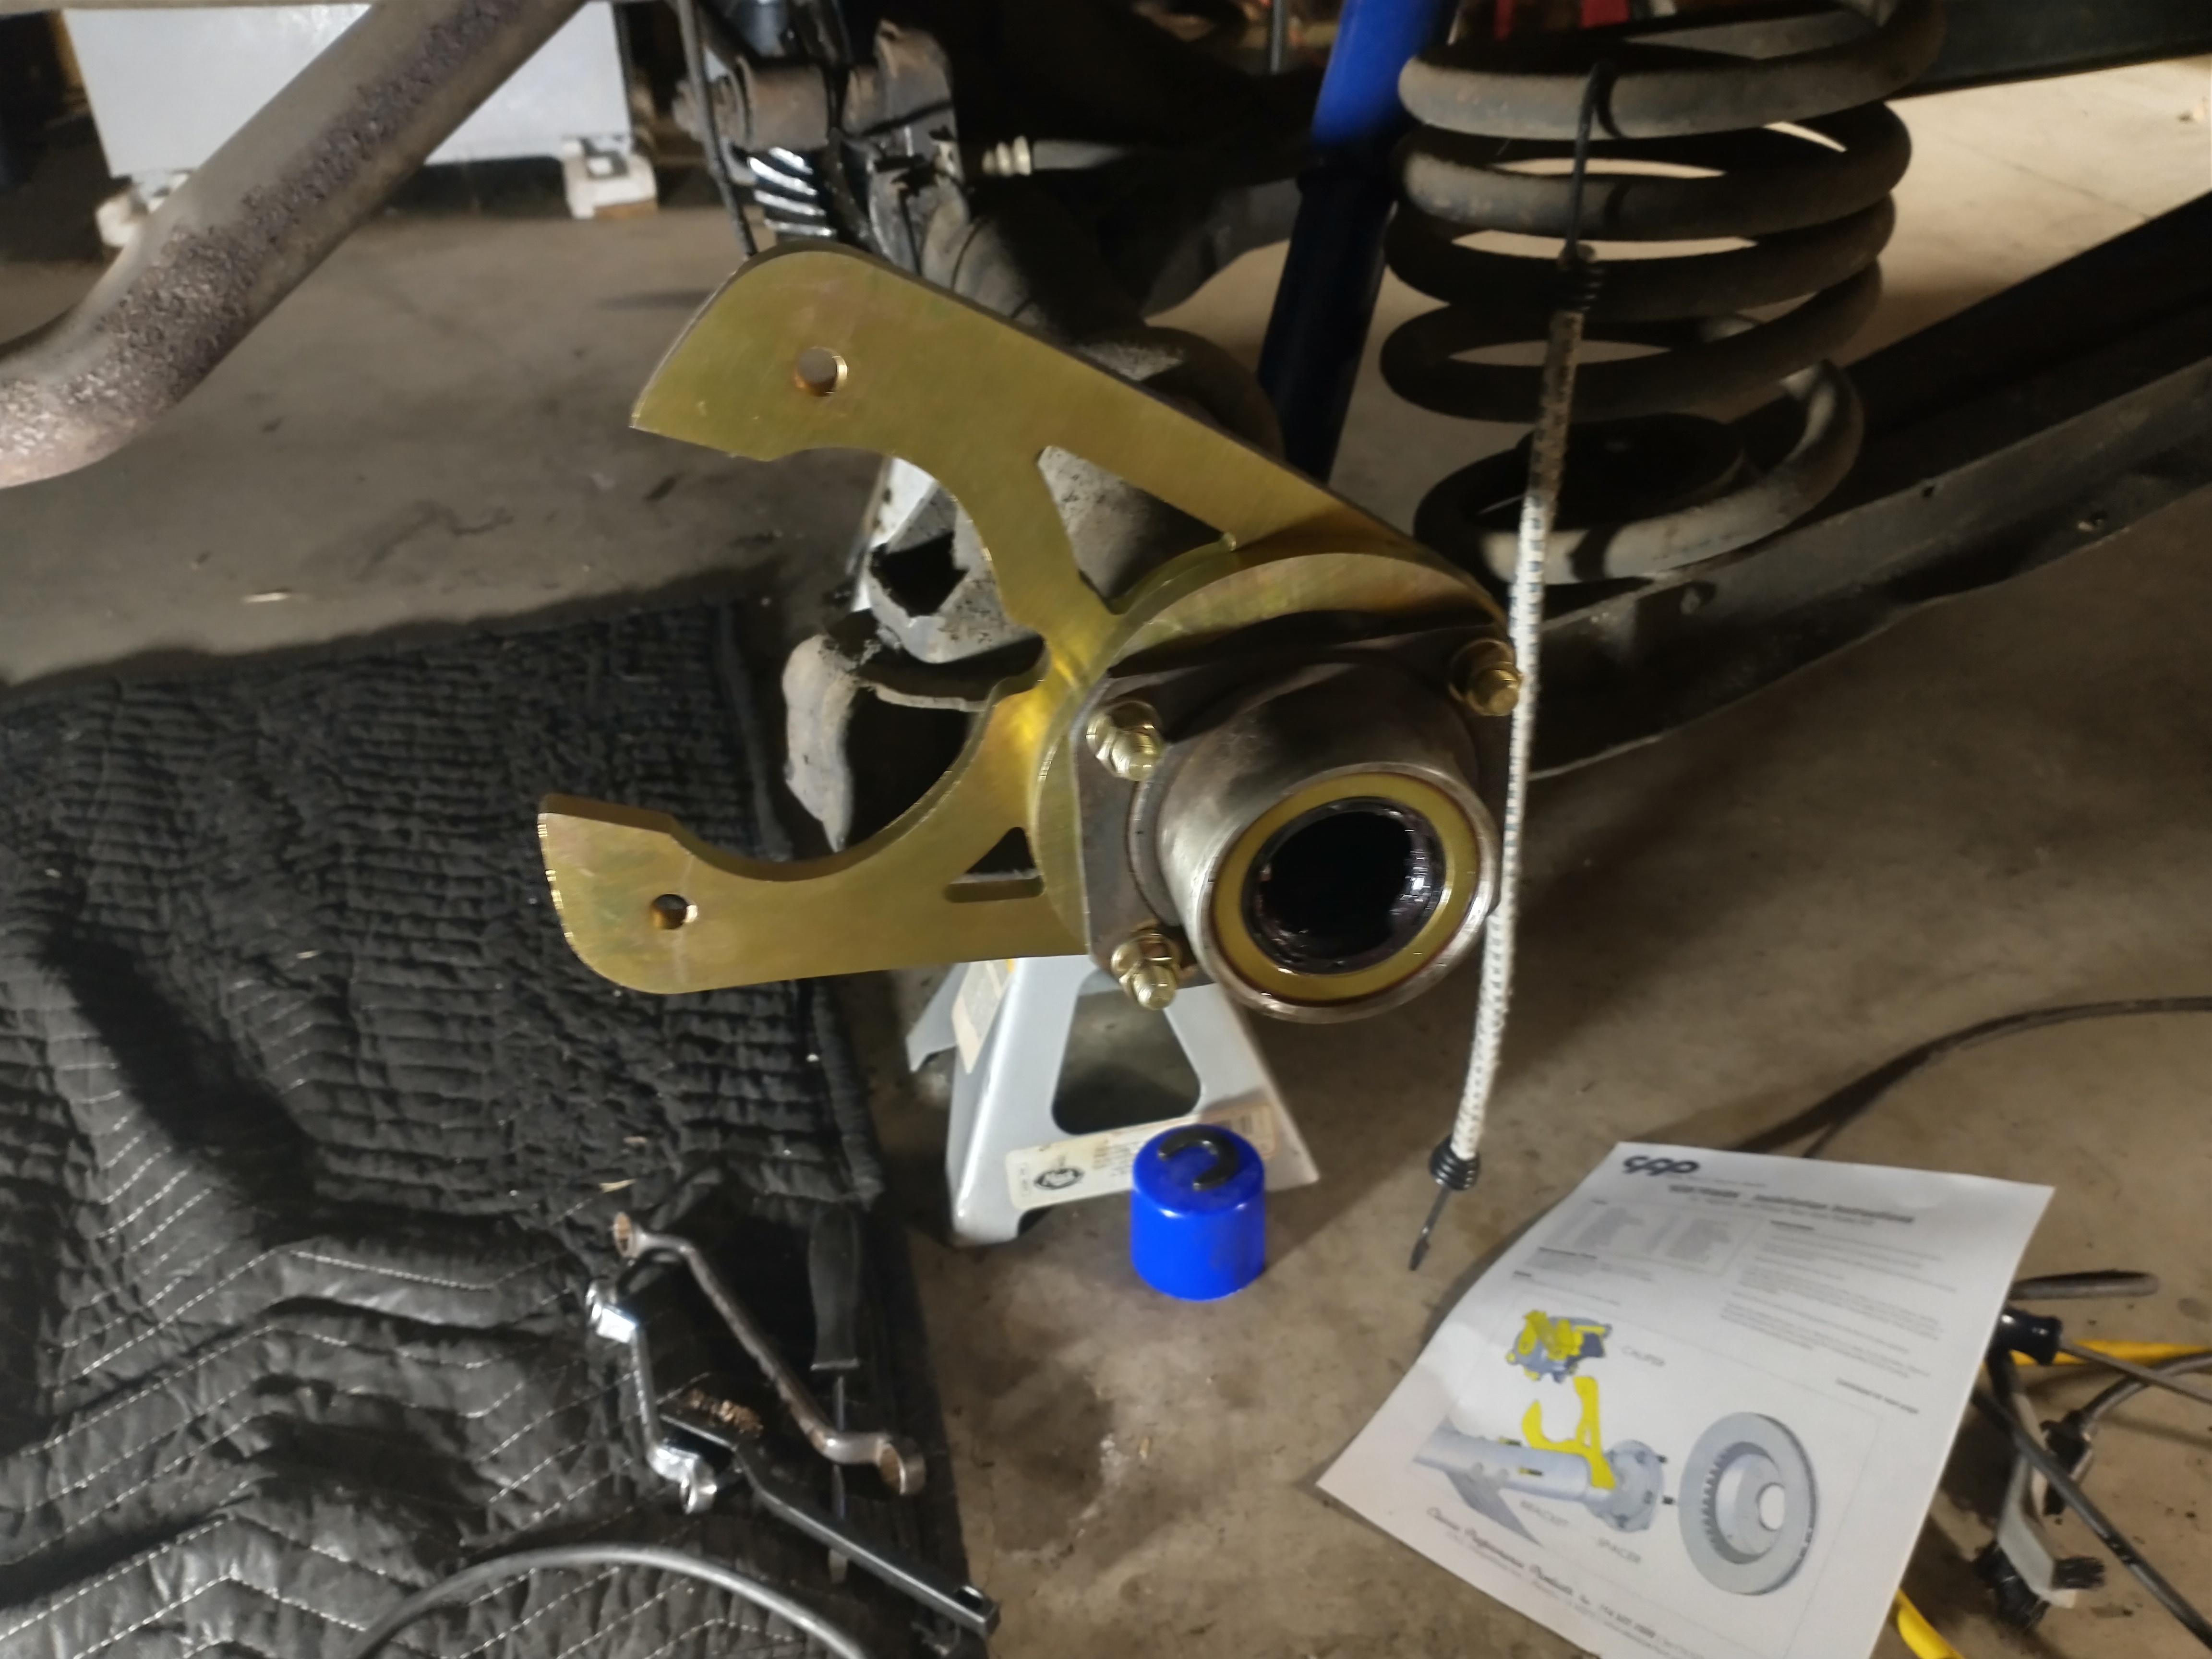
Here is the rear axle with the new disc brake caliper bracket installed
Here with all the drum brake stuff removed and I have cleaned off the end of the axle housing. Spacer and bracket are installed. This is what the caliper will be mounted too. You must have the bracket facing, lack of a better word…to the rear of the truck, this will let you place the caliper in the right orientation.
Note the thing that is further back in the picture…gears………more on that in a moment.
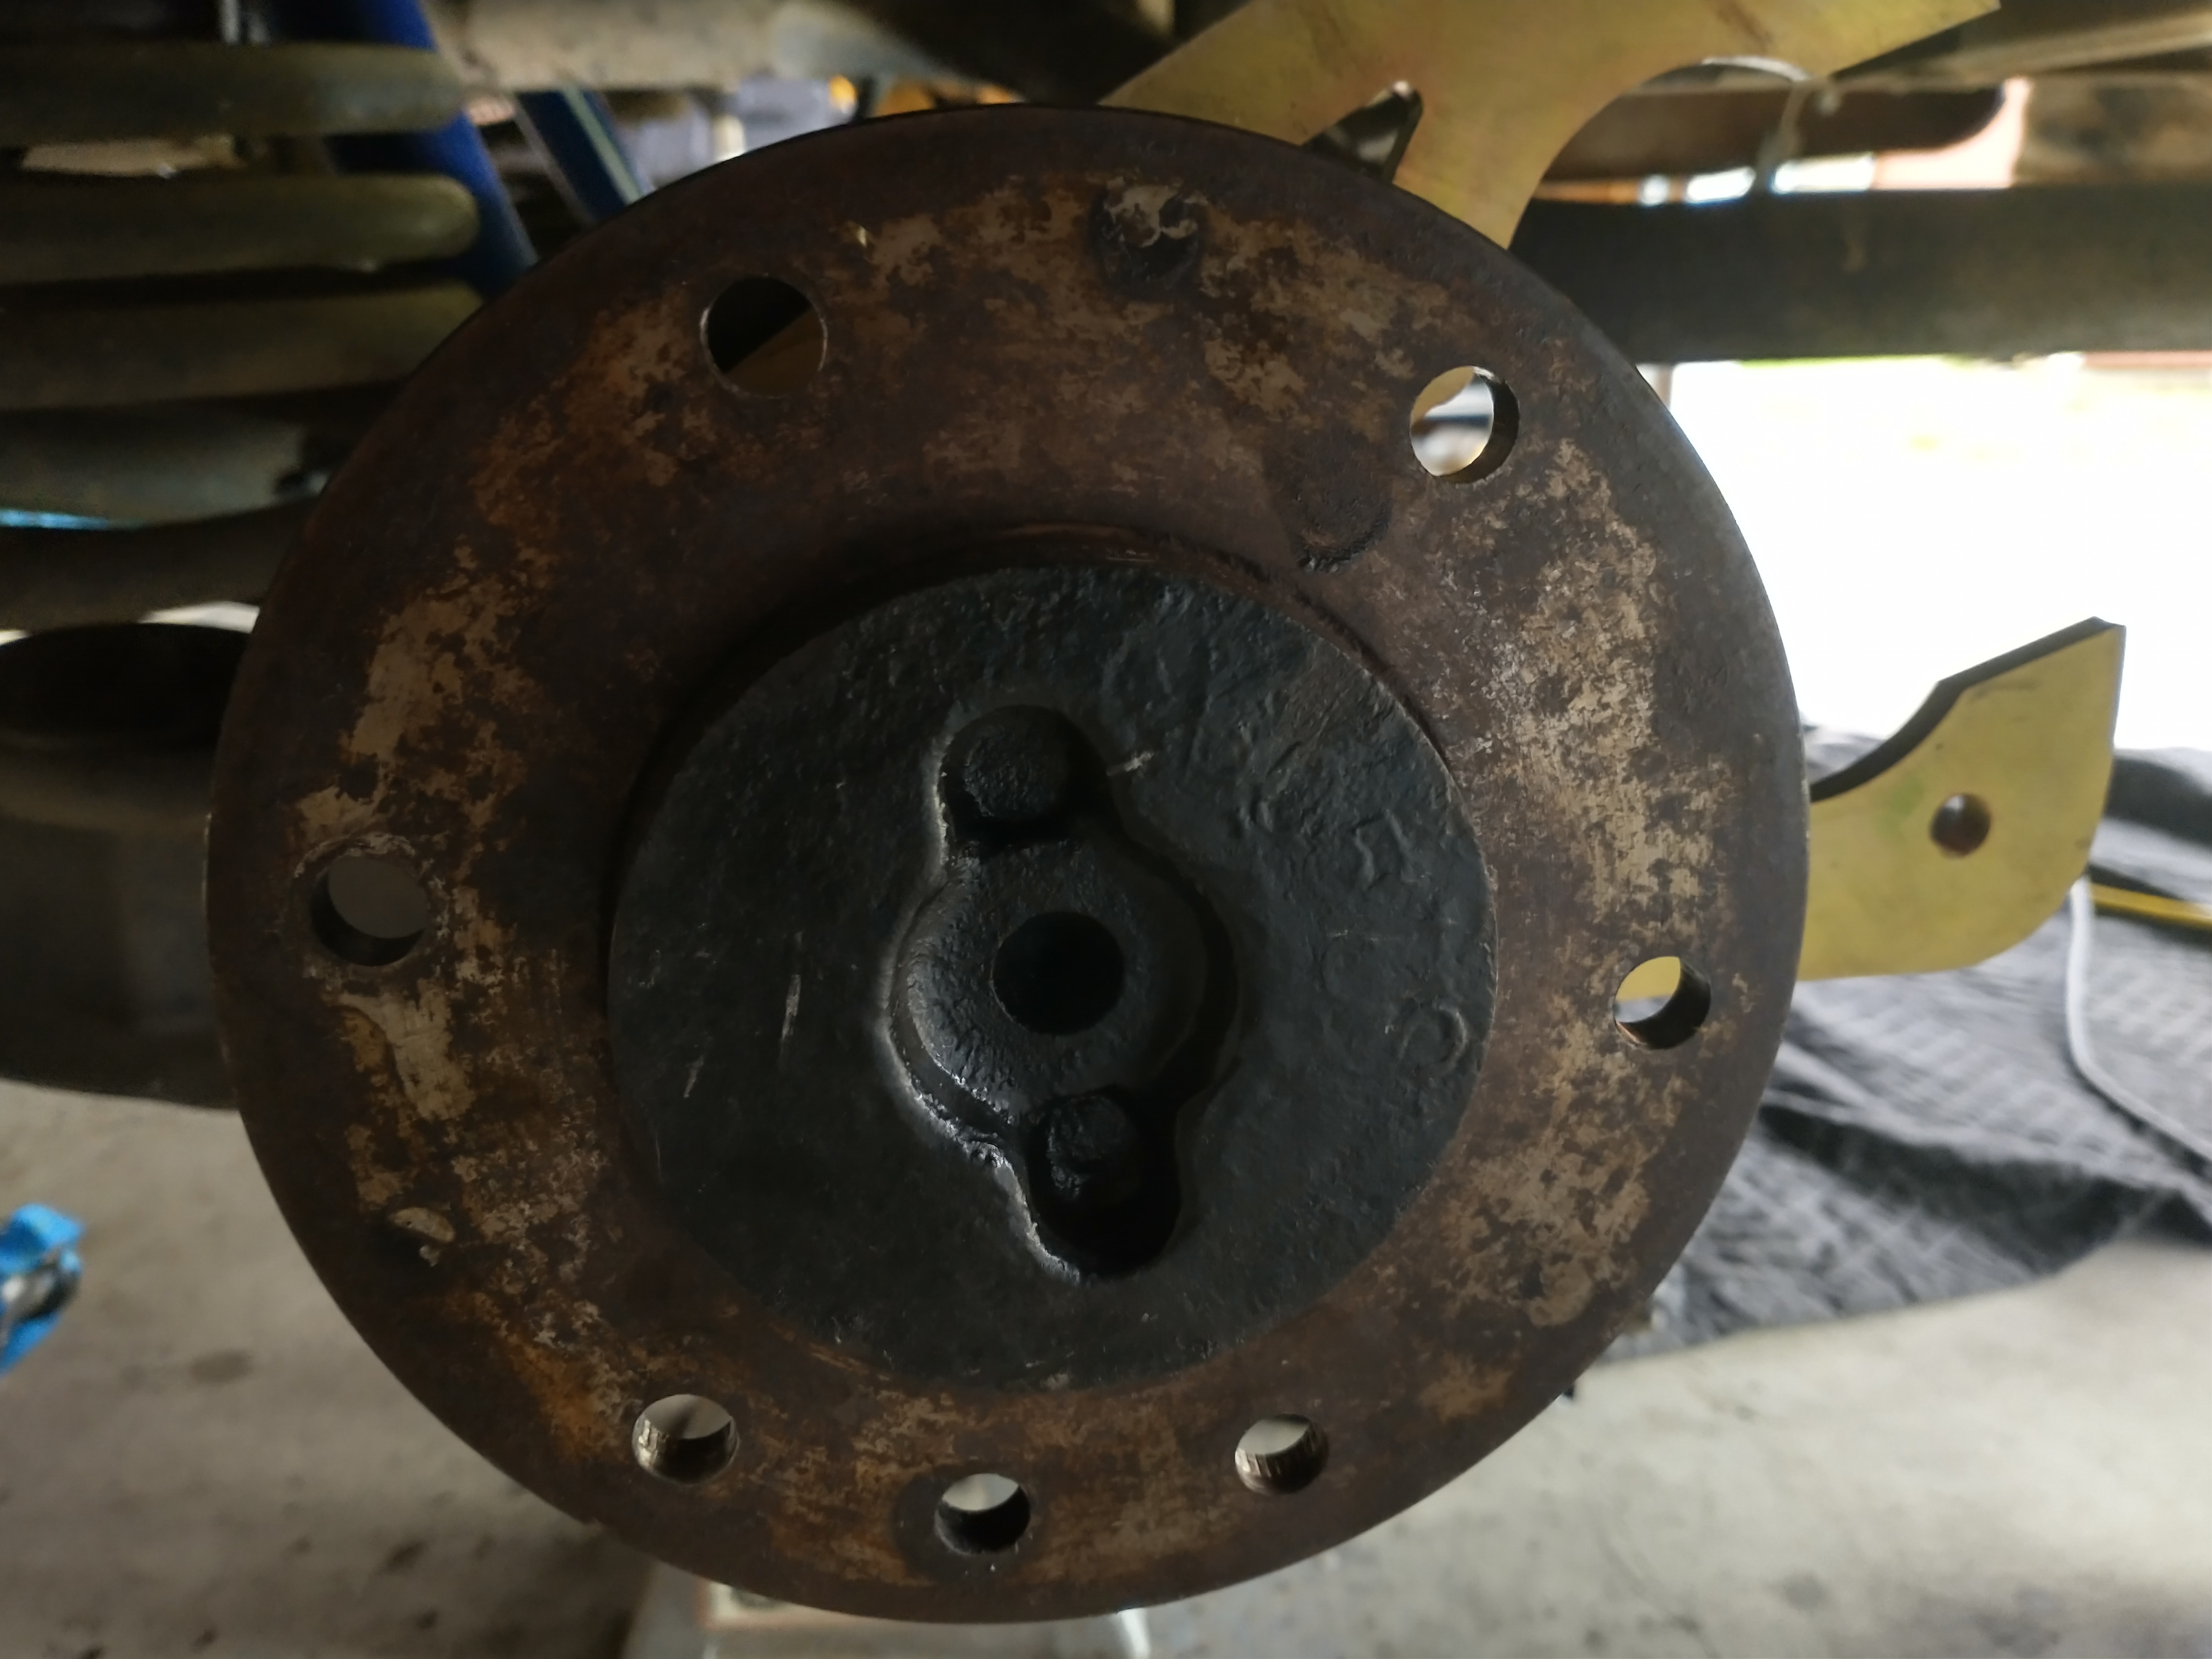
Here we have the end of the axle that has not been cleaned up. This is what the wheel bolts too, but wait…..the wheel studs are removed. Found out I must have new longer ones to work with the disc brakes and they are included in the kit. First I need to clean this up a bit.
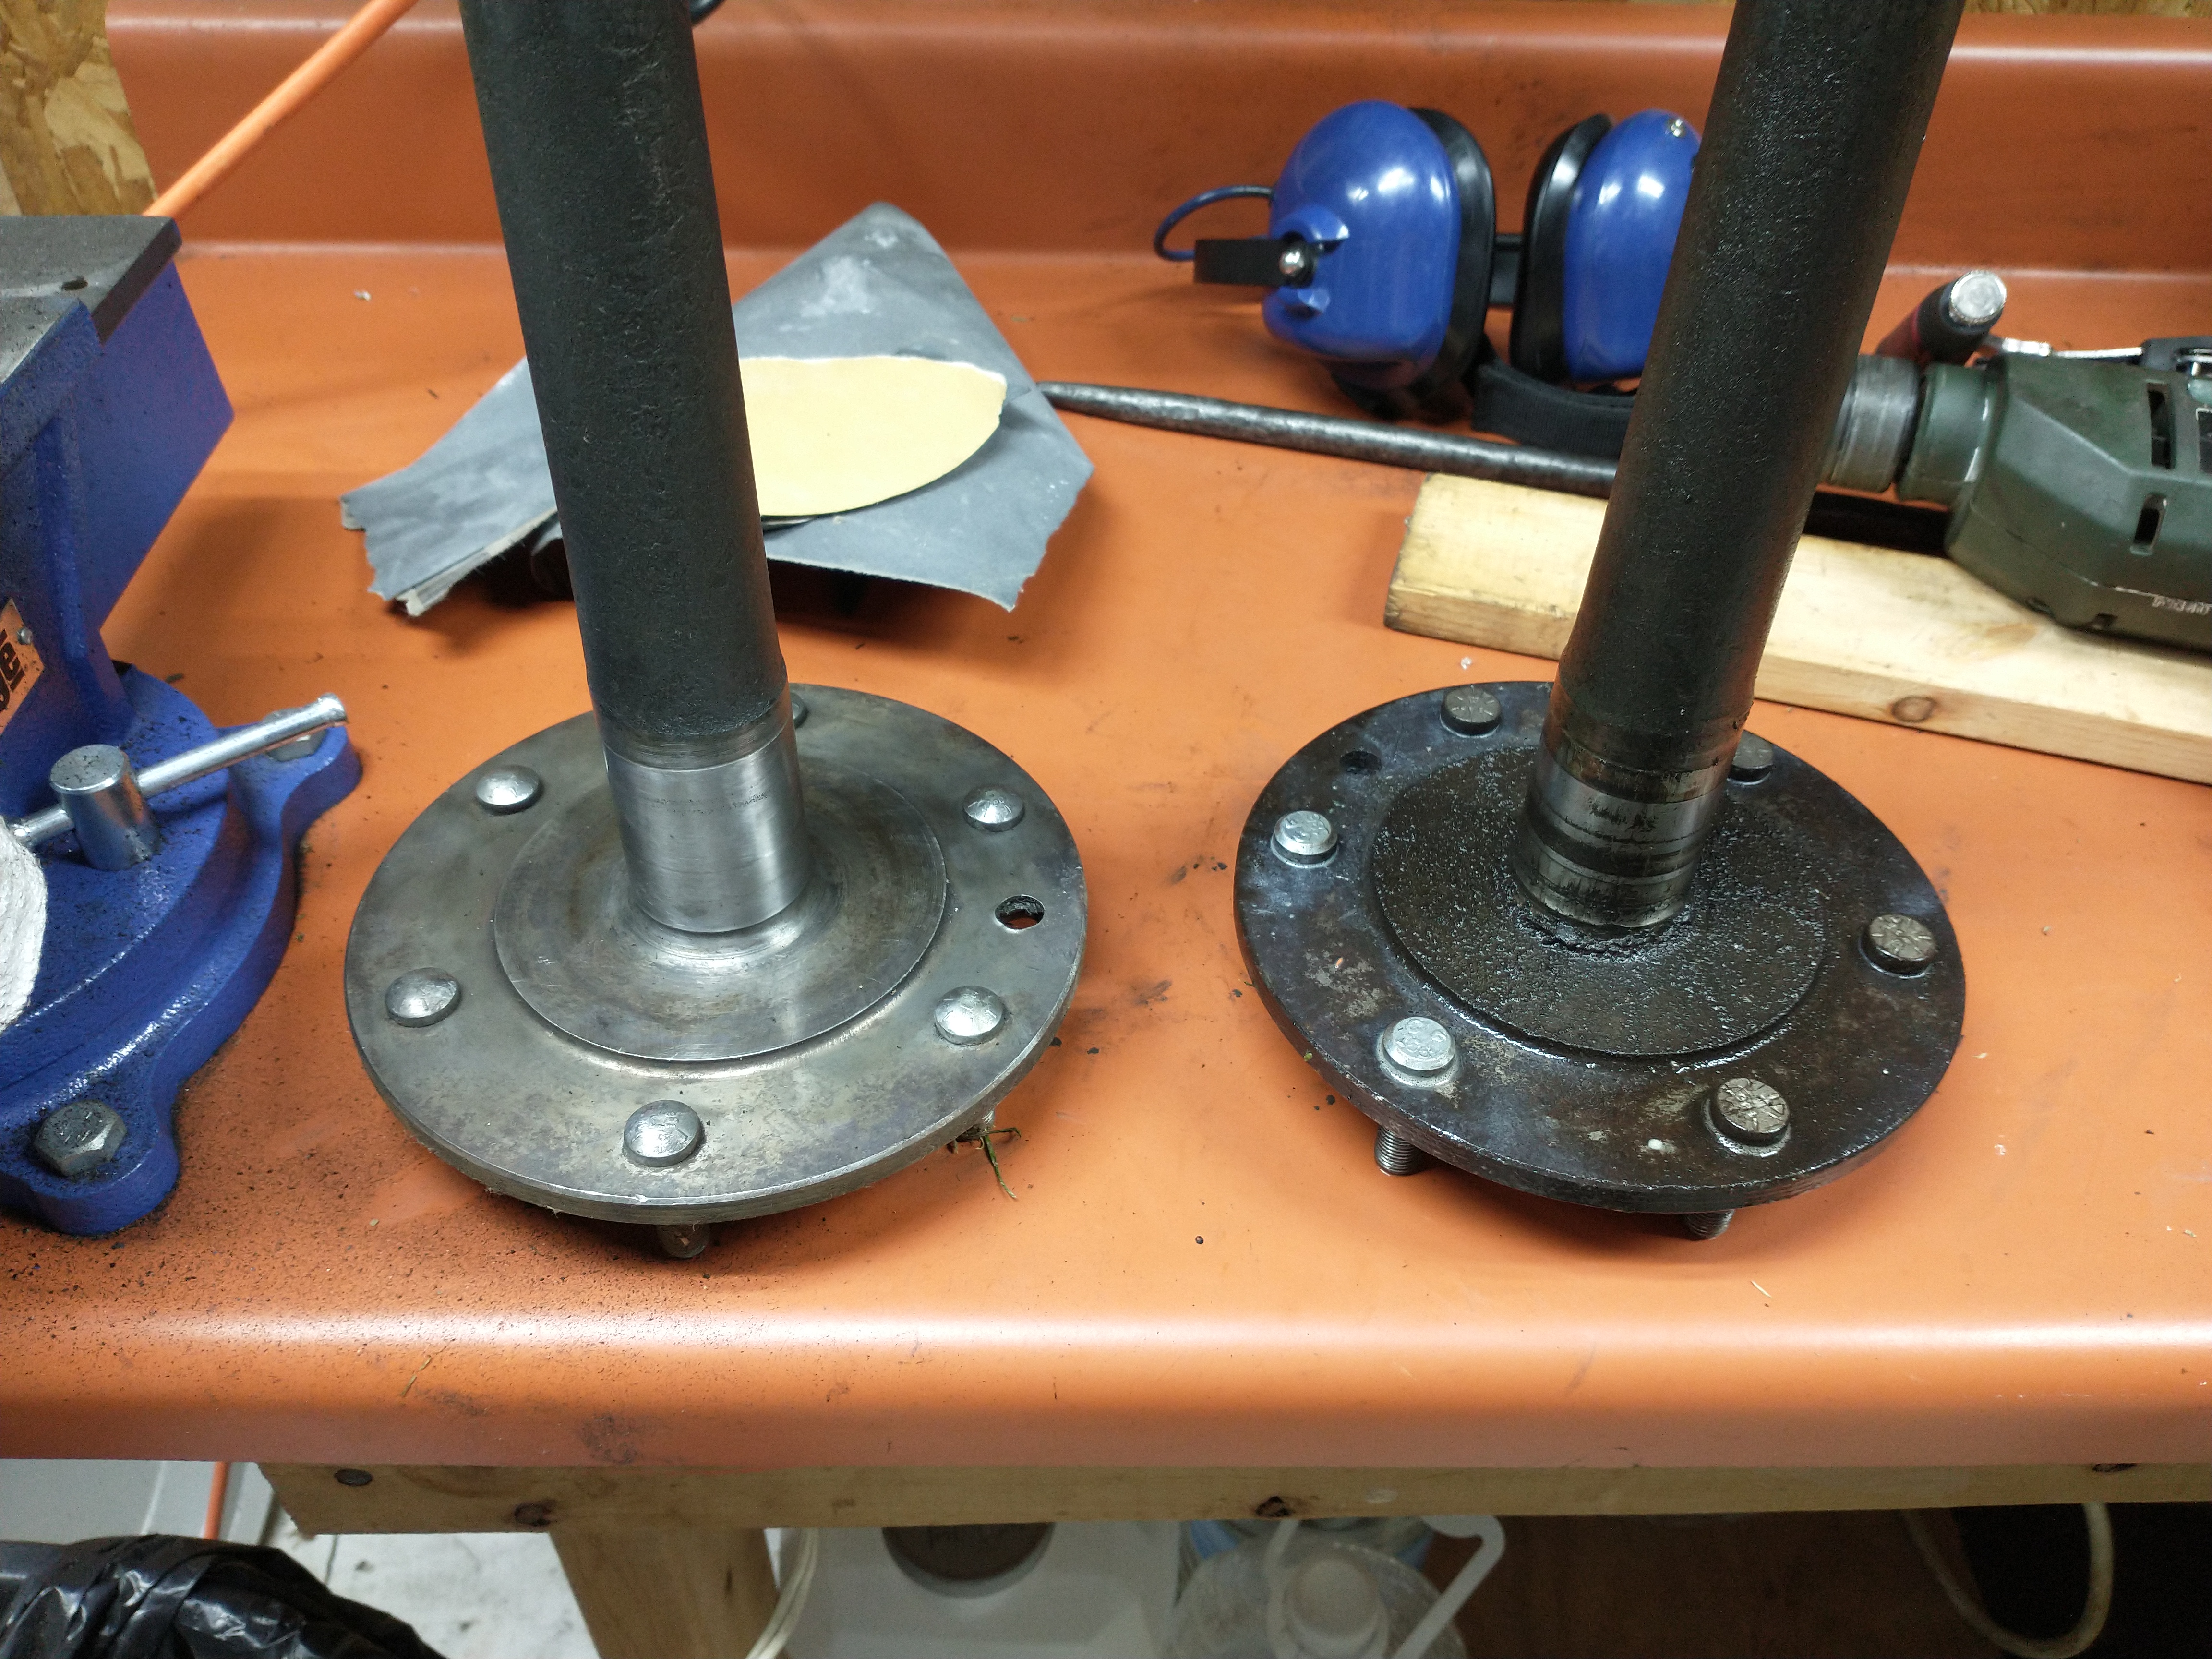
This is the cleanup of the backside and where the bearing goes, the area on the axle up about a couple of inches. One not cleaned and one cleaned. See the difference. I just used a drill and a wire wheel to clean up where the wheel studs go. I used fine emery cloth to clean up where the bearing rides. There is no need to clean the axle further up as it will be in the axle housing with gear oil flying around in there.
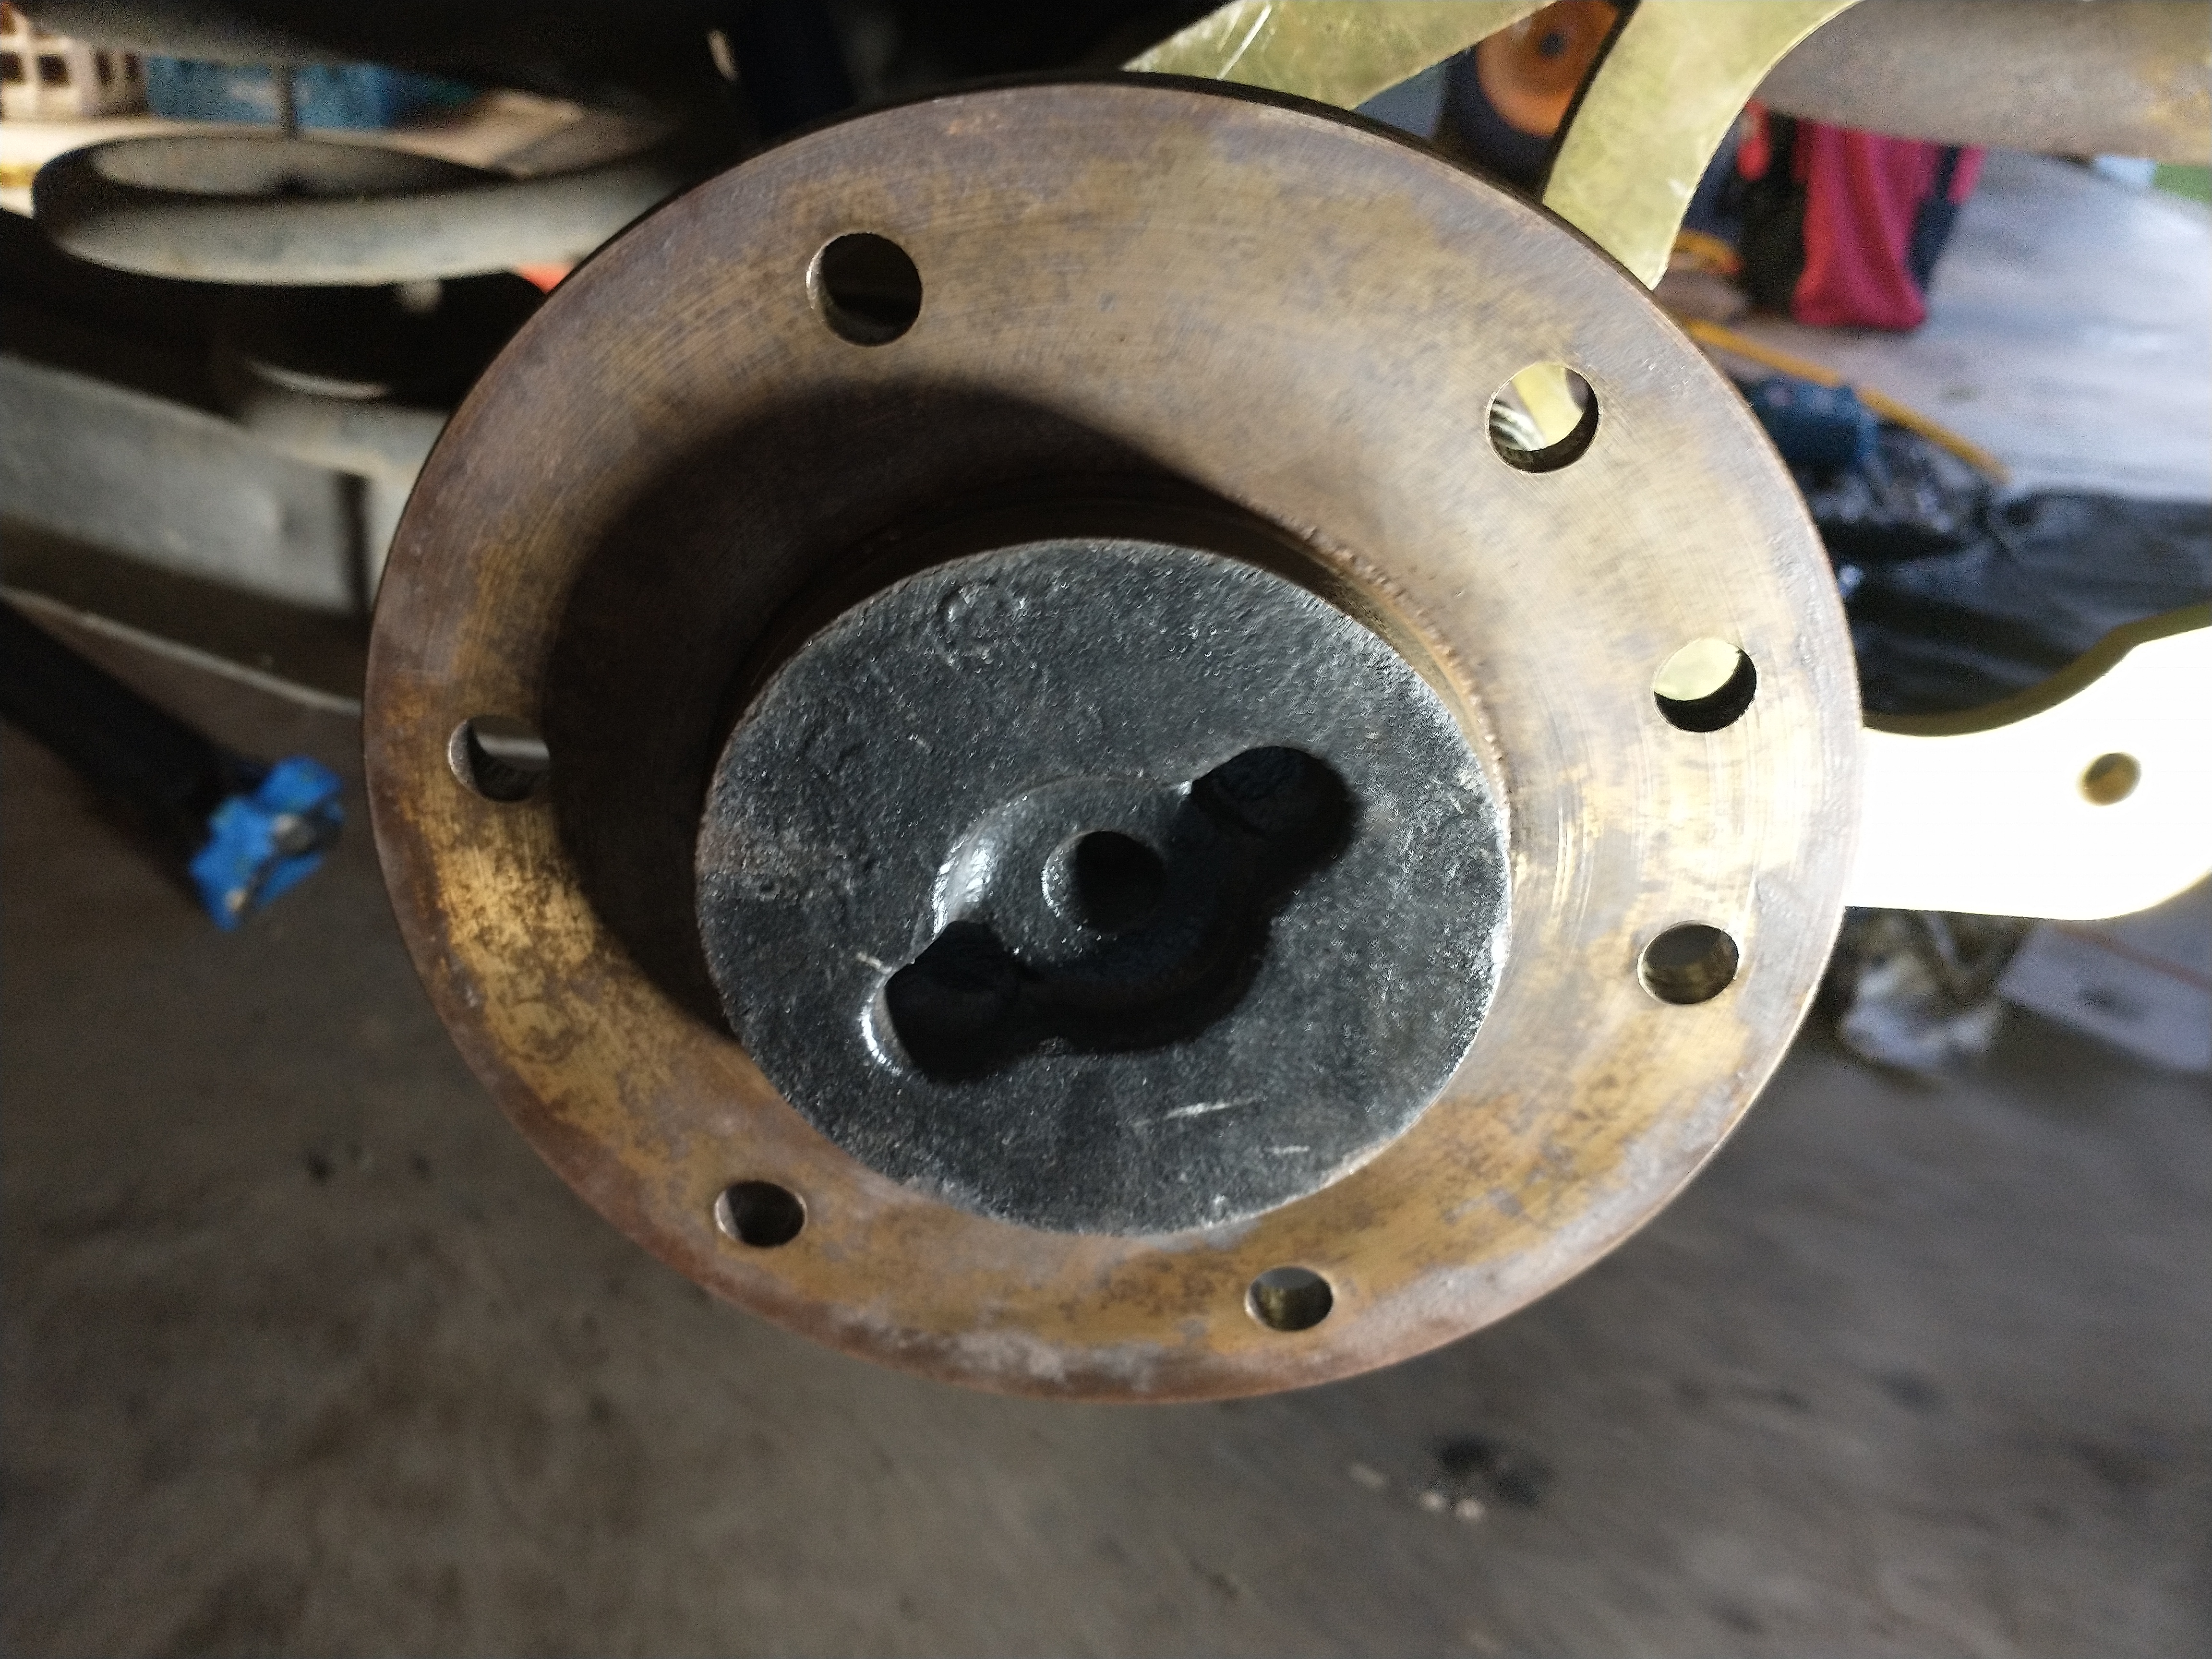
Here is the front side and harder to clean so I got off as much as I could. I have a solution that dissolves rust and I may try this later.
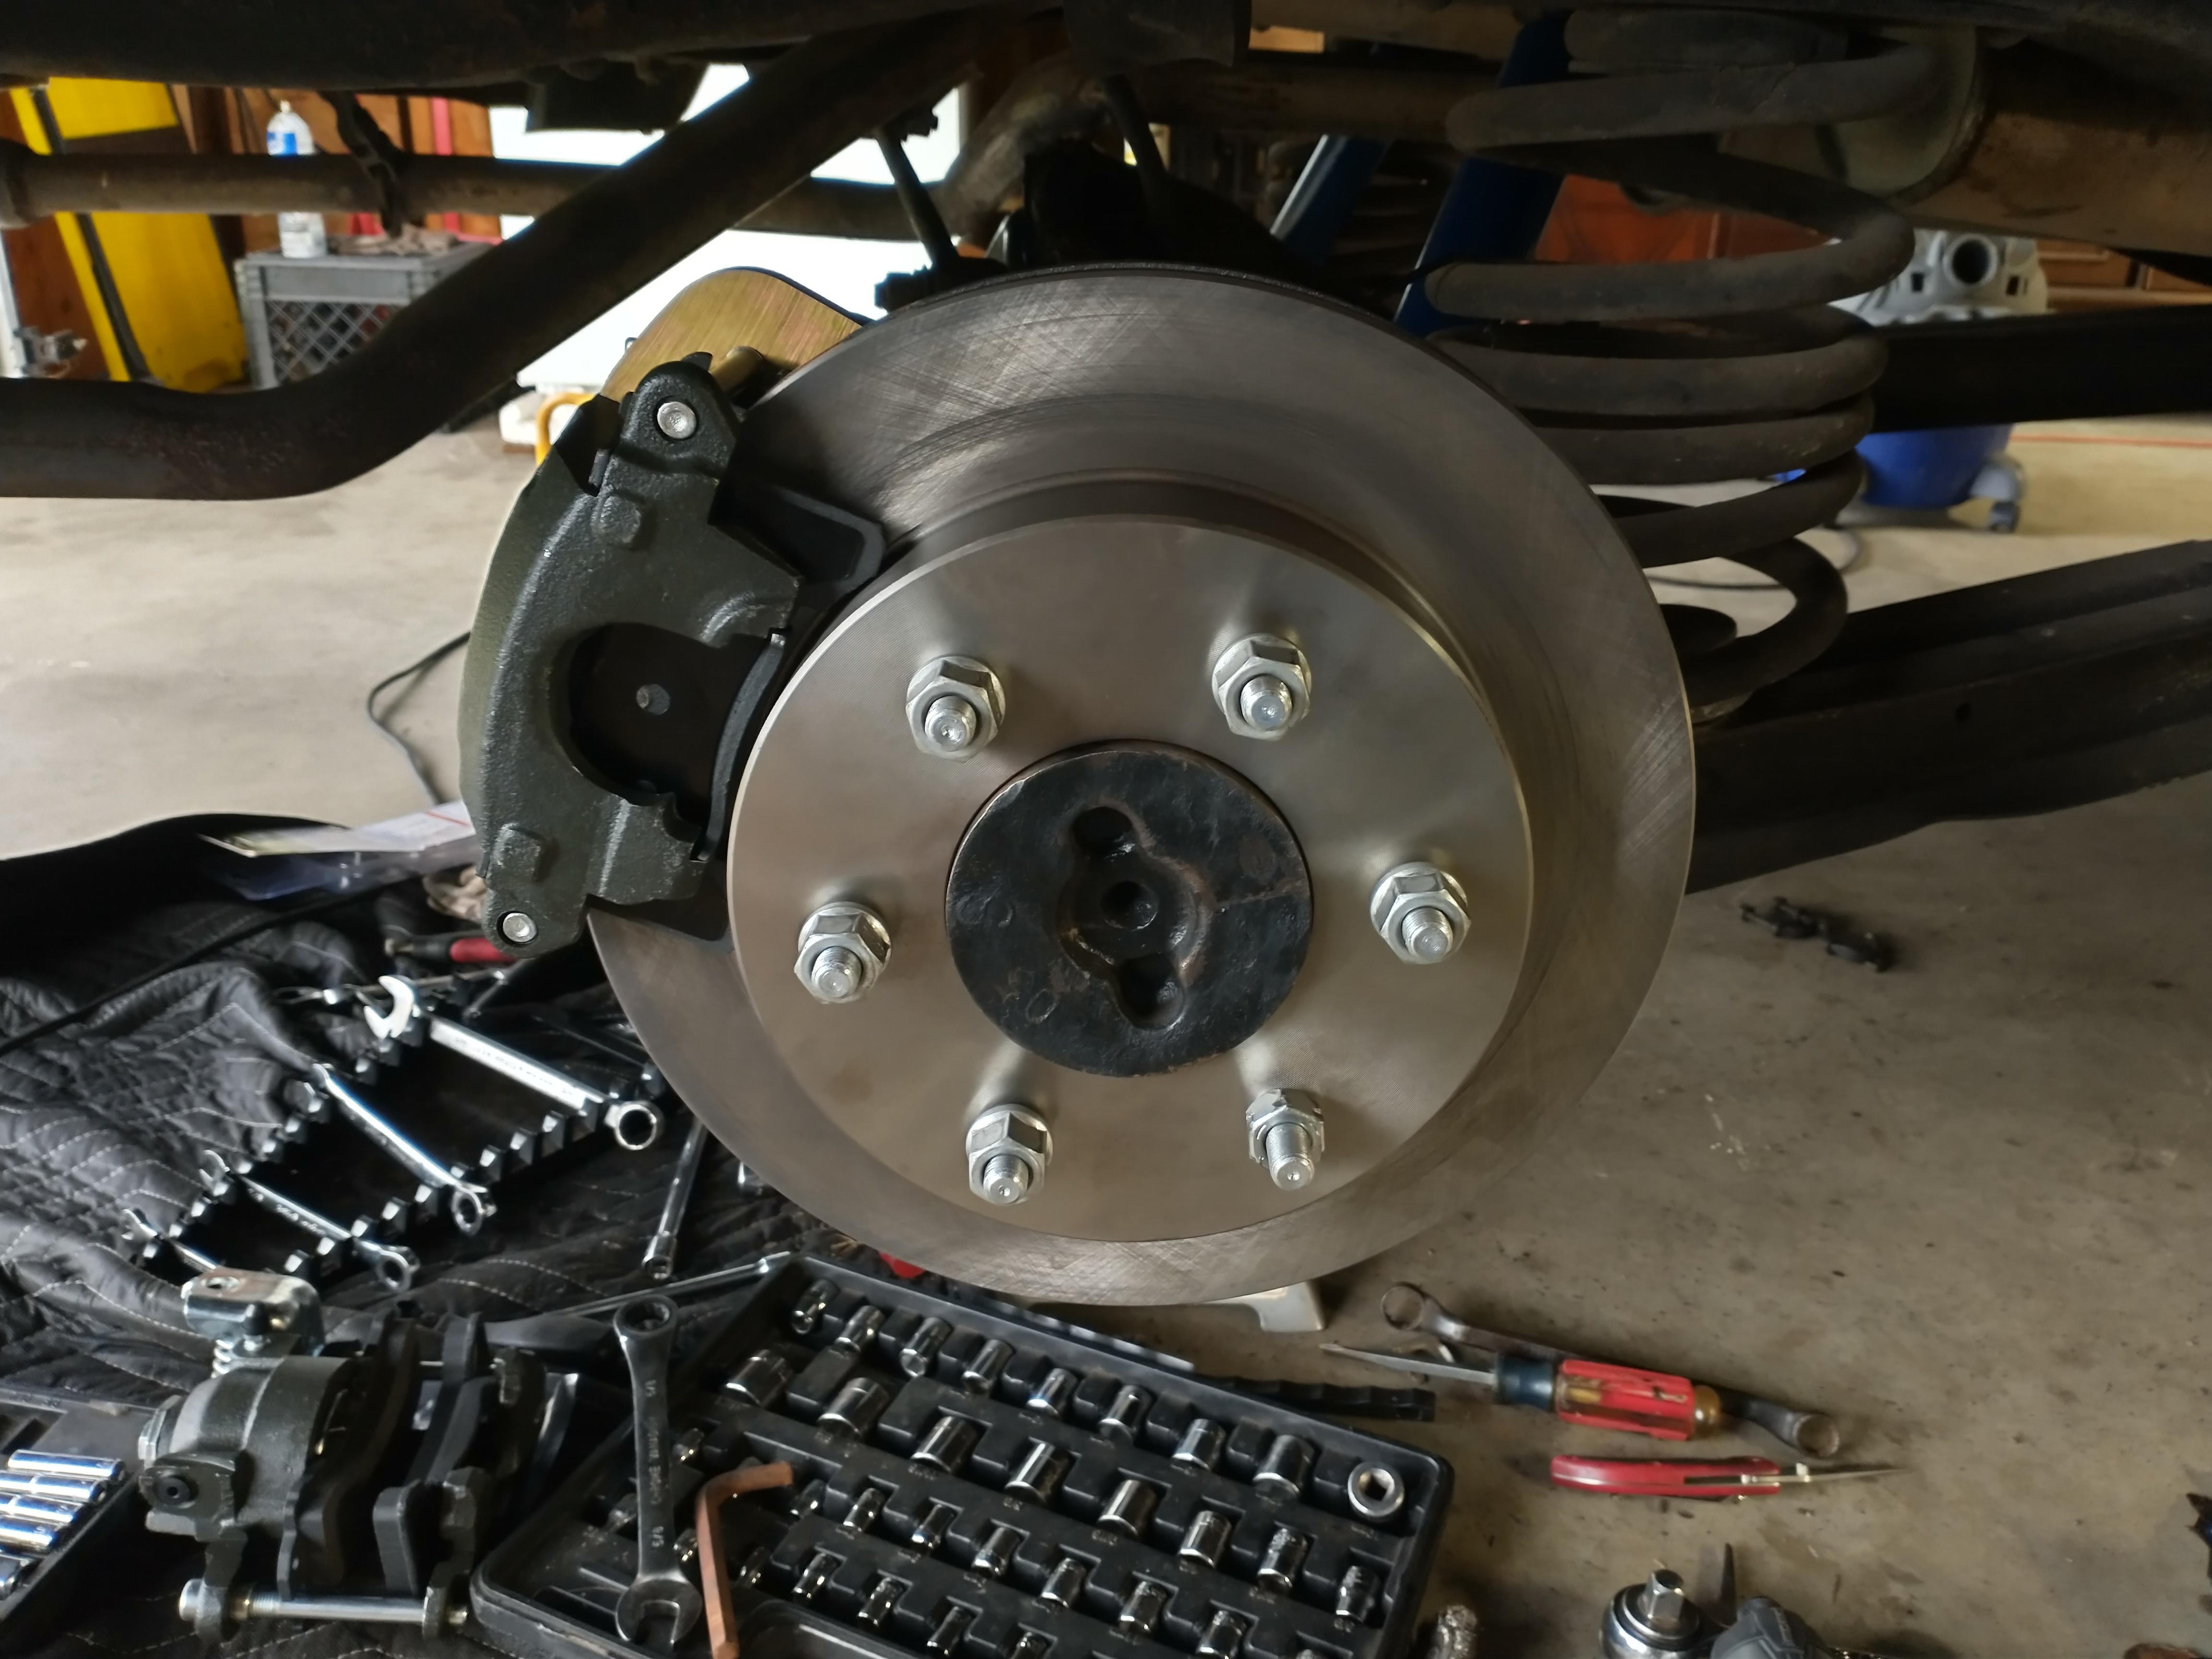
Here is the actual rotor (disc) installed with the wheel studs installed, which was a real workout. I did not take any pictures, but will add later the tool I used. It was rough. The caliper with the pads installed also.
Wheel stud install tool
This was a work out to use….but a life saver and only about $13. Just a lot of wrenching to get each wheel stud in place.
This has been done on both sides and right now is just a test fit. I need to torque everything down. Will outline that when I do it and get some pics, its very very important.
Here is a pic of the backside showing the emergency brake ( Lever and Spring)

As soon as I finish the Axle rear housing cover…its out in the garage with the paint drying right now. Will finish it tomorrow.
Ok….I have done quite a bit of work in the past month. I will be posting pictures here once I get them off my phone and organized.
