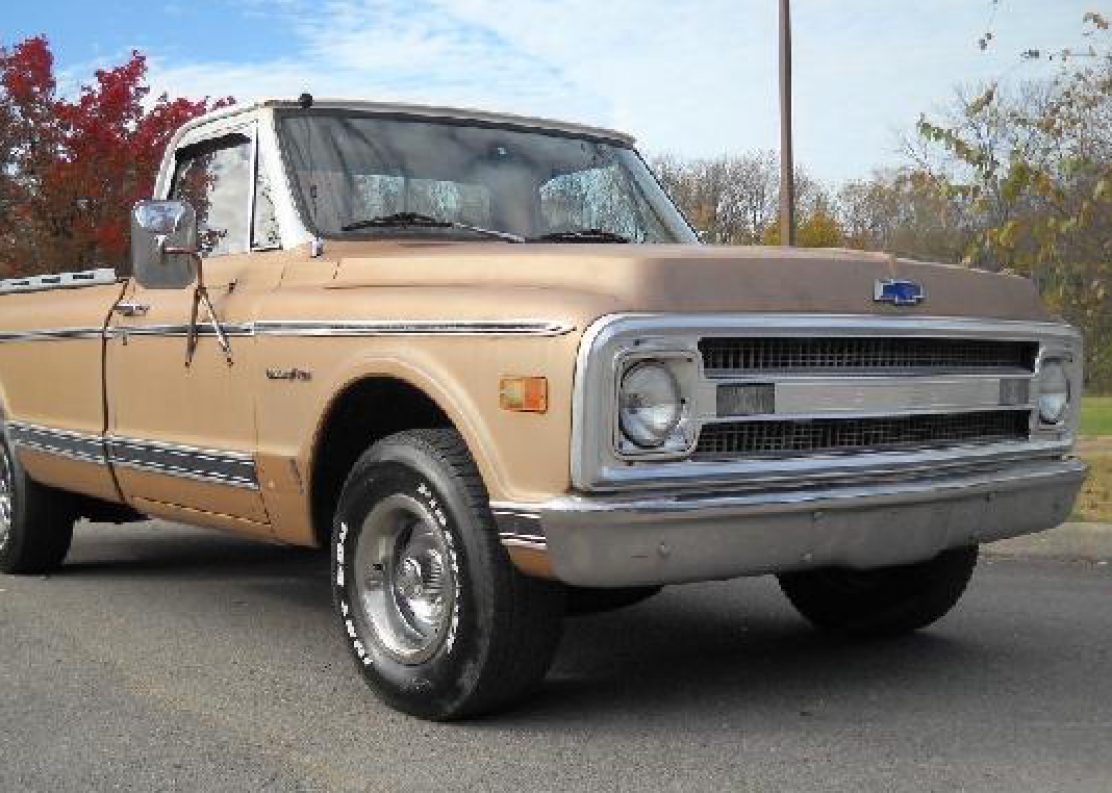

Been kinda messing around with the old ’69 Chevy and got the front lights all working. Not hard work but I did learn a couple of things. But first….this is what I took out…..this hacked up mess left behind by the previous owners. I have seen worse, and they at least put all this together and it was working. Mainly all I had was bulbs out in the front, but wanted good wiring so I replaced the front light wiring harness. The green piece you see is actually a garden hose, which had wires running though it. It worked to keep the wires from flopping all over, so it was safe…….but not really great. I also found a wire going to nothing, so it came out. I still have a red wire in the truck attached to the fuse box which I need to take out since it also goes to nothing.
But I now have the wires in correctly. I also have to replace the front engine wiring harness….Post that later. This picture also has the old radio and speakers that I also took out included in the pile of stuff going to the trash. 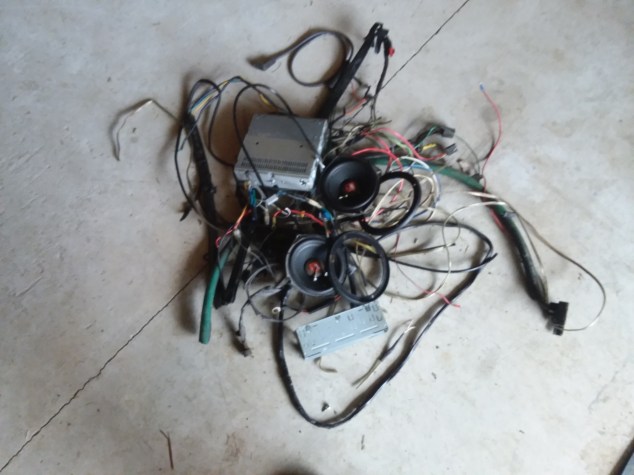
After putting the harness in, I had to get new bulbs. Since I upgraded the side markers to have lights in them, instead of just reflective markers I had to get the right bulbs. After getting them and testing them they were too dim for my liking. So I got a bigger brighter bulb. This turned out to be a mistake, as the bulb touched the plastic marker and melted it a little. So that is a no go…….back to the parts store and new technology to the rescue…..LED bulbs. They are bright and produce NO heat. So this is the result.
New Front marker installed…..

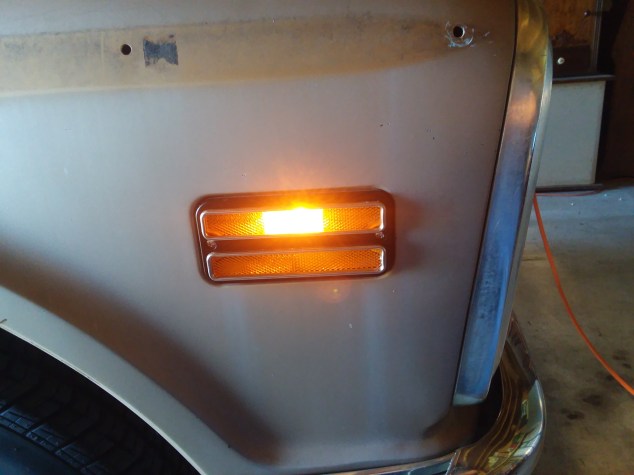
New Front marker with light on…..
New turn signal markers in front grille installed and headlights on.
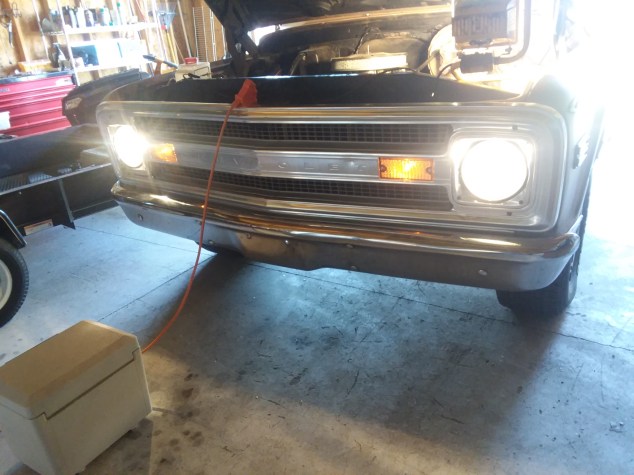
So all is working up front and in the back. Good thing about the new wiring harness along with turning the side markers in lights side markers, they also blink with the turn signals…..safer. But, I did have another small problem. Since I am using a combination of LED and non LED bulbs when I turned the turn signals on for the first time they flashed rapidly. Not horrendously fast….but faster than normal. So….back to the parts store. I had to get a new type of flasher module….(hmmmmm sounds like Ray Stevens could make a song out of that, maybe the Streaks brother). It fixed the problem like a charm. Will post a pic of the new module soon.
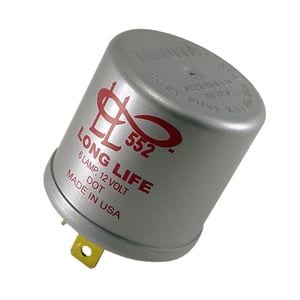
Here is the new Flasher relay. This little thing is what makes your turn signals flash. There is a metal strip inside the reacts to the current that lights the bulb and the heat that current makes. The heat bends the wire slightly and that in turn breaks the loop…..so the light goes off. When it cools it goes back on. Happens pretty rapidly….so you get a flash.
This is made to work with LED lights and regular ones. It stops the hyper-flashing I spoke of before. So now the flash happens at a lot less current and a lot less heat.
So….three trips to the parts store, but all is working.
Here is the difference in the bulbs. The regular glass bulbs are 161 type. If you went to a parts store and asked them for bulbs this is what you would get more than likely they are 2.7 watts and not very bright, plus they HOT when lighted. Here is one of the bulbs:
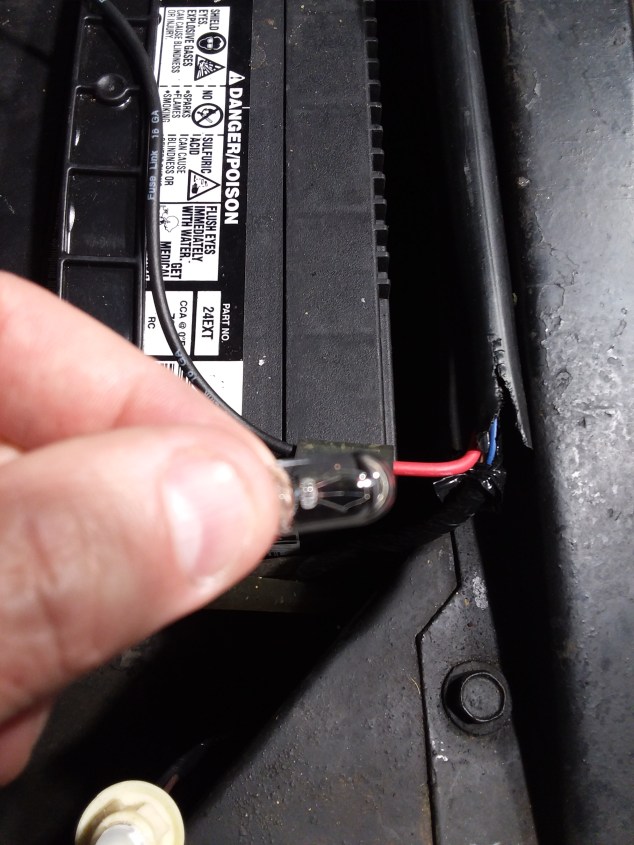
The new battery is photo-bombing here.
The LED bulbs are listed as 194 cool white bulbs and even though they only put out .5 watts, they are much brighter. So, benefits are LED’s – brighter with no heat made by the bulb. So, if you add up I replaced 4 traditional bulbs at a total of 10.8 watts and the four LED bulbs use 2 watts so I am removing that load off the battery and alternator. Drawback is that the LED bulb is about $14 for a pack of 2….traditional bulbs are a couple bucks for 2. But, I feel its worth it. I wanted good light and no risk of melting the lenses. Here is the LED bulb:

Next on the list is a complete flush of the cooling system and unfortunately a new radiator. Current one is seeping a little. Also a new heater core. This project will be a complete flush of the system. I will have to drain all the antifreeze….replace with water….add a chemical flush component….run the truck for about a 1/2 hour to an hour each day over the course of three or four days to simulate driving it to circulate the chemical flush and drain and refill until I get totally clear water out. After that I will install the new radiator. I want it all clean so no junk gets into the new radiator.
So…..check back for that project. It should be fun since its getting hot in Tennessee. Its July.
Mikey
